

Sometimes you just want dessert to feel like childhood. Not the fancy restaurant dessert that comes with a mint leaf and a sugar dusting. I mean the kind of dessert that showed up wrapped in paper, pulled straight out of the freezer on a summer afternoon. The kind that made your fingers sticky and your smile bigger.
This is that kind of dessert.
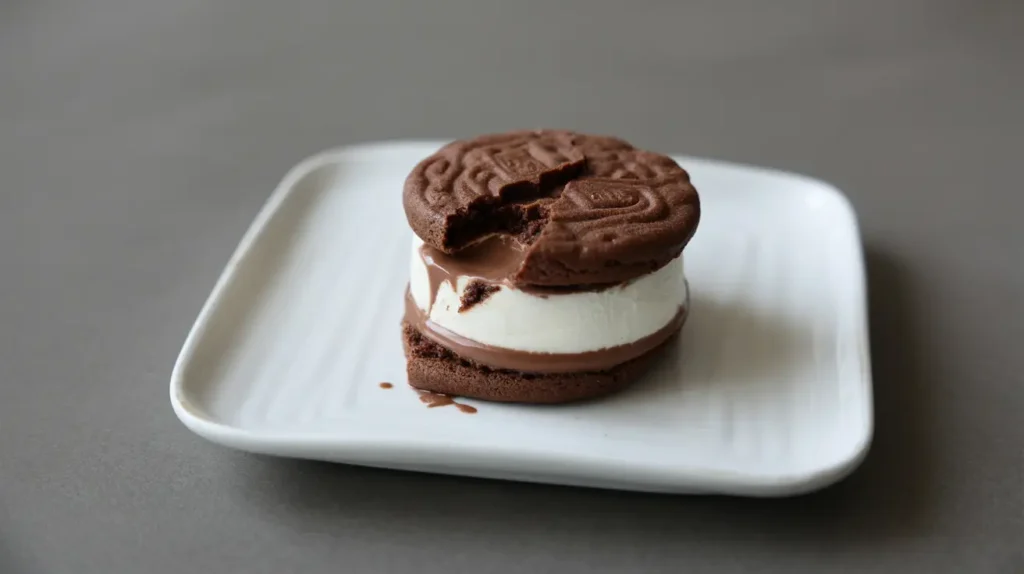
The classic chocolate ice cream sandwich is simple, nostalgic, and incredibly satisfying. It’s two chewy, brownie-like chocolate cookie layers wrapped around a thick, creamy slab of vanilla ice cream. The good news? You don’t need to track one down at a gas station. You can make them right at home—and they’ll taste even better.
If you’ve ever had one melt all over your hand while standing barefoot on hot pavement, this is for you. But now we’re making it grown-up level good. So let’s do it right.
What You’ll Need
Dry Ingredients:
- ½ cup all-purpose flour
- ⅓ cup Dutch‑process cocoa powder
- ¼ tsp baking soda
- ¼ tsp kosher salt
Wet Ingredients:
- 3 tbsp unsalted butter, softened
- ¼ cup granulated sugar
- 2 tbsp light brown sugar
- ½ tsp vanilla extract
- ⅓ cup whole milk, room temperature
Filling:
- About 6 scoops of vanilla ice cream (roughly ¾ cup)
Use a good-quality vanilla ice cream here. The soft cookie needs a creamy, rich partner in crime. You want contrast, not bland.
Let’s Talk Texture First
There’s something deeply important about the texture of a proper ice cream sandwich. You need the cookie part to be firm enough to hold its shape, but soft enough that it doesn’t squeeze the ice cream out the sides when you bite into it. This isn’t the time for a crisp cookie or anything that shatters.
These chocolate layers bake up almost like a flat brownie—tender, slightly chewy, and ready to be frozen without turning into a brick. The softness is what makes it feel like the real thing.
And yes, it’s easy to make. But if you know a few tricks, you’ll nail it on the first go.
Tools You’ll Want
- Mixing bowls (one for dry, one for wet)
- Hand mixer or sturdy whisk
- Spatula
- Parchment paper
- Baking sheet
- Offset spatula or butter knife
- Ice cream scoop
- Freezer-safe dish or baking tray
- Knife or bench scraper for cutting
Pro Tips for Ice Cream Sandwich Mastery
- Slightly underbake the cookie layer. Pull it from the oven right when the shine starts to dull. This keeps it soft enough to bite through when frozen.
- Use parchment paper like it’s your best friend. Line your pan, bake the cookie slab on it, and use it to lift and transfer everything easily. It’ll save you more time than you think.
- Soften your ice cream slightly. Let it sit at room temp for 5 to 10 minutes before spreading. Too hard and it rips the cookie layer. Too soft and it melts into soup. You want that sweet spot where it’s spreadable but still scoopable.
- Use an offset spatula. If you don’t have one, a butter knife can work. But the offset helps get that smooth, even layer that looks clean and professional.
- Freeze the whole slab before cutting. After assembling your sandwiches, freeze them for at least 4 hours, preferably overnight. Cutting too early is the fastest way to wreck all your effort.
Substitutions and Variations
Let’s say you want to switch things up or need to accommodate a dietary need. No problem.
- Gluten-free: Use a 1:1 gluten-free flour blend. Make sure it includes xanthan gum to maintain the chewiness.
- Dairy-free: Swap in vegan butter and a plant-based milk like oat or almond. Use coconut-based or cashew milk ice cream for the filling.
- Flavor spin: Add ½ tsp peppermint extract to the cookie batter for a chocolate-mint vibe. Or stir in instant espresso powder for a mocha version.
- Fun toppings: Roll the edges of each sandwich in mini chocolate chips, crushed nuts, or rainbow sprinkles before freezing.
Make Ahead Tips
These sandwiches were made for the freezer. Literally.
If you want to break this recipe into stages, you can.
- Bake the chocolate cookie slab the day before, cool it, wrap it, and keep it in the fridge.
- Let the ice cream sit in the fridge for about 10 minutes before assembling—this makes it easier to spread.
- Once assembled, the sandwiches need a solid freeze. Do this the night before serving for best results.
They hold up perfectly in the freezer for weeks. Just wrap individually in plastic and pop into a sealed bag or container.
How to Make Classic Chocolate Ice Cream Sandwiches
Step 1: Preheat your oven to 325°F. Line a baking sheet with parchment paper.
Step 2: In a bowl, whisk together the flour, cocoa powder, baking soda, and salt. Set aside.
Step 3: In another bowl, cream the butter, granulated sugar, and brown sugar until fluffy and smooth. Add in the milk and vanilla. Stir until combined.
Step 4: Slowly add your dry mix into the wet, stirring just until it forms a smooth, sticky dough.
Step 5: Divide the dough in half and press into two evenly sized rectangles on your parchment-lined baking sheet. You want them to be about ¼ inch thick and roughly the same shape for later stacking.
Step 6: Bake for 15 minutes, or until the tops are just matte. Let cool on the sheet for 5 minutes, then lift the whole thing out with the parchment and cool completely.
Step 7: Once cooled, transfer to the freezer for 15 to 30 minutes to firm up.
Step 8: Soften the ice cream slightly. Spread it across one of the cookie rectangles using your spatula, working quickly. Top with the second rectangle. Press gently.
Step 9: Freeze the whole slab for at least 4 hours, or overnight.
Step 10: Slice into bars or squares with a sharp knife. Clean between cuts for neat edges.
Optional Add-Ons
If you want to get a little extra with it, now’s your chance.
- Dip the edges in melted chocolate and refreeze for a dipped sandwich.
- Spread peanut butter between the cookie and ice cream layers before assembly.
- Use a cookie cutter to make fun shapes (hearts, circles, etc.). Just keep in mind you’ll have some scraps. But trust me, no one complains about extra scraps of chocolate cookie with ice cream on them.
Nutritional Breakdown (per sandwich, approx.)
- Calories: 205
- Fat: 9g
- Saturated fat: 6g
- Carbs: 30g
- Sugar: 18g
- Protein: 3g
This isn’t diet food. And it’s not pretending to be. But it’s satisfying and portion-controlled, and you know exactly what’s in it. That’s a win.
What to Serve with It
If you’re planning this for a get-together or backyard meal, here are a few things it pairs beautifully with:
- Grilled fruit (pineapple, peaches, etc.)
- Light citrusy drinks—lemonade, lime spritz, or herbal iced tea
- Salty snacks to balance the sweetness, like popcorn or roasted almonds
- A tray of fresh berries or grapes on the side for color and crunch
Also, they’re perfect solo. Just sayin’.
Leftovers and Storage
These are made to be stashed away. Once you slice the sandwiches, wrap each one in parchment or plastic wrap. Store them in an airtight container or bag in the freezer.
They’ll keep for up to three months. But let’s be real—they won’t last that long.
To serve, let sit out for about 5 minutes before eating. This softens the cookie just enough to make each bite perfectly tender.
FAQ
Can I use store-bought cookies? You can, but the texture won’t be quite right. Most store-bought cookies are too hard and can crack when frozen. This recipe gives you the perfect texture balance.
Can I double this recipe? Yes, absolutely. Just use a larger pan or bake in batches. It doubles well.
What’s the best way to cut clean slices? Use a sharp knife, run it under hot water, wipe between each cut. It sounds fussy but gives you those clean, bakery-style edges.
My ice cream melted while assembling. What do I do? Pop the whole thing into the freezer immediately. Once solid, trim any messy edges and you’re good.
Wrap Up
If you’ve been craving something simple but wildly satisfying, this is your sign. These classic chocolate ice cream sandwiches check every box—chewy, creamy, nostalgic, and actually fun to make. Whether you’re making them for a summer party, a weeknight treat, or just because you want to, they’re the kind of dessert that makes everyone happy.
So give them a try, make them your own, and tell me how they turned out. Got a variation you swear by? Or a question I didn’t answer? Drop it in the comments—I’d love to hear it.