
Some days just demand a cake. Not just any cake, but one that feels like a big, warm hug in dessert form. We’ve all been there.
You’re staring into the pantry, looking for that one thing that will make everything better. That’s when the two stars of the comfort food world call out: chocolate and peanut butter.
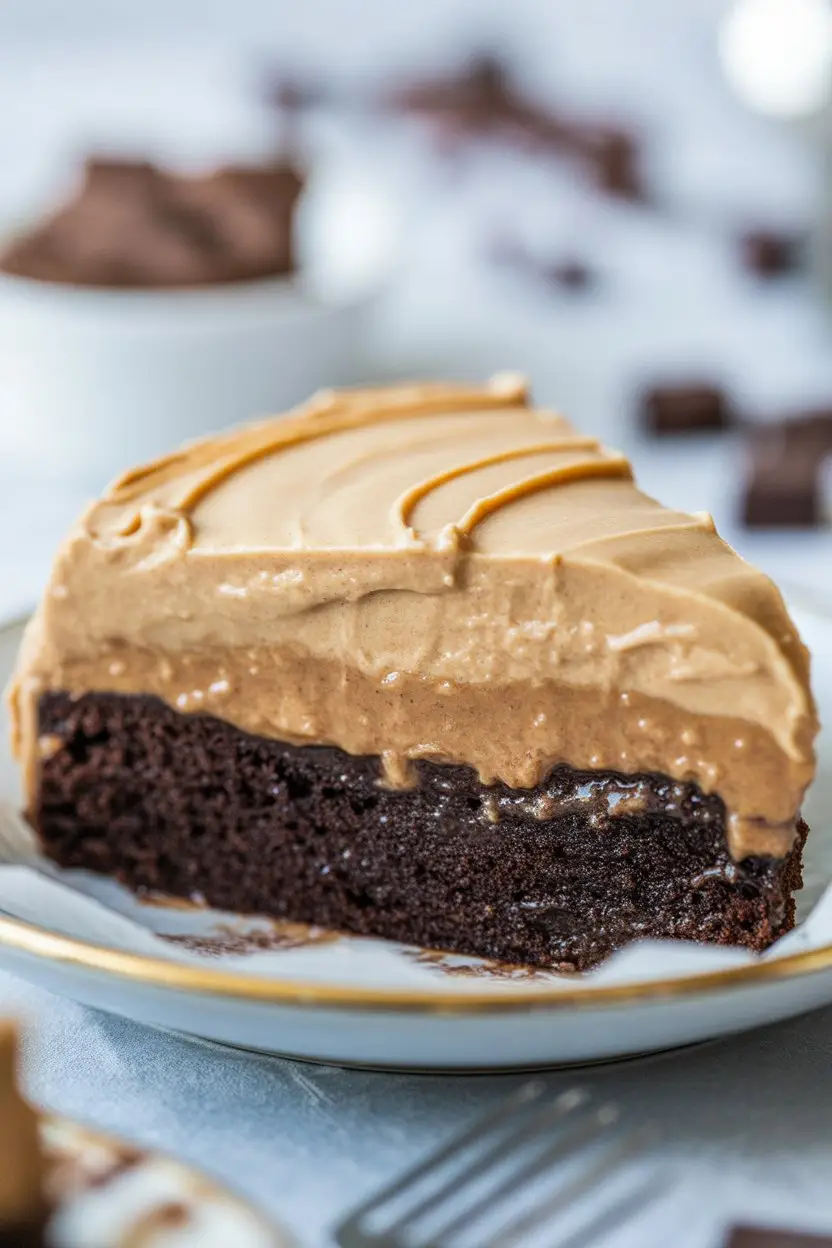
This isn’t just another chocolate cake. This is a rich, dark, incredibly moist chocolate cake layered with a frosting so creamy and packed with peanut butter flavor, you might just want to eat it with a spoon. It’s the kind of dessert that creates memories.
It’s gooey, it’s decadent, and it’s surprisingly straightforward to make. Let’s bake something amazing together.
What You’ll Need
Gathering your ingredients first makes the whole process feel like a breeze. Here’s the breakdown for the cake and that glorious frosting.
For the Chocolate Cake:
- 2 cups all-purpose flour
- 2 cups granulated sugar
- 3/4 cup unsweetened cocoa powder
- 2 teaspoons baking soda
- 1 teaspoon baking powder
- 1 teaspoon salt
- 1 cup buttermilk, at room temperature
- 1/2 cup vegetable oil
- 2 large eggs, at room temperature
- 1 teaspoon vanilla extract
- 1 cup freshly brewed hot coffee
For the Gooey Peanut Butter Frosting:
- 1 cup unsalted butter, softened
- 1 cup creamy peanut butter
- 3-4 cups powdered sugar
- 1/4 cup heavy cream or milk
- 1 teaspoon vanilla extract
- A pinch of salt
Pro Tips
Over the years, I’ve learned a few things that take this cake from good to unforgettable. Here are some secrets from my kitchen to yours.
- Room Temperature is Key: I can’t stress this enough. Using room temperature eggs and buttermilk helps the batter mix together smoothly. This creates a uniform texture and a more tender crumb in the finished cake. Cold ingredients can cause the batter to curdle or become lumpy.
- Don’t Overmix the Batter: When you combine the wet and dry ingredients, mix only until they are just combined. Overmixing develops the gluten in the flour, which can lead to a tough, dense cake instead of a light, moist one. A few little lumps are perfectly fine.
- The Magic of Hot Coffee: The hot coffee does two things. First, it “blooms” the cocoa powder, which means it helps release its deep, rich flavor particles. This gives you a much more intense chocolate taste. Second, it adds moisture, resulting in that gooey texture we’re aiming for.
- Sift Your Dry Goods: For the smoothest possible cake and frosting, take a minute to sift your flour, cocoa powder, and powdered sugar. It breaks up any clumps and aerates the ingredients, making them easier to incorporate and giving you a lighter final product.
Tools Required For This Recipe
You don’t need a professional bakery setup for this. Here are the basic tools that will get the job done.
- Two 9-inch round cake pans
- Parchment paper
- Mixing bowls (large and medium)
- Whisk
- Electric mixer (stand or hand-held)
- Spatula
- Wire cooling rack
- Offset spatula for frosting
Substitutions and Variations
Don’t have something on hand? Or maybe you want to experiment? This recipe is flexible. Here are some simple swaps and ideas.
| Original Ingredient | Substitution Idea | Notes |
|---|---|---|
| All-Purpose Flour | 1:1 Gluten-Free Flour | Ensure it contains xanthan gum. |
| Buttermilk | DIY Buttermilk | 1 cup milk + 1 tbsp vinegar. |
| Vegetable Oil | Melted Coconut Oil | May add a faint coconut flavor. |
| Hot Coffee | Hot Water | Coffee enhances chocolate flavor. |
Want to add a little something extra? Try folding in a cup of chocolate chips or chopped peanut butter cups into the batter before baking for more texture and decadence.
Make-Ahead Tips
Planning a party or just want to get a head start? This cake is perfect for prepping in advance.
You can bake the cake layers a day ahead. Once they have cooled completely, wrap them tightly in plastic wrap and store them at room temperature. The frosting can also be made up to three days in advance and kept in an airtight container in the refrigerator. Just let it come to room temperature and give it a quick whip before using it.
How to Make The Gooey Chocolate Peanut Butter Cake
Let’s get to the fun part. Follow these steps for a perfect cake every time.
For the Cake Layers:
Step 1: Preheat your oven to 350°F (175°C). Grease and flour two 9-inch round cake pans. For extra security, line the bottoms with parchment paper.
Step 2: In a large bowl, whisk together the flour, sugar, cocoa powder, baking soda, baking powder, and salt. Break up any large clumps of cocoa powder.
Step 3: In a separate medium bowl, combine the buttermilk, oil, eggs, and vanilla extract. Whisk until everything is well combined.
Step 4: Pour the wet ingredients into the dry ingredients. Mix on low speed with an electric mixer or by hand just until the batter comes together. Remember not to overmix!
Step 5: Carefully pour the hot coffee into the batter and mix on low speed until just incorporated. The batter will be very thin; this is normal and it’s what makes the cake so moist.
Step 6: Divide the batter evenly between your prepared pans. Bake for 30-35 minutes, or until a wooden skewer inserted into the center comes out with a few moist crumbs attached.
Step 7: Let the cakes cool in the pans on a wire rack for about 15 minutes before inverting them onto the rack to cool completely. Make sure they are fully cooled before you even think about frosting.
For the Peanut Butter Frosting & Assembly:
Step 1: In a large bowl using an electric mixer, beat the softened butter and peanut butter together until light and fluffy, about 2-3 minutes.
Step 2: Gradually add the powdered sugar, one cup at a time, mixing on low speed until it’s incorporated. Add the vanilla and a pinch of salt.
Step 3: With the mixer on low, slowly stream in the heavy cream. Once it’s added, turn the mixer up to medium-high and beat for another 3-5 minutes until the frosting is incredibly smooth and airy.
Step 4: Place one cooled cake layer on your serving plate. Spread a generous layer of frosting over the top. Place the second cake layer on top and frost the top and sides of the entire cake with the remaining peanut butter frosting.
Nutrition, Diets, and Pairings
Here’s a quick look at the details to help you fit this treat into your life.
| Nutritional Information (Approximate) | |
|---|---|
| Serving Size | 1 slice (1/12th of cake) |
| Calories | 670 kcal |
| Fat | 39g |
| Carbohydrates | 75g |
| Protein | 12g |
- Dietary Swaps: To make this cake vegan, use flax eggs (1 tbsp ground flaxseed + 3 tbsp water per egg), a plant-based buttermilk alternative, and your favorite vegan butter and cream for the frosting.
- Meal Pairings: This rich cake needs a simple companion. A tall glass of cold milk is classic. A cup of black coffee or a simple espresso also cuts through the richness beautifully. For a truly decadent treat, serve a slice with a scoop of vanilla bean ice cream.
- Cooking Time Tip: While the cakes are baking, you have the perfect window to measure out your frosting ingredients and wash the mixing bowls. This “downtime” makes the entire process feel faster and more organized.
Leftovers and Storage
If you somehow have leftovers, you’ll want to store them properly to keep the cake moist.
Store the cake in an airtight cake container at room temperature for up to 3 days. If your kitchen is very warm, it’s best to refrigerate it. Just be sure to let it sit at room temperature for about 30 minutes before serving, as a cold cake can taste dry.
Frequently Asked Questions
Here are answers to a few common questions that might pop up while you’re baking.
Q1. Why did my cake come out dry?
Ans: The most common reason for a dry chocolate cake is overbaking. Ovens can vary, so start checking for doneness a few minutes before the recipe says to. The cake is done when a skewer has moist crumbs, not when it’s completely clean.
Q2. Can I use natural peanut butter for the frosting?
Ans: You can, but be aware that natural peanut butter (the kind that separates) can make the frosting a bit greasy or thinner. Standard creamy peanut butter like Jif or Skippy provides a more stable, fluffy texture.
Q3. Can I bake this recipe in a 9×13-inch pan instead?
Ans: Absolutely! Pour the batter into a greased and floured 9×13-inch pan and bake for about 35-45 minutes. It’s a great option if you don’t want to mess with layers. Just frost the top!
Q4. My frosting is too thick/thin. How do I fix it?
Ans: Frosting is very forgiving! If it’s too thick, add more cream, one tablespoon at a time, until it reaches the right consistency. If it’s too thin, add more powdered sugar, a quarter cup at a time.
Wrapping Up
There you have it. A cake that is more than just a dessert; it’s an experience. It’s the perfect centerpiece for a celebration or the perfect cure for a tough day.
The combination of deep chocolate and creamy, salty-sweet peanut butter is a classic for a reason. I truly hope you give this recipe a try and that it brings a little bit of gooey, delicious joy into your home.
When you make it, I’d love to hear how it went! Drop a comment below with your experience or any questions you might have.