
There’s a certain magic that happens when the air gets a little crisp. It’s a signal to my brain that it’s time to preheat the oven and fill the house with the scent of something truly comforting.
And let me tell you, nothing says comfort quite like these Salty Maple Brown Butter Blondies. Forget everything you think you know about blondies. We’re taking them to a whole new level.
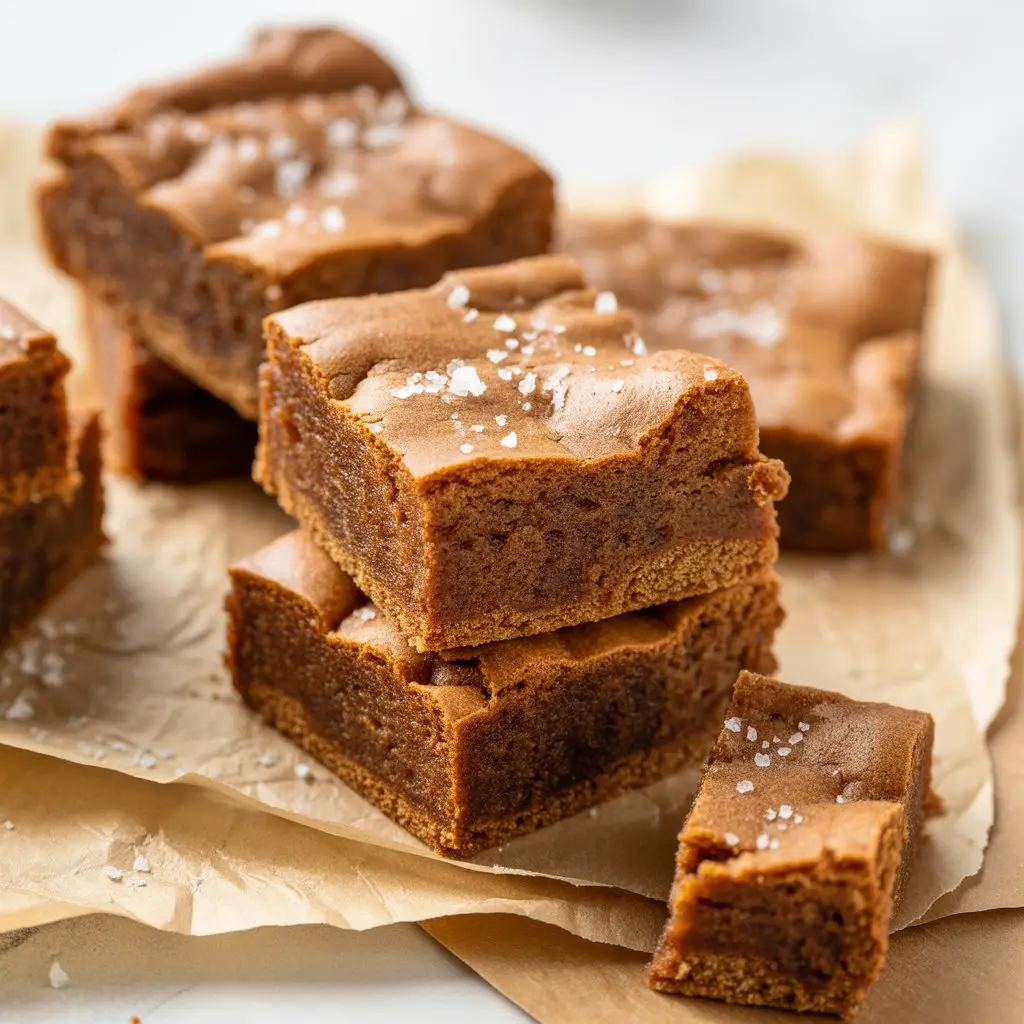
The secret is brown butter. It’s liquid gold. It adds a nutty, toasted depth that plain melted butter just can’t compete with. Pair that with the woodsy sweetness of pure maple syrup and a sharp, flaky salt finish? It’s a flavor combination that will make you close your eyes and savor every single bite.
This isn’t just a recipe; it’s an experience. It’s the perfect thing to bake on a lazy weekend, to bring to a friend, or to hoard all for yourself. No judgment here.
What You’ll Need
Gathering your ingredients first makes the whole process smoother. Here’s the list of everything you’ll need to create these incredible blondies.
- 1 cup (2 sticks or 226g) unsalted butter
- 1 ½ cups (300g) packed light brown sugar
- ½ cup (120ml) pure maple syrup
- 2 large eggs, at room temperature
- 2 teaspoons vanilla extract
- 2 ½ cups (300g) all-purpose flour
- 1 teaspoon baking powder
- ½ teaspoon salt
- 1 cup (115g) chopped pecans or walnuts (optional)
- Flaky sea salt, for sprinkling on top
Tools Required for This Recipe
You don’t need a professional kitchen for this. Here are the basic tools that will get the job done.
- 9×13 inch baking pan
- Parchment paper
- Medium saucepan (light-colored is best for browning butter)
- Large mixing bowl
- Whisk
- Spatula
- Measuring cups and spoons
- Wire cooling rack
Pro Tips
I’ve made these blondies more times than I can count. Here are a few hard-earned tips to guarantee your first batch is a smashing success.
1. Don’t Rush the Brown Butter. The key to brown butter is patience. Keep the heat on medium and whisk frequently. You’ll see it foam up, then the foam will subside, and you’ll see little brown bits forming at the bottom. The nutty smell is your best indicator. As soon as you smell it, take it off the heat to prevent it from burning.
2. Room Temperature is Key. Having your eggs at room temperature is crucial. It helps them emulsify with the butter and sugar, creating a smoother, more uniform batter. This leads directly to that fudgy, chewy texture we’re after. Cold eggs can cause the butter to seize up.
3. Do Not Overmix. Once you add the dry ingredients (flour, baking powder, salt), mix only until you no longer see streaks of flour. Overmixing develops the gluten in the flour, which will give you a tough, cakey blondie instead of a dense, fudgy one. A few lumps are perfectly fine.
4. Let Them Cool Completely. This might be the hardest step! The blondies will be very soft and gooey when they come out of the oven. They need to cool completely in the pan to set up properly. If you try to cut them while warm, you’ll have a delicious, gooey mess. Patience rewards you with clean, perfect squares.
How to Make Salty Maple Brown Butter Blondies
Let’s get down to baking. Follow these steps for blondie perfection.
Step 1: Preheat your oven to 350°F (175°C). Line a 9×13 inch baking pan with parchment paper, leaving an overhang on the sides to use as handles later. This makes removal super easy.
Step 2: In a medium saucepan, melt the unsalted butter over medium heat. Continue to cook, whisking often, until the butter foams, then turns golden brown with a nutty aroma. You’ll see dark specks at the bottom. Immediately remove from heat and pour into your large mixing bowl to stop the cooking process.
Step 3: To the brown butter, add the packed light brown sugar and maple syrup. Whisk everything together until it’s smooth and well combined.
Step 4: Add the room temperature eggs one at a time, whisking well after each addition. Then, stir in the vanilla extract.
Step 5: In a separate, smaller bowl, whisk together the all-purpose flour, baking powder, and salt. Add these dry ingredients to the wet ingredients in the large bowl.
Step 6: Using a spatula, fold the dry ingredients in until just combined. Remember not to overmix! If you’re using nuts, fold them in now.
Step 7: Pour the batter into your prepared baking pan and spread it into an even layer with the spatula. The batter will be thick.
Step 8: Bake for 25-30 minutes, or until the edges are golden brown and a toothpick inserted into the center comes out with moist crumbs attached, not wet batter.
Step 9: Remove from the oven and immediately sprinkle the top with flaky sea salt. Let the blondies cool completely in the pan on a wire rack before lifting them out with the parchment paper and cutting them into squares.
Substitutions and Variations
One of the great things about this recipe is its flexibility. You can easily swap things out based on what you have or what you like.
| Original Ingredient | Substitution / Variation | Notes |
|---|---|---|
| Light Brown Sugar | Dark Brown Sugar | Adds a deeper molasses flavor. |
| All-Purpose Flour | 1-to-1 Gluten-Free Blend | Use a blend with xanthan gum. |
| Pecans / Walnuts | Chocolate Chips / Toffee Bits | Add 1 cup of your favorite mix-in. |
| Vanilla Extract | Maple Extract | Use 1 teaspoon to amplify maple flavor. |
Recipe Notes & Tips
A few more things to help you out.
Make-Ahead Tips
These blondies are a great make-ahead dessert. The flavors actually meld together and become even deeper the next day. You can bake them a full day in advance, let them cool, cover them tightly, and store them at room temperature. Just wait to cut them until you’re ready to serve.
Efficiency and Pairings
Make the most of your time and enjoyment with these simple tips.
| Category | Suggestion |
|---|---|
| Efficiency Tip | Measure all ingredients before you start. |
| Perfect Pairing | A hot cup of black coffee or black tea. |
| Next-Level Pairing | Serve warm with a scoop of vanilla bean ice cream. |
Nutritional Information
Disclaimer: The nutritional information provided is an estimate and will vary based on the specific ingredients and brands you use.
- Calories: Approximately 250-290 per square (if cut into 16)
- Fat: 15g
- Carbohydrates: 28g
- Sugar: 19g
- Protein: 3g
Leftovers and Storage
If you somehow have leftovers, storing them properly is easy. Place the cut blondies in an airtight container.
They will stay fresh at room temperature for up to 4 days. You can also store them in the refrigerator for up to a week, though they are best served at room temperature.
Frequently Asked Questions
Q1. My blondies seem underbaked in the middle. What did I do wrong?
Ans: This is a common concern! Blondies are meant to be very fudgy and dense, so they can seem underbaked compared to a cake. A toothpick should come out with moist, sticky crumbs, not wet batter. If it’s truly wet, it might need a few more minutes in the oven. All ovens are different, so start checking at the 25-minute mark.
Q2. Can I use salted butter instead of unsalted?
Ans: You can, but you’ll need to adjust the salt in the recipe. I recommend reducing the added salt from ½ teaspoon to ¼ teaspoon. The brown butter and maple flavors are the stars, and you don’t want too much salt in the batter to overpower them. The flaky salt on top provides the perfect finish.
Q3. Can I double this recipe and bake it in a larger pan?
Ans: Absolutely. You can double the recipe and bake it in a half-sheet pan (around 18×13 inches). The baking time will be very similar, but keep a close eye on it as it may cook a little faster due to the larger surface area.
Q4. Why did my blondies turn out cakey instead of fudgy?
Ans: The most likely culprit is overmixing the batter after adding the flour. Mixing too much develops gluten, which creates a more cake-like structure. Fold the flour in gently with a spatula only until it’s just incorporated.
Wrapping Up
There you have it—a recipe for what might just become your new signature dessert. The rich, nutty flavor of brown butter, the gentle sweetness of maple, and that perfect salty kick create something truly special.
It’s more than just a sweet treat; it’s a little pan of happiness. I really hope you give this recipe a try.
When you do, please come back and leave a comment below. I’d love to hear how they turned out for you or answer any questions you might have!