
Let’s be honest for a second. We’ve all been on a quest for the perfect chocolate chip cookie. You know the one I’m talking about.
Not the kind that’s dry and crumbly. Not the kind that spreads into a single, greasy wafer on the pan. And definitely not the kind that’s more like a little cake than a cookie.
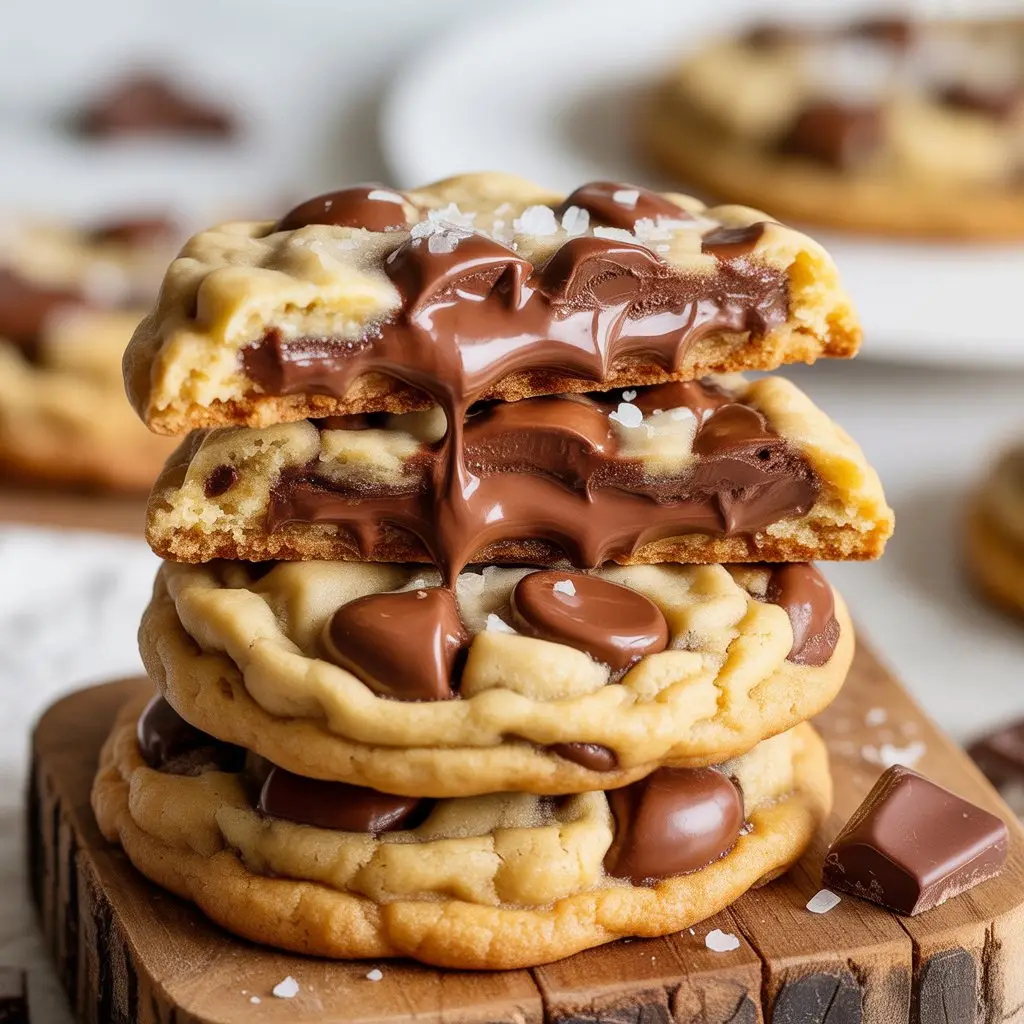
I’m talking about the real deal. The cookie with crispy, golden edges and a soft, chewy, gooey center that’s packed with melted chocolate. The kind of cookie that makes you close your eyes and just savor the moment.
I’ve eaten a lot of sad cookies in my life to get here. But this recipe? This is the one. This is the end of the search. So, let’s get to it.
What You’ll Need
This list is pretty straightforward. No weird, hard-to-find ingredients. Just pure, simple goodness.
- 1 cup (226g) unsalted butter, melted and cooled slightly
- 1 cup (220g) packed dark brown sugar
- 1/2 cup (100g) granulated sugar
- 2 large eggs
- 1 tablespoon pure vanilla extract (the good stuff, please)
- 2 ½ cups (300g) all-purpose flour
- 1 teaspoon baking soda
- 1 teaspoon salt
- 2 cups (340g) semi-sweet chocolate chips or chunks
- Flaky sea salt, for sprinkling (optional, but not really)
Tools You’ll Need
You don’t need a fancy kitchen for this. Just the basics.
- A large mixing bowl
- A separate medium bowl
- A whisk
- A rubber spatula or wooden spoon
- Baking sheets
- Parchment paper (this will save you so much cleanup)
- A cookie scoop or a spoon
Pro Tips
I’ve made a few… hundred batches of these. Here are the things I learned so you don’t have to make the same mistakes I did.
1. Chill That Dough. Seriously.
I know, I know. You want cookies NOW. But chilling the dough for at least an hour (or up to two days) is a total game changer. It keeps the cookies from spreading too thin and, more importantly, it lets the flavors get to know each other. The result is a deeper, more caramel-like taste. It’s worth the wait.
2. The Brown Sugar Secret.
The recipe calls for dark brown sugar, and there’s a reason for that. It has more molasses, which means more moisture and a chewier texture. If you only have light brown sugar, it will work, but the cookies won’t be quite as rich or chewy.
3. Don’t Overmix the Flour.
Once you add the dry ingredients to the wet ones, mix only until you can’t see any more white flour streaks. If you keep mixing after that, you’ll develop the gluten in the flour too much, and you’ll get tough, dense cookies. We’re aiming for soft and chewy, not hardtack.
4. Underbake Them (Just a Little).
The key to a soft center is to pull the cookies from the oven when they look just a little bit underdone in the middle. The edges should be golden brown, but the center might still look puffy and pale. They will continue to cook on the hot baking sheet for a few minutes after you take them out. This is the secret to gooey perfection.
The Step-by-Step Instructions
Alright, let’s make some magic.
Step 1: In a large bowl, whisk together the slightly cooled melted butter with both the dark brown sugar and granulated sugar. Whisk it well for about a minute until it’s smooth and there are no lumps.
Step 2: Add in the two eggs and the vanilla extract. Whisk again until everything is combined and the mixture is smooth and has a glossy shine to it.
Step 3: Grab your separate, medium-sized bowl. Whisk together the all-purpose flour, baking soda, and salt. This just makes sure you don’t get a surprise mouthful of salt in one of your cookies.
Step 4: Gently pour the dry ingredients into your wet ingredients. Using a rubber spatula or wooden spoon, fold them together just until the flour is incorporated. Remember the pro tip: do not overmix!
Step 5: Now for the best part. Dump in your chocolate chips or chunks. Stir them in until they’re evenly scattered throughout the dough.
Step 6: Cover the bowl with plastic wrap and put it in the refrigerator. Let it chill for at least one hour. If you have the patience, leaving it overnight is even better.
Step 7: When you’re ready to bake, preheat your oven to 375°F (190°C). Line your baking sheets with parchment paper. No greasing needed.
Step 8: Scoop out balls of dough, about 2 tablespoons each, and place them a few inches apart on the prepared baking sheets. This is where you’ll sprinkle a tiny bit of flaky sea salt on top of each one. It sounds fancy, but it just makes everything taste better.
Step 9: Bake for 10-12 minutes. The edges should be set and golden, but the centers will still look a little soft. That’s what you want!
Step 10: Let the cookies cool on the baking sheet for 5-10 minutes. This is a crucial step! It lets them set up properly. After that, you can move them to a wire rack to cool completely. Or, you know, eat one while it’s still warm and gooey.
Possible Substitutions and Variations
Want to mix things up? I get it. Here are a few ideas that work well.
| Ingredient | Substitution | What to Expect |
|---|---|---|
| Chocolate Chips | White chocolate, butterscotch chips, or chopped nuts | A different flavor profile. Just as delicious. |
| All-Purpose Flour | 1-to-1 gluten-free baking flour blend | A slightly different texture, but still amazing. |
| Dark Brown Sugar | Light brown sugar | A less intense molasses flavor and slightly less chewy. |
Nutrition, Swaps, and Other Good Stuff
Here’s a quick look at the details if you’re into that sort of thing.
Nutritional Breakdown (An Estimate!)
This is a rough estimate per cookie, assuming you make about 24 cookies from the batch. Your numbers might be different depending on your specific ingredients and cookie size.
| Nutrient | Amount per Cookie |
|---|---|
| Calories | ~210 kcal |
| Fat | ~11g |
| Carbohydrates | ~26g |
| Protein | ~2g |
Meal Pairing Suggestions
Okay, “meal pairing” is a strong term for a cookie. The obvious answer is a tall, cold glass of milk. Coffee is also a fantastic choice. Honestly, the best pairing for one of these cookies is a second one.
Make-Ahead Tips
The dough is actually better when made ahead. You can make the dough, cover it tightly, and keep it in the fridge for up to 3 days.
You can also scoop the dough into balls, place them on a baking sheet, and freeze them until solid. Then, transfer the frozen dough balls to a freezer bag. You can bake them straight from the freezer whenever a cookie craving hits. Just add 2-3 extra minutes to the baking time.
Tips for Leftovers and Storage
If you somehow have leftovers, which is a big “if,” here’s how to keep them fresh.
Store the cooled cookies in an airtight container at room temperature for up to 5 days. For a little trick to keep them extra soft, toss a slice of plain sandwich bread into the container with them. The cookies will absorb moisture from the bread.
Frequently Asked Questions (FAQ)
Q1. Why did my cookies spread out and get super flat?
Ans: This is a classic cookie problem. It usually means your butter was too warm when you mixed it, or you didn’t chill the dough long enough. Both of these things cause the butter to melt way too fast in the oven. Next time, make sure your butter has cooled a bit and give the dough its full chill time.
Q2. Can I use a stand mixer?
Ans: Absolutely. It makes things a little easier. Just use the paddle attachment and be extra careful not to overmix when you add the flour. Keep it on low speed and stop as soon as the flour disappears.
Q3. My cookies came out hard instead of chewy. What went wrong?
Ans: This is usually from one of two things: you overmixed the dough after adding the flour, or you overbaked the cookies. Remember to mix the flour just until combined, and pull the cookies out of the oven when the centers still look a tiny bit soft.
Wrapping Up
So, there it is. The end of the road in your search for the perfect, chewy, gooey, irresistible chocolate chip cookie. This recipe isn’t just about mixing ingredients; it’s about creating a little bit of happiness.
It’s about that incredible smell filling your kitchen and the moment you take that first warm bite. You deserve that.
Go ahead and give it a try. When you do, I’d love it if you came back and left a comment. Let me know how they turned out, if you made any fun changes, or if you have any questions. I’m here for it.