
Ok, let’s have a real talk for a second. Do you ever just get tired of trying? Tired of complicated recipes with a million ingredients that you have to hunt down in three different stores?
Yeah, me too.
Sometimes you just want something simple. Something that reminds you of being a kid on a hot summer day, without a care in the world except for how fast you could eat a popsicle before it melted all over your hands.
These Jello popsicles are exactly that. They are almost embarrassingly easy to make. In fact, calling this a “recipe” feels like a bit of a stretch. It’s more like a “thing you do.”
But it’s a thing that results in pure, wobbly, colorful joy. So let’s get to it.
What You’ll Need
Honestly, the ingredients list is so short it’s almost funny. This is all it takes to get started.
- 1 box (3 ounces) of your favorite Jello flavor
- 1 cup of boiling water
- 1 cup of cold water
That’s it. I told you it was simple. You can grab any flavor you want. Cherry, lime, blue raspberry… go wild.
Tools Required For The Job
You don’t need any fancy kitchen gadgets here. Just the basics.
- A popsicle mold (any kind will do)
- A mixing bowl or a 4-cup measuring cup with a spout
- A whisk
- Popsicle sticks (if your mold doesn’t have them built-in)
Pro Tips From My Kitchen
I’ve made these more times than I can count, and I’ve picked up a few tricks along the way. These little things make a big difference.
1. Cool It Down First.
After you mix the hot Jello, let it cool on the counter for about 20-30 minutes before you pour it into the molds. Pouring boiling hot liquid into some plastic molds can make them warp. Plus, it helps the popsicles freeze more evenly.
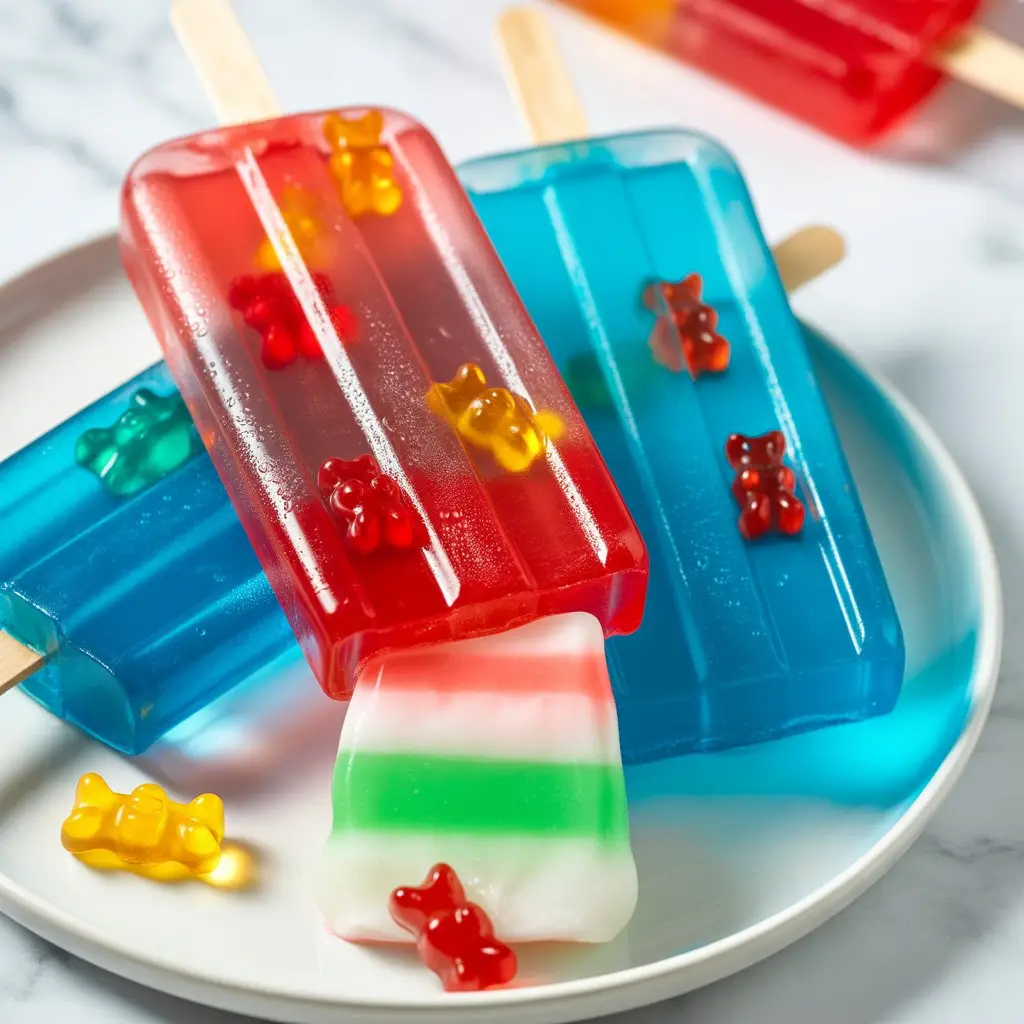
2. The Gummy Surprise.
This is my favorite part. Before you pour the liquid Jello, drop a few gummy bears or other small gummy candies into the bottom of each popsicle mold. It’s like a little treasure hunt when you eat them. Kids go absolutely nuts for this.
3. Tap Out The Bubbles.
Once you fill the molds, gently tap the whole tray on your kitchen counter a few times. You’ll see little air bubbles rise to the top. This helps you get a super smooth, clear-looking popsicle instead of one with weird air pockets.
4. Layering For The Overachievers.
If you want to get fancy, you can make rainbow popsicles. Just make one color of Jello, fill the molds about a third of the way, and let it freeze for 1-2 hours until it’s slushy but not solid. Then, carefully pour the next color on top. Repeat. It takes patience, but it looks amazing.
Substitutions and Fun Variations
The best part about a simple recipe is that it’s super easy to change it up. Here are a few ideas to get you started.
| Variation | How to Do It | Why It’s Great |
|---|---|---|
| Creamy Popsicles | Replace the cold water with yogurt or coconut milk. | Creates a creamy, less icy texture. Like a creamsicle! |
| Fruity Boost | Use fruit juice (like white grape or apple) instead of cold water. | Adds extra flavor and a bit of natural sweetness. |
| Add Real Fruit | Drop in small pieces of fruit like berries or diced peaches. | Adds texture and makes them feel a little healthier. |
Make-Ahead Tips
This whole recipe is basically a make-ahead plan. You have to make them ahead of time for them to freeze!
You can make a big batch on a Sunday and have them ready for the entire week. They’ll wait patiently in the freezer for whenever you need a quick, sweet treat.
How To Make Jello Popsicles: Step-By-Step
Alright, let’s do this. It’s going to be quick.
Step 1: Get your water boiling. You can use a kettle or just a pot on the stove. You’ll need one cup.
Step 2: Pour the Jello powder into your mixing bowl. Once the water is at a rolling boil, carefully pour it over the powder.
Step 3: Whisk it all together for about two minutes. You want to make sure every single crystal of Jello is dissolved. If it’s grainy, your popsicles will have a weird texture.
Step 4: Now, pour in the one cup of cold water. Give it another good whisk to combine everything.
Step 5: Let the mixture cool down a bit on the counter. As I said in the pro tips, this is an important little step.
Step 6: Carefully pour the cooled liquid into your popsicle molds. Leave a tiny bit of space at the top, as the liquid will expand a little when it freezes.
Step 7: Put the lids and sticks on your mold and place it in the freezer. Make sure it’s on a flat, level surface so you don’t have a wobbly disaster.
Step 8: Freeze for at least 4-6 hours, or until they are completely solid. I usually just leave them overnight to be safe.
Nutrition, Diets, and Pairings
These are a treat, not a health food. But, you can make some simple swaps depending on your dietary needs.
Nutritional Snapshot
This is just an estimate, but it gives you a general idea. This can change based on your mold size and any additions.
| Jello Type (per popsicle) | Approx. Calories | Approx. Sugar |
|---|---|---|
| Regular Jello | 20-30 | 4-6g |
| Sugar-Free Jello | ~5 | 0g |
Ingredient Swaps for Diets
- Keto / Low-Carb: This is an easy one. Just use a box of Sugar-Free Jello. The popsicles will have almost no carbs or calories.
- Vegan: Standard Jello contains gelatin, which comes from animals. To make these vegan, you’ll need to use a plant-based jelling agent like Agar-Agar powder. The process is a bit different, so follow the package instructions on the Agar-Agar.
Meal Pairing and Efficiency
- Pairing: These are the perfect dessert after a summer BBQ. Think grilled burgers, hot dogs, and corn on the cob. They’re light and refreshing.
- Efficiency: Double or triple the recipe. It takes the same amount of effort to make 12 popsicles as it does to make 6. Just use multiple flavors and have a variety pack waiting in your freezer.
Tips for Leftovers and Storage
Once your popsicles are fully frozen, you’ll want to get them out of the mold for easier storage.
To release them, run the outside of the popsicle mold under warm (not hot!) water for about 10-15 seconds. Wiggle the stick gently and they should slide right out.
Don’t just toss them all in a bag, or you’ll end up with one giant, frozen popsicle monster. Instead, wrap each individual popsicle in plastic wrap or put them in small sandwich bags. Then you can store them all together in a larger freezer-safe bag or container. They’ll last for a couple of months in the freezer.
Frequently Asked Questions (FAQ)
Here are some questions people often ask.
Q1. My popsicles are icy instead of jiggly. What did I do wrong?
Ans: This usually happens for one of two reasons. Either the Jello powder wasn’t fully dissolved in the hot water, or the water ratio was off. Make sure you whisk like you mean it!
Q2. Can I use less water to make the flavor stronger?
Ans: I wouldn’t recommend it. The ratio of powder to water is what allows the gelatin to set properly. If you use less water, you might end up with a texture that’s more like rubbery Jello than a popsicle.
Q3. How long do they actually take to freeze?
Ans: It really depends on your freezer’s temperature and the size of your molds. I’d give them a minimum of 4 hours, but overnight is your safest bet to make sure they’re frozen solid all the way through.
Q4. Can I mix flavors?
Ans: Absolutely! You could mix lemon and lime Jello powder in the same bowl, or even do the layering trick I mentioned earlier with different colors. It’s a fun way to experiment.
Wrapping Up
So there you have it. A recipe so simple, it’s practically foolproof.
It’s a little bit of nostalgia in a frozen treat. It’s a way to make something fun without any stress or a long list of instructions.
Go ahead and make a batch. Pick your favorite color, throw in some gummy bears, and enjoy something purely for the fun of it. Let me know in the comments what flavor combination you came up with!