
I have a theory that certain desserts were created just to make us look like baking geniuses with minimal effort. Carmelitas are exhibit A.
I once brought a pan of these to a family get-together. My aunt, who is basically a queen of the potluck scene, took one bite and just stared at me. For a second, I thought I’d messed them up.
Then she said, “Where did you buy these?” That, my friends, is the highest compliment a home baker can receive. It was both awkward and absolutely amazing.
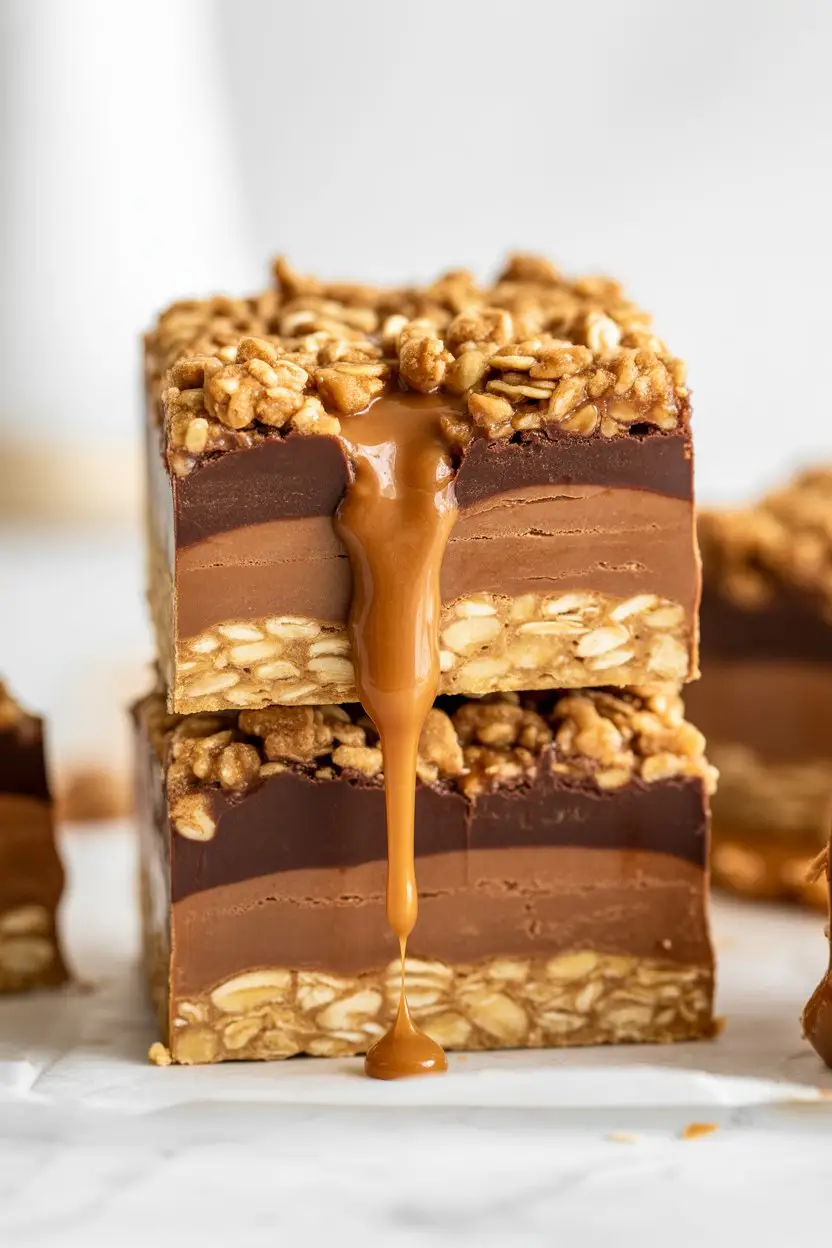
These bars are the perfect storm of gooey caramel, rich chocolate, and a buttery oat crust. They’re decadent, they’re messy in the best way possible, and they’re surprisingly hard to mess up.
So, let’s get you to that “Where did you buy these?” moment. It’s easier than you think.
What You’ll Need
Here’s the simple list of ingredients that create this magic. No weird, hard-to-find stuff, I promise.
- All-purpose flour
- Old-fashioned rolled oats (not the quick-cooking kind!)
- Light brown sugar, packed
- Baking soda
- A pinch of salt
- Unsalted butter, melted
- Semi-sweet chocolate chips
- A bag of soft caramel candies (like Kraft caramels)
- Heavy cream
Required Tools
You don’t need a professional kitchen for this. Just a few basics.
- 8×8 inch baking pan
- Parchment paper
- A couple of mixing bowls (one medium, one small)
- A saucepan
- Spatula or wooden spoon
- Measuring cups and spoons
Pro Tips
I’ve made my share of mistakes so you don’t have to. Pay attention to these little details; they make a HUGE difference.
- Don’t Skip the Parchment Paper. Seriously. Caramel is basically edible glue. Leaving parchment paper “slings” that hang over the sides of the pan is the secret to getting these bars out in one piece without a chisel.
- Melt the Caramels SLOOOWLY. If you blast the caramels with high heat, they can get grainy or scorch. A low, gentle heat with constant stirring is your best friend here. Patience now prevents sadness later.
- Let Them Chill Completely. This is the hardest part. The temptation to slice into them while they’re warm and gooey is real. But if you do, you’ll have a delicious puddle. Let them set up in the fridge for at least 2 hours so the caramel firms up for clean, perfect squares.
- Press That Crust Firmly. When you put the first layer of oat mixture into the pan, press it down firmly and evenly. This creates a solid foundation so the bottom doesn’t crumble away into dust when you cut it.
How to Make The Best Carmelitas
Alright, let’s do this. Follow these steps and you can’t go wrong.
Step 1: First, preheat your oven to 350°F (175°C). Line your 8×8 inch pan with parchment paper, letting the extra hang over the sides. This is your lifting handle later.
Step 2: In a medium bowl, mix together the flour, oats, brown sugar, baking soda, and salt. Just give it a good whisk to combine everything evenly.
Step 3: Pour the melted butter into the dry ingredients. Mix it all up until it forms a crumbly, sandy texture. Kinda like wet sand at the beach.
Step 4: Take about half of this oat mixture and press it firmly into the bottom of your prepared pan. Make sure it’s an even layer. This is your base.
Step 5: Bake this crust for 10 minutes. This little pre-bake step keeps the bottom from getting soggy.
Step 6: While the crust is baking, unwrap all those caramels. I know, it’s tedious, but it’s worth it. Put them in a small saucepan with the heavy cream.
Step 7: Melt the caramels and cream over low heat, stirring constantly until it’s smooth and glorious. Remove it from the heat as soon as it’s melted.
Step 8: Once the crust is out of the oven, sprinkle the chocolate chips evenly over the hot base. They’ll get a little melty, which is perfect.
Step 9: Now, pour that beautiful, melted caramel sauce evenly over the chocolate chips.
Step 10: Take the remaining oat mixture and crumble it over the top of the caramel. Don’t press it down this time; just let it be a rustic, crumbly topping.
Step 11: Bake for another 15-20 minutes, or until the top is golden brown and the caramel is bubbling around the edges.
Step 12: This is crucial! Let the pan cool on a wire rack completely. Then, cover it and transfer it to the refrigerator for at least 2 hours to set. Then, and only then, use your parchment paper handles to lift them out and slice them into squares.
Substitutions and Variations
Want to mix things up? I get it. Here are a few ideas that work really well.
| For a Twist | Try This Swap |
|---|---|
| Nutty Flavor | Add 1/2 cup chopped pecans or walnuts to the topping. |
| Different Chocolate | Use dark chocolate, milk chocolate, or even butterscotch chips. |
| Salty Caramel Vibe | Sprinkle a little flaky sea salt over the top before baking. |
| Extra Richness | Use a jar of dulce de leche instead of melted caramels. |
Make-Ahead Tips
These are actually a fantastic make-ahead dessert because they need time to set anyway.
You can bake them a full day in advance. Just let them cool completely, then cover the pan tightly with plastic wrap or foil and store them in the fridge. They’ll be perfect and ready to slice when you need them.
Dietary Swaps & Nutrition
If you’re trying to fit these into a specific diet, here are a few pointers. Keep in mind that changing ingredients will change the texture and taste, but they’ll still be delicious!
| Dietary Need | Suggested Swap |
|---|---|
| Gluten-Free | Use a 1-to-1 gluten-free flour blend and certified GF oats. |
| Vegan | Use vegan butter, coconut cream, and dairy-free chocolate chips. You’ll need to find or make a vegan caramel sauce. |
Nutritional Info (Approximate): This is a dessert, so let’s be real, it’s a treat. Each bar (if cut into 16 squares) will be around 250-300 calories, loaded with happy carbs and fats. It’s soul food, not health food.
Meal Pairing: These are intensely rich, so they’re amazing with a simple cup of black coffee or tea to cut the sweetness. A small scoop of vanilla bean ice cream on the side? Absolutely heavenly.
Tips for Leftovers and Storage
If you somehow have leftovers, first of all, I’m impressed by your self-control.
Store them in an airtight container in the refrigerator for up to a week. I actually think they taste even better on day two after the flavors have had more time to meld together.
You can eat them cold right from the fridge, or let them sit at room temperature for about 15-20 minutes to soften up a bit. Don’t microwave them unless you want a caramel explosion.
Frequently Asked Questions (FAQ)
Q1. Why did my caramel layer get hard as a rock?
Ans: This usually happens if the caramel was overheated or cooked for too long. Low and slow is the key. As soon as the caramels are melted and smooth, take the pan off the heat immediately.
Q2. My bottom crust is too crumbly. What went wrong?
Ans: You probably didn’t press it down firmly enough before the first bake. You really want to pack it in there to create a solid, stable base. Also, make sure you used enough melted butter to bind it all together.
Q3. Can I double the recipe and use a 9×13 inch pan?
Ans: Yes, absolutely! This recipe doubles perfectly. Just use a 9×13 inch pan and you might need to add a few extra minutes to the baking time. Keep an eye on it.
Q4. Can I use quick-cooking oats?
Ans: I really don’t recommend it. Old-fashioned rolled oats give the crust a chewy, substantial texture. Quick oats are thinner and can make the crust more pasty and less defined.
Wrapping Up
So there you have it. The secret to a dessert that’s ridiculously impressive but secretly simple.
The combination of that buttery, chewy oat crust with the layers of melted chocolate and gooey caramel is just unbeatable. It’s a texture and flavor explosion.
Now it’s your turn to go become the legend of your next potluck or party. Give this recipe a shot!
When you do, come back and leave a comment. Tell me how it went! Did you make any fun variations? I genuinely want to know.