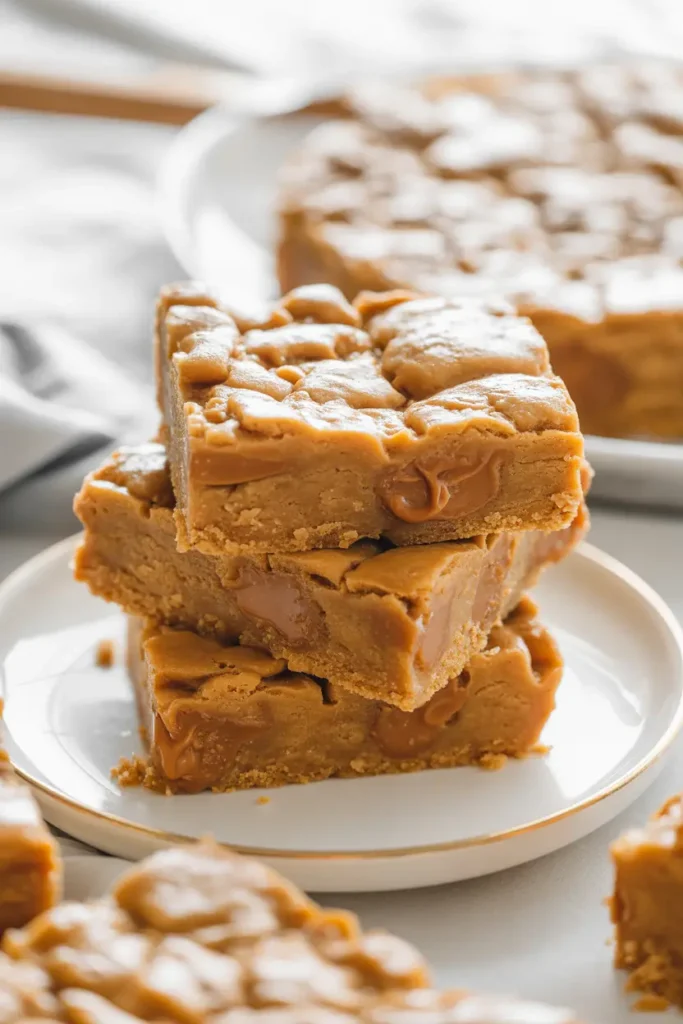
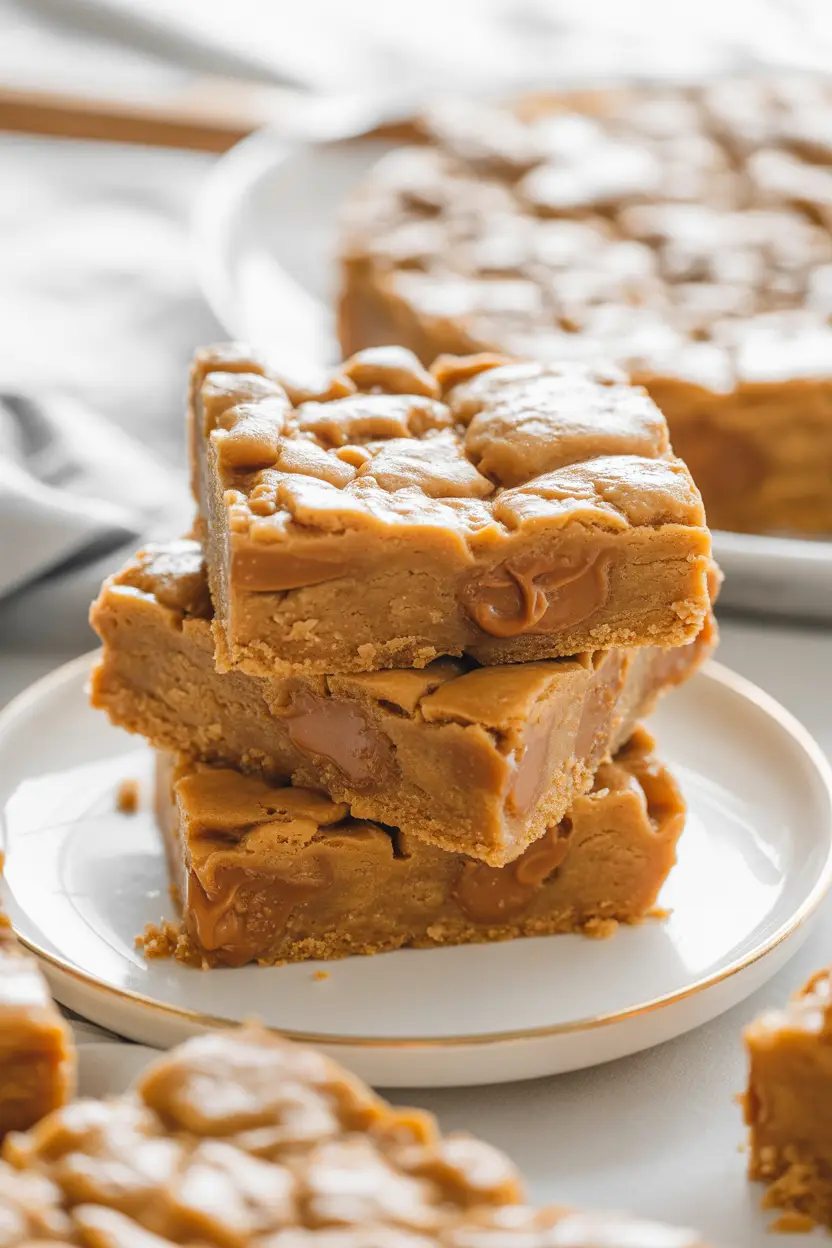
Ok, so imagine this.
You’re standing in your kitchen with that unmistakable craving—the one that doesn’t ask politely. It yells. For something buttery. Something brown-sugary. Something gooey, chewy, golden, rich, and just the right amount of sweet to make you forget your responsibilities for a second.
That’s when you make these.
Butterscotch bars that are so good, you’ll start side-eyeing your own portion because, frankly, one square might not be enough. And hey, no judgment here.
Also, you don’t need to be a master chef to make these. No complicated ingredients. No drama. Just a mixing bowl, a few simple things you probably already have in your kitchen, and a little oven time.
These are the bars you whip up when you’re short on time, short on energy, but still want something that makes people go, wait… you made this?
Let’s do this.
What You’ll Need
Not a long list. Not a weird list. Just the stuff that makes magic happen.
Ingredients:
- ½ cup salted butter (softened is best)
- ½ cup granulated sugar
- ½ cup light brown sugar (packed and ready)
- 1 large egg
- 1 tsp vanilla extract
- 1¼ cups all-purpose flour
- ½ tsp baking powder
- ½ cup butterscotch chips (and a few extra for sprinkling on top if you’re feeling fancy)
That’s it. Seriously.
These aren’t the kind of bars where you have to Google what psyllium husk is or go on a hunt for obscure baking powders from a special aisle in Whole Foods.
These are for real life.
Real Talk Before You Bake (A Few Things to Know)
Alright, if this is your first time making butterscotch anything—or even just baking from scratch—here are a few things that’ll make your life easier.
Softened Butter = Your Best Friend Cold butter straight from the fridge won’t cream well with sugar. You’ll end up with clumps. Let it sit out for about 30 minutes before you start.
Do Not Overmix Once the Flour Goes In You know how some cookies and bars turn out tough or rubbery? That’s overmixing. Once the flour hits the wet ingredients, mix just until it’s all combined. Nothing more.
Reserve a Few Butterscotch Chips for the Top Why? Because it makes them look nice. Like, bakery nice. You get melty chips inside, and that golden sparkle on top.
Use Parchment Paper If You Can This isn’t just for easy cleanup. It helps you lift the bars out neatly once they’ve cooled. Clean cuts. No sticking. No mess. Just good decisions.
Let Them Cool. For Real. I get it. They smell amazing. But cutting them too early means you’ll get crumbly messes instead of neat bars. Let them sit. Walk away. Come back when they’re room temp.
Tools You’ll Need (or Probably Already Have)
- Mixing bowl
- Hand or stand mixer (or a spoon and some wrist action)
- 8×8 or 9×9 inch baking pan
- Parchment paper or non-stick spray
- Spatula
- Toothpick (yes, we’re using the classic doneness test)
Substitutions and Variations That Actually Work
Let’s say you’re missing something or want to switch things up a bit. You’ve got options.
No Salted Butter? Use unsalted and toss in a pinch of salt. Same flavor profile, slightly more control.
Want Deeper Flavor? Try dark brown sugar instead of light. You’ll get more of that rich molasses note, which pairs ridiculously well with the butterscotch.
Going for Gluten-Free? Use a 1:1 gluten-free baking flour blend. Lots of people do this and report success. Just make sure your mix includes xanthan gum or the bars might crumble.
Add-Ins Chopped pecans, mini chocolate chips, shredded coconut, or even a swirl of peanut butter can all be folded in. Just don’t go overboard. Too much stuff can make the texture weird.
Can I Make These Ahead?
Absolutely. These are actually better the next day. Once cooled, you can:
- Store them in an airtight container at room temp for 3–4 days.
- Freeze them (already sliced) for up to 3 months. Just wrap them in plastic wrap and throw them in a zip-top freezer bag.
Pro tip: they taste amazing slightly chilled too.
How to Make the Best Butterscotch Bars of Your Life
Let’s break it down. It’s simple, but you want to follow these steps for the best result.
- Preheat your oven to 350°F (175°C). Line your pan with parchment paper or grease it well. Either one works.
- Cream the butter and sugars together. Use a mixer or a wooden spoon. Mix until it looks fluffy and light. This sets the tone for the whole texture of the bar.
- Add the egg and vanilla. Mix until smooth. No streaks.
- Mix the flour and baking powder in a separate bowl. Combine the dry stuff first so you don’t get weird clumps of baking powder in one corner of your pan.
- Add dry to wet. Slowly mix the dry ingredients into your butter mixture. Again—just until combined. Don’t overdo it.
- Fold in the butterscotch chips. Gently stir them in. Save a few for the top if you want that golden, gooey finish.
- Spread the batter into your prepared pan. Use a spatula to smooth the top evenly.
- Bake for 25–30 minutes. Start checking at 25. A toothpick inserted in the center should come out with a few moist crumbs. Not wet batter. Not bone dry. Just a little sticky.
- Cool completely before cutting. I know. It’s hard. But it’s worth it.

Bonus Tips, Because Why Not?
Trying to be Efficient in the Kitchen? Make these while dinner’s cooking. They don’t require constant attention. And they bake in under half an hour.
Need a Quick Dessert for a Potluck or Party? Double the recipe and bake it in a 9×13 pan. Bake time will be closer to 35–40 minutes. Just don’t forget to line the pan.
Serving Suggestion Warm one up for a few seconds in the microwave and top with vanilla ice cream. That combo? Unreal.
Watching Your Sugar or Calories? This might not be the recipe for that. But if you’re curious, each bar (if you slice into 16 squares) comes out to around 180–200 calories, give or take, with a good dose of carbs and butter love. No regrets.
How to Store the Leftovers (If You Have Any)
Here’s the thing. You probably won’t have many.
But if you do…
- Keep them in an airtight container at room temperature for 3–4 days.
- Want to stretch it longer? Store in the fridge for up to a week.
- Freeze them in individual portions. Great for those late-night cravings where you just want one square and not a whole new batch.
To reheat: 10 seconds in the microwave. Done.
Reader Q&A
Can I turn these into cookies instead of bars? Not really. This batter is thick and meant for bars. It would spread weirdly on a baking sheet. Stick to the pan.
Do I need to refrigerate the dough? Nope. Straight into the pan and into the oven. You’re welcome.
Can I use white chocolate instead of butterscotch? You can, but it’s not the same. Butterscotch has that warm, deep flavor that makes these bars special. White chocolate would turn this into a different recipe.
How long do they actually stay fresh? They’re best in the first 2–3 days at room temp, but will keep for up to a week in the fridge. Just make sure they’re sealed up tight so they don’t dry out.
Wrap Up
So here’s the deal.
These butterscotch bars? They’re not trying to be trendy. They’re not chasing likes on Instagram. They’re not keto or protein-packed or made from mystery powders.
They’re just good.
Like, really good.
They’re the kind of recipe you make once, then keep coming back to anytime you want something that feels cozy, rich, and like it came from someone’s grandmother who knew what she was doing.
If you try them, let me know how it goes. Drop a comment, share your tweaks, or just come back and brag that you made them and everyone asked for the recipe.
You’ve got this. Now go make something golden.


Leave a Reply