
Alright, so if you’ve ever looked at a crème brûlée and thought “fancy,” but also looked at a cheesecake and thought “YES,” then friend… we are about to enter some dangerous territory. Dangerous in a good way. Dangerous like “I just ate three slices and I’m not even sorry” kind of dangerous.
Because this dessert? Oh boy.
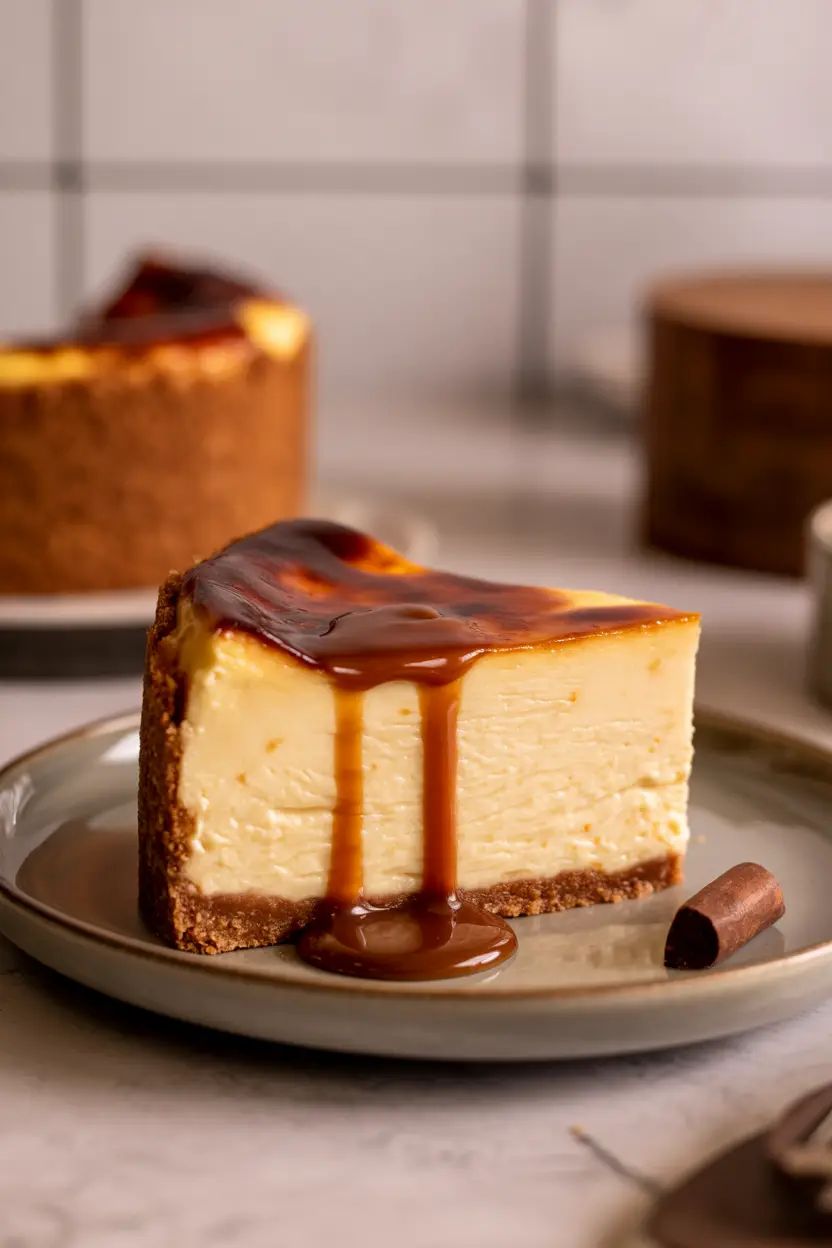
It’s got a buttery graham cracker crust, a thick, creamy layer of salted caramel cheesecake, and on top of that, you get to whip out a kitchen torch and brûlée some sugar like a total pro. We’re talking crispy sugar shell, soft luxurious center, sweet caramel swirl magic, and that slow-motion moment where you tap your spoon on top and it cracks like glass.
Yeah. This is that kind of dessert.
And before you say, “But I don’t know if I can pull this off,” trust me when I say you can. If you can follow instructions and handle the idea of waiting for something to chill, you’re good. So grab your mixing bowl and your confidence. We’re doing this.
What You’ll Need
No weird or fussy ingredients here. Just solid basics with a couple of superstar add-ins to make this dessert shine.
For the Salted Caramel
- 1 cup granulated sugar
- 6 tablespoons salted butter, cubed
- 1/2 cup heavy cream
- Pinch of flaky sea salt
For the Crust
- 3 cups graham cracker crumbs (about 2 sleeves)
- 1/2 cup melted salted butter
For the Cheesecake Filling
- 32 ounces cream cheese (full fat, please), softened
- 1 1/2 cups granulated sugar
- 4 large eggs
- 2/3 cup sour cream (also full fat)
- 2 teaspoons vanilla extract
- 3/4 cup of that glorious caramel you just made
- 1/8 teaspoon salt
For the Brûlée Topping
- 1/3 cup granulated sugar (just plain ol’ sugar here)
Optional (but fun) Garnishes
- Homemade whipped cream
- Fresh berries
- Extra drizzle of caramel if you’re feeling extra
Tools You’ll Want Handy
- 9-inch springform pan
- Electric mixer (stand or hand works)
- Mixing bowls
- Small saucepan
- Measuring cups + spoons
- Spatula
- Baking sheet
- Aluminum foil
- Roasting pan or deep dish for water bath
- Kitchen torch (you’ll feel fancy, trust me)
Let’s Talk About the Layers
There’s a rhythm to this recipe. You make caramel. You build your crust. You mix up the filling. Then you bake it low and slow like it’s lounging at a spa. After a nice, cold nap in the fridge, it gets dressed up with brûléed sugar and maybe a little whipped cream on the side.
It sounds like a lot, but you’ll be surprised how easily it comes together if you follow the steps. And I’ve got some helpful tricks to make it even easier…
Pro Tips (AKA Stuff I Wish I Knew the First Time)
1. Don’t panic while making caramel. Sugar has a way of looking like it’s doing nothing and then suddenly turning into lava. Just give it space. Stir only when necessary and keep an eye on it. It’ll go from clear to golden to amber—and that’s your cue to add butter.
2. Room temp cream cheese is not optional. If it’s even a little bit cold, you’ll end up with lumpy batter, and no one wants a bumpy cheesecake. Let it sit out until you poke it and it gives a little.
3. Don’t skip the water bath. This isn’t the time to be a rebel. A water bath keeps your cheesecake creamy, helps it cook evenly, and prevents cracks. Just wrap your springform pan in foil like a little aluminum diaper and you’re good to go.
4. Chill like you mean it. Cheesecake needs to set. That means at least 4 hours in the fridge, but ideally overnight. The flavor gets better and the texture? Absolute perfection.
5. Use the torch with confidence. Once that sugar topping goes on, hit it with the flame until it bubbles and browns. It might feel like you’re doing something dramatic (you are), but that crisp sugar shell is totally worth it.
Substitutions & Variations (Because Sometimes You Gotta Improvise)
- Graham cracker crust not your jam? You can totally use vanilla wafers, digestive biscuits, or even crushed pretzels if you want a salty-sweet twist.
- Dairy-free? Swap in plant-based cream cheese and sour cream, and use coconut cream in place of heavy cream. The flavor will be slightly different but still delicious.
- No torch? Slide the cheesecake under the broiler for a couple minutes. Keep a VERY close eye on it. Like hawk-level close. Sugar goes from perfect to burnt real quick.
Can You Make This Ahead?
Oh yes. In fact, this is one of those desserts that’s better when it’s made ahead.
- Make the caramel up to a week in advance. Store it in the fridge and warm it slightly before using.
- Bake the cheesecake the day before you want to serve it. Chill it overnight, then brûlée the top right before serving so you get that crisp sugar magic.
Step-by-Step Instructions
Step 1: Make the Salted Caramel
In a saucepan over medium heat, let the sugar melt down into a golden liquid. Swirl the pan gently (no hardcore stirring needed). Once it’s amber, add the butter—it’ll bubble up like it’s offended, but it’s fine. Stir until melted, then pour in the cream slowly and whisk like your life depends on it. Finish with a pinch of sea salt and set it aside to cool.
Step 2: Make the Crust
Preheat the oven to 325°F. Mix the graham crumbs and melted butter until they feel like damp sand. Press it into the bottom of your springform pan, going up the sides just a bit. Bake for 10 minutes. Let it cool while you make the filling.
Step 3: Mix the Cheesecake Filling
Beat the cream cheese until smooth. Add sugar and beat again. Then add the eggs, one at a time. Scrape the sides of the bowl. Add sour cream, vanilla, salt, and 3/4 cup of your caramel sauce. Mix until silky.
Step 4: Set Up for a Water Bath
Wrap the outside of the springform pan in foil (we’re talking several layers here), place it in a roasting pan, and pour in hot water so it comes about halfway up the sides.
Step 5: Bake the Cheesecake
Pour the batter into the crust and bake for 1 hour 15 minutes. The center should jiggle slightly like it’s saying “I’m not quite done.” Turn off the oven, crack the door, and let it sit for another hour. Then chill for at least 4 hours or overnight.
Step 6: Brûlée Time
Once the cheesecake is chilled and ready to go, sprinkle sugar over the top. Use your kitchen torch to melt and caramelize it until it’s golden and crisp. Don’t be shy with it—this is the fun part.

Bonus Details: For the Extra Curious
- Want to cut calories? Try Neufchâtel cheese instead of regular cream cheese. It’s a little lighter but still creamy.
- Pairing idea: This goes great with a black coffee or something dry and bubbly like prosecco.
- Don’t skip salt in the caramel. It’s not just for flavor balance—it makes the whole thing sing.
Leftovers & Storage
- Store in the fridge, tightly covered, for up to 5 days. The brûlée top may lose some crunch, but it’ll still be delicious.
- You can freeze the cheesecake (before adding the brûlée top) for up to 2 months. Thaw in the fridge overnight, then brûlée when you’re ready to serve.
Frequently Asked Questions
Can I use store-bought caramel? Sure. Homemade is richer, but store-bought will still taste amazing.
What if I don’t own a springform pan? Honestly, it’s worth getting one for cheesecake. But in a pinch, use a deep dish pie plate and adjust baking time. Just know it won’t lift out cleanly like a classic cheesecake.
Can I make this gluten-free? Yup. Just grab some gluten-free graham crackers and follow the same crust steps.
How do I avoid cracks in my cheesecake? Water bath, room temp ingredients, don’t overmix, and no sudden changes in temp. Basically, treat it like a fragile diva and it’ll behave.
Wrap Up
You’re now armed with everything you need to make what might be the most magical dessert to ever come out of your kitchen. This Salted Caramel Crème Brûlée Cheesecake is rich, creamy, crispy, salty-sweet perfection, and it’s about to blow some minds—including your own.
So if you try it, tell me how it went. Did you eat it all yourself? Did your guests swoon? Did your dog stare at it longingly while you torched the top? I want to hear it all. Leave a comment, ask a question, or just say hi.
Now go forth and brûlée like a boss.