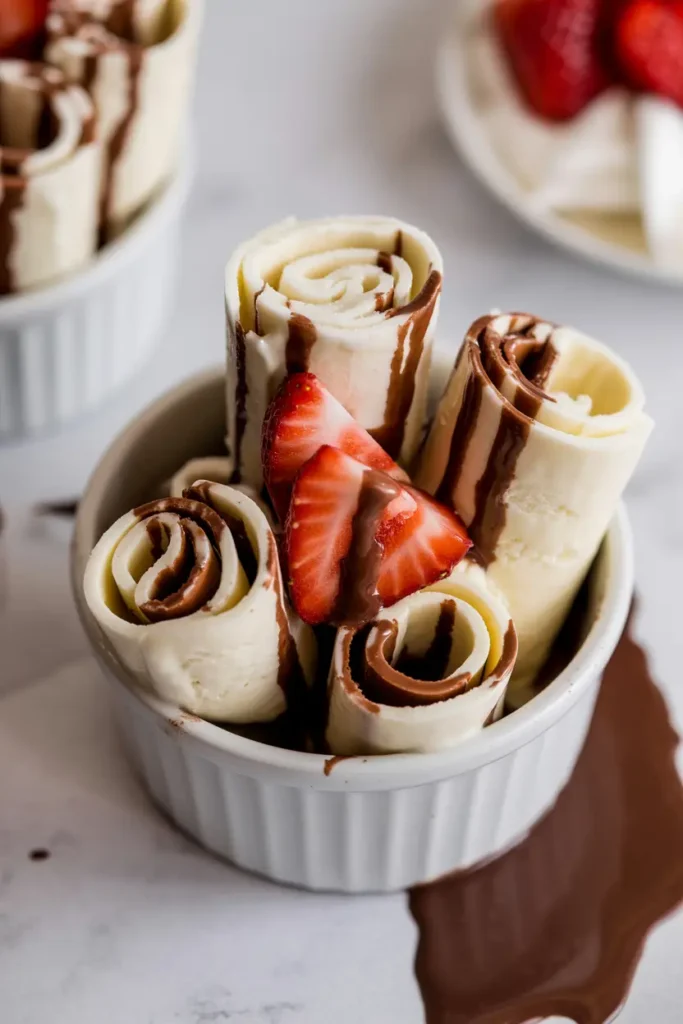
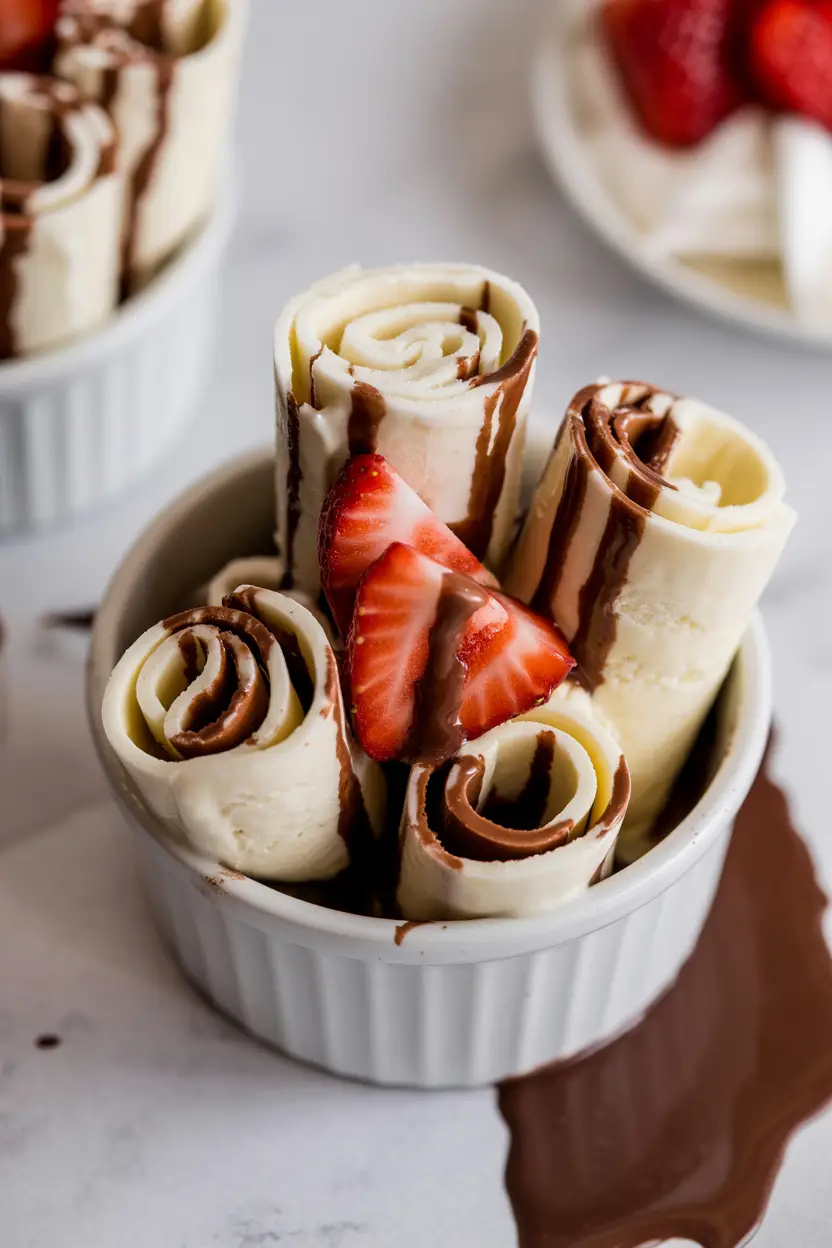
Have you ever watched one of those satisfying videos of rolled ice cream being made? You know the ones where they pour a creamy mix onto a cold slab, swirl it around like magic, and then—voilà—perfect little curls of ice cream, standing tall in a cup?
Yeah, me too.
And if you’ve ever wondered whether you could actually do that yourself, at home, without fancy equipment or going to a trendy dessert shop, I’m here to tell you: you absolutely can.
Not only is this version doable in your kitchen, but it’s also made with just two ingredients. Two. That’s it. And the best part? You can customize it with whatever flavors or mix-ins you want. Think strawberries, cookies, peanut butter, Nutella—go wild. Or don’t. It’s your ice cream, friend.
But first, let’s get something clear: this isn’t just a cute Pinterest project. This is fun, yes. But it’s also delicious. Creamy. Cold. Rich. And weirdly satisfying to make. You’ll finish it thinking, “Why haven’t I been doing this my whole life?”
If you’ve got a freezer, a baking tray, and a dream… let’s roll.
What You’ll Need
This is a choose-your-own-adventure kind of recipe. The base is the same, but your mix-ins are up to you.
Ingredients:
- 1 cup (240 ml) heavy whipping cream
- ½ cup (150 g) sweetened condensed milk
Optional Add-ins:
- Fresh strawberries (chopped)
- Crushed Oreos
- Nutella or peanut butter
- Biscoff cookies
- Cocoa powder
- Mango puree
- Graham cracker crumbs and cream cheese (if you’re into cheesecake vibes)
If it’s safe to eat and you’d enjoy it frozen in cream, it probably belongs here.
Tools You’ll Need
Let’s not overcomplicate this. You don’t need a commercial freezer or a street vendor cart. But a few key things will help:
- Large metal baking tray (a rimmed cookie sheet works great)
- Offset spatula or paint scraper (anything thin and flat to roll with)
- A tea towel (helps stabilize your tray)
- A big spoon or spatula for spreading
- Freezer space to fit the tray (check before starting!)
- Bowls or ramekins for serving
- Parchment paper (optional for easier lifting)
Before You Start: A Few Quick Things
This is one of those recipes where setup matters. You’ll be tempted to dive right in—and I get it—but don’t skip this part.
The tray you’re using? Freeze it. For at least 1 hour. The colder it is, the better your ice cream will freeze and roll. Warm tray? You’ll end up with soft mush that doesn’t curl and just makes you mad. Trust me.
If your kitchen is warm, freeze the spatula too. Anything that touches the ice cream base should help keep it cold—not melt it on contact.
Step-by-Step Instructions
Step 1: Mix your base
In a bowl, whisk together your heavy cream and condensed milk until smooth. That’s it. No need to whip it—just mix until combined.
Step 2: Add your mix-ins
Here’s the fun part. Want cookies and cream? Add crushed Oreos. Going for fruity? Stir in diced strawberries or swirl in jam. Just make sure any chunks are small and evenly distributed.
Step 3: Spread it out
Pour the mixture onto your frozen metal tray and spread it evenly. You’re aiming for a thin layer—think 1/8 to 1/4 inch thick. Thinner is better. It freezes faster and rolls easier.
Use your spatula to smooth the mixture across the entire surface. It should cover most of the tray.
Step 4: Freeze
Carefully slide the tray into your freezer and leave it there for 2–4 hours. You want it to be completely solid. Tap the tray. If it jiggles, it’s not ready.
Step 5: Time to roll
Take the tray out and place it on a towel to keep it from sliding around. Working quickly, use your spatula to scrape the ice cream into rolls. Angle the spatula at about 45 degrees and push forward with firm pressure.
If it’s not curling, your layer might be too thick—or not frozen enough. You’ll learn fast.
Step 6: Serve immediately
Place your rolls into small bowls or ramekins. Add toppings if you want—whipped cream, sprinkles, more cookies, fresh fruit. Whatever your heart says.
Eat right away. Rolled ice cream doesn’t wait.

Pro Tips from the (Home) Kitchen Trenches
- Freeze your tray ahead of time. I mentioned this already, but it’s worth repeating. A frozen tray is the single biggest factor in getting those clean, satisfying curls.
- Keep your layer thin. Thick layers freeze unevenly and are harder to roll. You want it just thick enough to hold a curl without cracking.
- Use a sharp spatula or scraper. A dull tool will drag or skip. You want a smooth, clean push.
- Work fast when rolling. Once the tray is out of the freezer, you’ve got a short window before things get melty. Have everything ready.
- Don’t overmix your add-ins. If you’re using chocolate chips, cookie crumbs, or fruit, gently fold them in at the end. Overmixing can make the base too chunky and hard to spread thinly.
Make Ahead Tips
This isn’t really a “make way in advance” recipe, but you can prep some things early:
- Mix your base and keep it in the fridge for up to 24 hours.
- Pre-freeze your tray overnight.
- Prep your mix-ins and toppings so you’re not scrambling when it’s go time.
If you need to make multiple batches for a party or group, freeze two trays and rotate them.
Substitutions and Variations
Got dietary needs or just want to try something different?
- Dairy-free? Use full-fat coconut cream and sweetened condensed coconut milk. It won’t be exactly the same, but still rich and scoopable.
- Less sugar? Try unsweetened condensed milk or reduce quantity slightly and use fresh fruit for sweetness.
- Vegan-friendly? Use plant-based alternatives mentioned above and fruit-based flavors (mango and strawberry work great).
- More protein? Stir in Greek yogurt or a scoop of vanilla protein powder.
- Chocolate fix? Add 1–2 tablespoons of unsweetened cocoa powder or swirl in chocolate syrup.
You’re in charge. Just keep the liquid ratio close to the original and you’ll be fine.
Nutrition (Estimates per serving)
This will vary depending on your mix-ins, but for the base alone (made with heavy cream and condensed milk), here’s a general idea:
- Calories: ~290 per serving
- Fat: 20g
- Sugar: 24g
- Protein: 4g
Adding fruit? Slightly more fiber. Adding cookies or chocolate? You know what you’re getting into. It’s dessert. Enjoy it.
What to Do With Leftovers
Let’s be honest—you probably won’t have any. But if you do:
- Store extra rolls in an airtight container in the freezer.
- Layer parchment between rolls so they don’t stick together.
- When ready to eat, let sit out for 2–3 minutes before serving.
They won’t be exactly the same texture the next day, but they’ll still be good.
Frequently Asked Questions
Can I use evaporated milk instead of sweetened condensed milk? Nope. Condensed milk is thick and sweet. Evaporated milk is thinner and not sweetened, so the texture and taste will be off.
My ice cream isn’t curling—what’s wrong? Usually, your tray isn’t cold enough, or the layer was too thick. Also, try freezing longer and using more pressure with your spatula.
Can I freeze the whole thing and roll later? Sort of. But you really want to roll straight out of the freezer. If it softens even a little, it won’t work.
Can kids do this? Yes—with supervision. It’s actually a super fun family activity. Just be ready to step in quickly if things melt fast.
Wrap Up
So that’s it. Rolled ice cream—your kitchen, your flavors, your rules. It’s simple. It’s fun. It’s a little messy. But you’ll feel like a dessert wizard when you pull off those first few curls.
And once you try it? You’ll want to do it again. Different flavors. New combos. More confident swipes with your spatula. You’ll get better with each tray.
So try it. Make it. Snap a pic. Eat it before it melts. And let me know how it went. What flavor did you try? Any tips you discovered along the way?
Drop a comment below. I read every one. And if you have questions, ask away—I got you.


Leave a Reply