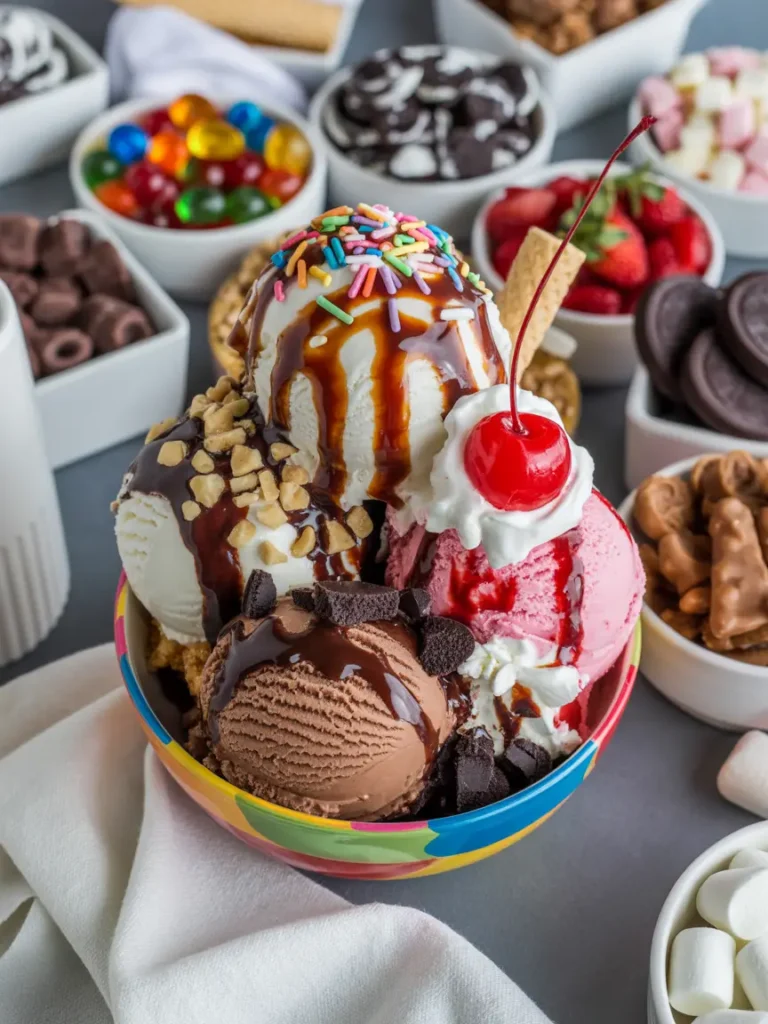
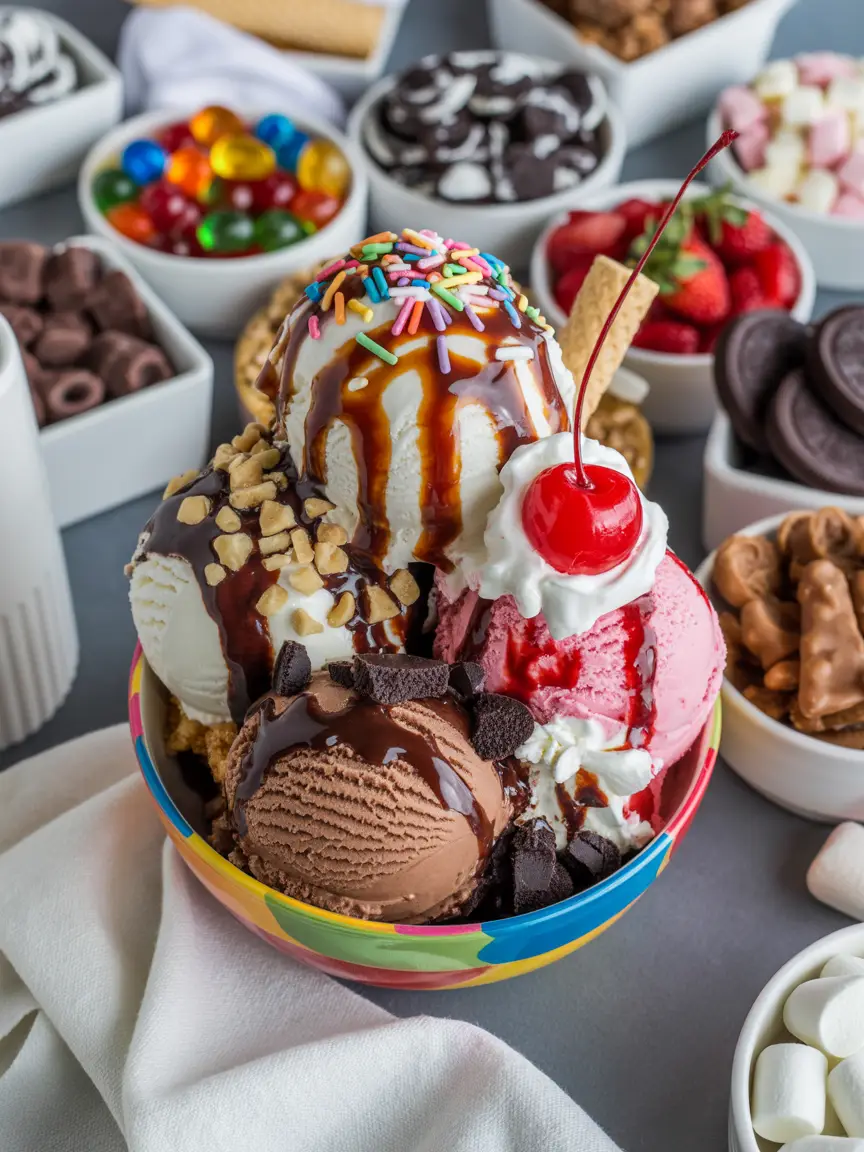
Let’s just get one thing out of the way right now: if you’re reading this, you’re exactly the kind of person I want to hang out with. Why? Because you’re building an ice cream sundae bar, and honestly, that makes you elite.
Whether this is for a summer hangout, a birthday party, a cozy Friday night with friends, or just you treating yourself after a wild week — I fully support your choices. You don’t need a reason to want something that’s fun, colorful, slightly chaotic, and unapologetically sweet.
And here’s the deal — there’s a difference between just “having some toppings” and building a full-on, praise-worthy, guest-hype-generating sundae station. I want you to have the second one.
So let’s walk through everything you’ll need to make that happen. From the best toppings (both classic and surprising), to little prep tricks that’ll make you look like a seasoned sundae bar veteran, to tools, swaps, leftovers, and all the in-between. I’m breaking it down because you deserve nothing less than a topping spread so good it makes people emotional.
What You’ll Need
Here’s your starter list. Feel free to go rogue and add your own spin, but if you hit these, you’re covering the bases.
Ice Cream
Pick 3 to 5 flavors max. More than that and it gets a little overwhelming. Some ideas:
- Vanilla (a must)
- Chocolate
- Strawberry or cherry
- Cookie dough or cookies and cream
- Mint chip or coffee
You can always go dairy-free or low sugar too. There’s zero judgment here — this is a safe zone for all ice cream preferences.
Sauces
- Hot fudge
- Caramel sauce
- Strawberry syrup
- Peanut butter sauce (you can warm regular PB with a little honey and almond milk)
- Magic Shell (store-bought or DIY with coconut oil and chocolate chips)
- Marshmallow fluff (yes, it’s a sauce if you believe hard enough)
Crunchy Bits
- Chopped nuts (almonds, pecans, walnuts, peanuts)
- Pretzel sticks or crushed pretzels
- Crumbled Oreos or graham crackers
- Cereal (yes — Fruity Pebbles, granola, even Cinnamon Toast Crunch)
- Chocolate chips, mini or regular
- Toffee bits or chopped up candy bars
- Brownie chunks, cookie dough bites, or blondie squares
Fruity Fun
- Fresh strawberries, blueberries, or raspberries
- Sliced bananas (tip: coat in lemon juice so they don’t brown)
- Pineapple chunks (fresh or from a can — both work)
- Cherries — both maraschino and fresh if you’re feeling extra
Extras
- Sprinkles (rainbow, chocolate, unicorn… you get it)
- Gummy bears or worms
- Mini marshmallows
- Whipped cream (store-bought or homemade, live your life)
Tools You’ll Want
This part gets overlooked, but it makes a difference. If you want the whole thing to go smoothly and not turn into a melty mess, here’s what to grab:
- Ice cream scoop (multiple if possible)
- Large tray or shallow bin with ice (to keep the ice cream chilled)
- Small bowls, ramekins, or mason jars for toppings
- Tongs and spoons for grabbing toppings (no sticky fingers, please)
- Squeeze bottles or ladles for sauces
- Paper towels or wipes (it’s gonna get messy in the best way)
- Serving bowls or waffle cones
Pro Tips
Alright, now you’ve got the goods, let me give you a few tips I wish someone told me earlier.
1. Pre-scoop the ice cream
Seriously. Scoop the ice cream into cupcake liners and pop them into a muffin tin. Freeze it like that. When it’s time to serve, you just transfer them into bowls or cones and boom — no waiting for the tub to soften or dealing with 47 people trying to dig into the same pint.
2. Keep your toppings cold or dry
If you’re serving in the sun (hello backyard party), keep fruit in a chilled bowl or place your toppings table in the shade. Warm fruit salad on ice cream is…not ideal.
Also, use dry toppings in uncovered bowls and sticky toppings (like sauces or wet fruit) in containers with lids or covers. Otherwise? Ants. Or bees. Or just sad, soggy granola.
3. Create a flow
Set up your bar like an assembly line. Bowls and spoons first, then ice cream, then toppings, then sauces and whipped cream at the end. You’ll avoid bottlenecks and weird standing-around moments.
4. Offer a few “signature combos”
Make it easier for decision-fatigued guests by giving your sundaes fun names. Think:
- The Classic: vanilla + hot fudge + peanuts + whipped cream + cherry
- The Crunch Bomb: cookies and cream + Oreos + pretzels + PB drizzle
- The Tropical Baby: strawberry + pineapple + coconut flakes + caramel
5. Chop and prep the day before
Everything you can do ahead — do it. Slice fruit, crush cookies, prep sauces, portion sprinkles. The last thing you want is to be sweating over strawberries while people hover in the kitchen asking when they can eat.
Substitutions and Variations
One of the best things about building a sundae bar? You can tweak it for literally any dietary style or theme.
For dairy-free friends: Pick coconut milk or oat milk-based ice creams, and use non-dairy whipped cream and sauces made with dark chocolate or nut butters.
For health-conscious guests: Offer plain Greek yogurt or banana “nice cream” as a base, with granola, nuts, fresh fruit, and dark chocolate chips.
Themed bars: Want to get creative? Try a cereal bar (ice cream + childhood cereals), candy shop style (M&Ms, Reese’s Pieces, gummy bears), or even an adult version with boozy toppings like coffee liqueur or Irish cream caramel.
Make-Ahead Tips
A little prep now = a lot of chill later. Here’s what you can do ahead of time:
- Slice and store fruit (up to 24 hours in advance)
- Pre-scoop ice cream and freeze
- Portion out toppings into containers and seal
- Make your sauces and refrigerate (reheat slightly before serving)
- Set out serving bowls and utensils the night before — label stuff if you’re fancy
Step-By-Step Setup
Let’s break it down, super simple:
- Grab a big tray or table and set it up near a power source if you’re using anything that needs warming.
- Fill a large bin or tray with ice and place your pre-scooped ice cream or tubs on top.
- Lay out your bowls of toppings. Think colorful, eye-catching, and easy to grab.
- Arrange squeeze bottles or ladles for sauces. Keep lids nearby.
- Stack serving bowls or cones at one end of the table and have a trash bin or napkins ready at the other.
- Let guests build their dream sundaes and do not — I repeat, DO NOT — judge the person who adds six spoonfuls of hot fudge and zero fruit. That might be me.

Extra Details You Might Find Helpful
Nutrition Breakdown: Depending on how generous the scooping gets (no shade), a sundae might range from 350 to 700+ calories. If you’re watching your sugar or dairy intake, stick to fruit, Greek yogurt, and dark chocolate-based toppings.
Meal Pairing Ideas: Ice cream bars go great after:
- Grilled dinners (burgers, hot dogs)
- Tacos (yes, really)
- Make-your-own pizza nights
Time-saving trick: If you’re hosting a group, create a few “topping kits” ahead of time in little baggies. So instead of 20 bowls, you’ve got pre-made crunchy-sweet-salty mixes people can grab and toss on their sundaes.
Leftovers and Storage Tips
You will likely have extras. And you know what? That’s not a problem. That’s a blessing.
- Store leftover fruit in containers in the fridge. Use within 1–2 days.
- Any dry toppings like cereal, cookies, or chocolate chips can be resealed and kept in the pantry.
- Sauces should go in jars and be refrigerated. Most will last 1–2 weeks.
- Leftover scoops of ice cream? Just pop ‘em back into a sealed container and freeze. Use for milkshakes later.
You can also throw leftover toppings onto pancakes, oatmeal, yogurt, or even popcorn. Get weird with it.
FAQ
How much ice cream do I need per person? Plan on about 1 cup per person. If it’s the only dessert, maybe a bit more. People love second rounds.
Can I set this up outside? Totally! Just keep the ice cream over actual ice (or in a cooler with ice packs), and try to shade the table with an umbrella or canopy.
What’s a fun way to display everything? Use a big charcuterie board or tiered cake stands for the toppings. Cute and functional. Mason jars are also a go-to.
What’s the best way to serve sauces? Squeeze bottles work best. You can also use small pitchers or ladles, but they’re a little messier. Just avoid big wide bowls unless you want someone elbow-deep in hot fudge.
Wrap Up
Alright, now it’s your turn. You’ve got the ideas, the ingredients, and the know-how. The only thing left to do is make it happen.
Set up your sundae bar, invite the people you like most, and create the kind of sugar-fueled chaos that makes the best memories. Whether you go full candy explosion or lean into fresh fruit and peanut butter drizzle, just remember — this isn’t about perfection. It’s about fun.
If you try this, let me know how it goes! I’d love to hear what toppings were the biggest hits, what combos surprised you, or if you have any genius ideas I need to try next time. Drop a comment with your thoughts or questions — and of course, your most outrageous sundae creation.
You’ve got this. Go build the sundae bar of your dreams.


Leave a Reply