
There are some desserts that just feel… untouchable. You know? The ones you see in fancy glass cases at a French patisserie and think, “Nope, that’s pure magic, I could never.”
For the longest time, that was me with anything involving a beautifully shattered, glassy sugar top. Creme brulee in general felt like a level of kitchen wizardry I just hadn’t unlocked yet.
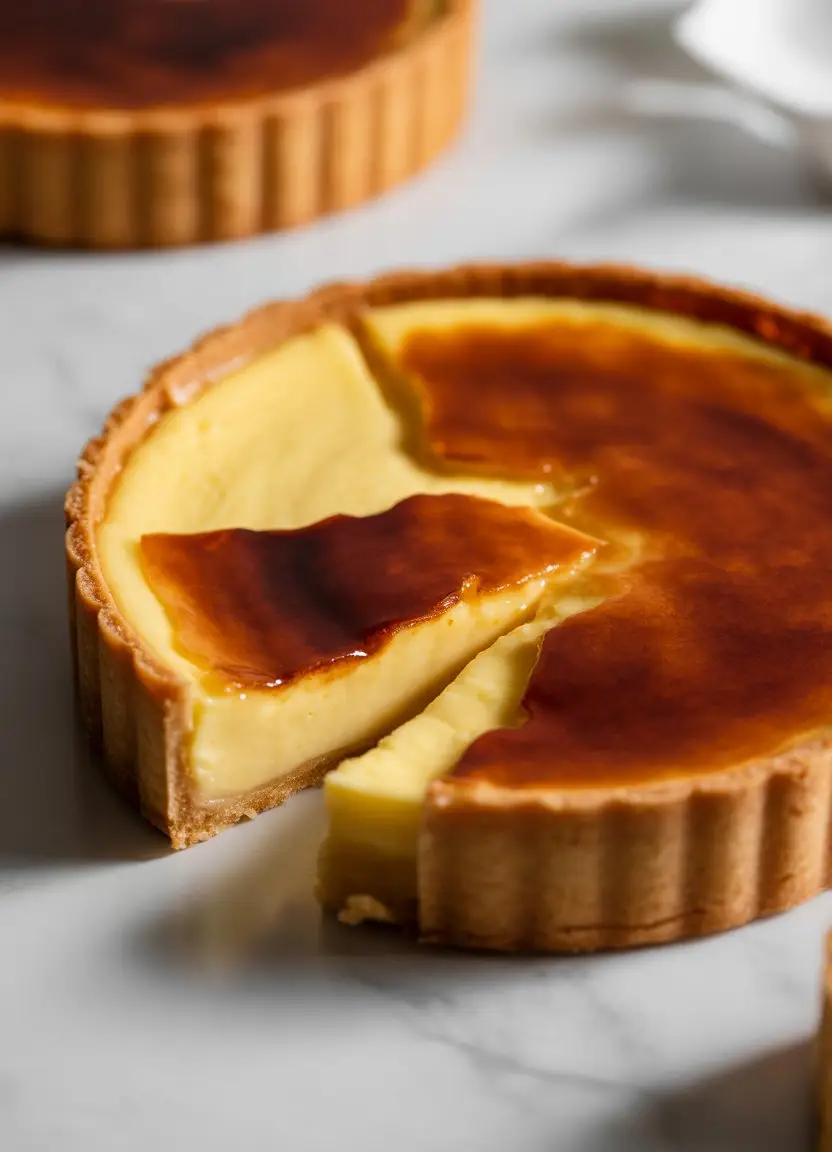
But then I tried making a creme brulee tart. It combines a buttery, crumbly shortbread crust with that rich, silky custard, and of course, the crackly burnt sugar topping. It’s basically two of the best desserts in the world having a baby.
And I’m here to tell you something. It’s not magic. It’s actually shockingly doable. So if you’ve ever wanted to make something that looks and tastes incredibly impressive without pulling all your hair out, this is your recipe.
What You’ll Need
First things first, let’s get your ingredients lined up. I’ve split it into the tart shell and the filling to keep things organized.
For the Sweet Tart Crust (Pâte Sablée):
- 1 ½ cups (190g) All-purpose flour
- ½ cup (100g) Granulated sugar
- ¼ teaspoon Salt
- ½ cup (113g) Unsalted butter, cold and cubed
- 1 Large egg yolk
- 1 tablespoon Heavy cream (or milk)
For the Creme Brulee Filling:
- 2 cups (480ml) Heavy cream
- 1 teaspoon Vanilla bean paste (or 1 vanilla bean, split and scraped)
- 5 Large egg yolks
- ½ cup (100g) Granulated sugar, divided
- Pinch of salt
- ¼ cup (50g) Turbinado or granulated sugar for the topping
Tools of the Trade
You don’t need a professional kitchen, but these tools will make your life a whole lot easier.
- 9-inch tart pan with a removable bottom (this is pretty key)
- Food processor (optional, but great for the crust)
- Mixing bowls
- Whisk
- Fine-mesh sieve or strainer
- Saucepan
- Rolling pin
- Pie weights or dried beans
- Kitchen torch (the fun part!)
The Step-by-Step Guide to Glory
Alright, let’s break this down into manageable chunks. No panicking allowed.
Part 1: Making That Buttery Tart Shell
Step 1: In a large bowl (or the bowl of a food processor), whisk together the flour, granulated sugar, and salt.
Step 2: Add the cold, cubed butter. Use a pastry cutter, your fingertips, or pulse in the food processor until the mixture looks like coarse, sandy crumbs.
Step 3: In a small bowl, lightly beat the egg yolk and heavy cream together. Pour this into the flour mixture and mix just until the dough starts to come together. Don’t overdo it!
Step 4: Gently press the dough into a flat disk, wrap it tightly in plastic wrap, and chill it in the refrigerator for at least 1 hour. This step is non-negotiable; it prevents a shrinking crust.
Step 5: Preheat your oven to 375°F (190°C). On a lightly floured surface, roll out your chilled dough to about 1/8-inch thickness. Carefully transfer it to your tart pan, pressing it into the bottom and up the sides. Trim any excess dough.
Step 6: Freeze the tart shell for 15 minutes. Then, line it with parchment paper and fill with pie weights or dried beans. Bake for 15-20 minutes. This is called “blind baking.”
Step 7: Carefully remove the parchment and weights. Bake for another 10-12 minutes, or until the shell is a lovely pale golden brown. Let it cool completely on a wire rack.
Part 2: The Silky Custard Filling
Step 1: Lower your oven temperature to 325°F (160°C).
Step 2: In a medium saucepan, gently heat the heavy cream and vanilla bean paste over medium-low heat until it just begins to simmer around the edges. Don’t let it boil.
Step 3: While the cream is heating, whisk the 5 egg yolks, the first ½ cup of sugar, and a pinch of salt together in a separate bowl until pale and slightly thickened.
Step 4: Now for the “tempering” part. Slowly, and I mean slowly, pour about half of the hot cream into the egg yolk mixture while whisking constantly. This brings the eggs up to temperature without scrambling them.
Step 5: Pour the egg mixture back into the saucepan with the remaining cream. Cook over low heat, stirring constantly with a spatula, for about 3-5 minutes, until the custard thickens enough to coat the back of the spatula.
Step 6: Strain the custard through a fine-mesh sieve into a clean bowl. This is the secret to a perfectly smooth, lump-free filling. Pour the strained custard into your cooled tart shell.
Part 3: Baking and the Grand Finale
Step 1: Very carefully place the tart on a baking sheet and bake for 30-35 minutes. The center should be just barely set—it will have a slight jiggle to it, like Jell-O.
Step 2: Let the tart cool completely at room temperature, then chill in the refrigerator for at least 4 hours, or preferably overnight. It needs to be fully cold and set.
Step 3: Right before serving, sprinkle the top of the chilled tart evenly with the Turbinado or granulated sugar.
Step 4: Using a kitchen torch, hold the flame a few inches from the sugar and move it continuously until the sugar melts, bubbles, and turns a deep amber brown. Let it sit for a minute or two to harden into that perfect glass-like shell. Crack, serve, and accept your applause.
Pro Tips From My Kitchen Disasters
Learn from my mistakes so you don’t have to make them yourself.
- Don’t Overwork the Dough: Seriously. When you’re making the tart crust, mix it just until it comes together. Overworking the gluten in the flour is the number one reason for a tough, leathery crust instead of a tender, crumbly one. I’ve sent more than one tart shell to a crumbly grave by overworking it.
- Strain That Custard Twice: The recipe says to strain it once, and that’s fine. But if you want a custard that is ridiculously, flawlessly, impossibly silky, strain it once after you temper the eggs, and then again right before you pour it into the tart shell. It’s a tiny extra step that makes a huge difference.
- The Jiggle is Key: The biggest fear is underbaking or overbaking the custard. Overbaked custard gets grainy. The perfect test is the jiggle. The edges should be set, but the very center should still wobble slightly when you gently nudge the pan. It will continue to set as it cools.
- Let the Sugar Sit: After sprinkling the sugar on top for the brulee, let it sit for a minute. This allows the sugar to draw a tiny bit of moisture from the custard, which helps it melt more evenly and form a better crust when you hit it with the torch.
Substitutions and Variations
Don’t have something? Want to get creative? I got you.
| Ingredient | Substitution/Variation |
|---|---|
| Vanilla Bean Paste | 1 tsp vanilla extract (add after cooking) or 1 scraped vanilla bean. |
| Turbinado Sugar | Regular granulated sugar works fine for the topping. |
| Flavor Twist | Steep a cinnamon stick, a few espresso beans, or some orange zest in the cream. |
Make-Ahead Tips
This is a great dessert for planning ahead, which is a lifesaver for dinner parties.
The tart shell can be baked up to 2 days in advance. Just let it cool completely and store it in an airtight container at room temperature.
You can also bake the entire tart (custard and all) a day ahead of time. Keep it covered in the fridge, but wait to do the sugar torching until right before you serve it for that ultimate crackly experience.
Nutritional Info, Pairings, and More
Let’s be real, this is a dessert. But if you’re curious, here’s a rough idea.
| Category | Details |
|---|---|
| Nutrition (Approx.) | Calories: ~450-500 per slice. It’s rich, a small slice goes a long way. |
| Diet Swaps | For a gluten-free version, use a 1:1 gluten-free baking flour blend for the crust. |
| Meal Pairings | Perfect after a savory meal. Serve with a strong espresso or a small glass of dessert wine. |
| Efficiency Tip | Make the custard filling while the tart shell is doing its final bake without the weights. |
Leftovers and Storage
If by some miracle you have leftovers, cover the tart loosely with plastic wrap and store it in the fridge for up to 2 days.
A word of warning: the beautiful sugar crust will soften and melt in the fridge over time. It’ll still taste great, but you’ll lose the signature “crack.” Don’t try to re-torch it; you’ll just end up with a soupy, burnt mess.
Frequently Asked Questions
Q1. Why did my tart shell shrink so much?
Ans: Almost always, this is because the dough wasn’t chilled for long enough before baking. That chilling and freezing step is what helps the butter firm up and prevents the gluten from seizing up and shrinking in the oven’s heat.
Q2. Help! My custard is runny and didn’t set.
Ans: This usually means it was underbaked. Every oven is a little different. Next time, give it another 5-10 minutes until you get that signature “Jell-O” jiggle in the center. Also, make sure it chills for the full 4 hours or more.
Q3. Can I make this without a kitchen torch?
Ans: You can, but be careful. You can use your oven’s broiler. Place the chilled, sugared tart on the top rack and watch it LIKE A HAWK. It can go from perfect to burnt in a matter of seconds. The torch gives you way more control, but the broiler works in a pinch.
Q4. Can I just use a store-bought tart crust?
Ans: Absolutely. Sometimes you just don’t have the time or energy. No judgment here! Just get a pre-baked 9-inch sweet shortbread crust and you can skip straight to the custard-making part.
Wrapping Up
So there you have it. A dessert that looks like it came from a high-end bakery, but is totally something you can make in your own kitchen. It takes a little time, sure, but the steps themselves are simple.
That moment when you tap your spoon on the top and hear that satisfying CRACK… it’s just the best feeling. It makes all the chilling and waiting completely worth it.
So go on, give it a shot. And when you do, come back and leave a comment. Tell me how it went, if you tried any fun variations, or if you have any questions. I’d love to hear about it.