
Okay, let’s be real for a second. Sometimes a salad just doesn’t cut it. You know those days.
The kind of day where the only solution is something warm, gooey, and packed with so much buttery, caramel-like flavor that you forget your own name for a minute. For me, that solution is almost always a blondie.
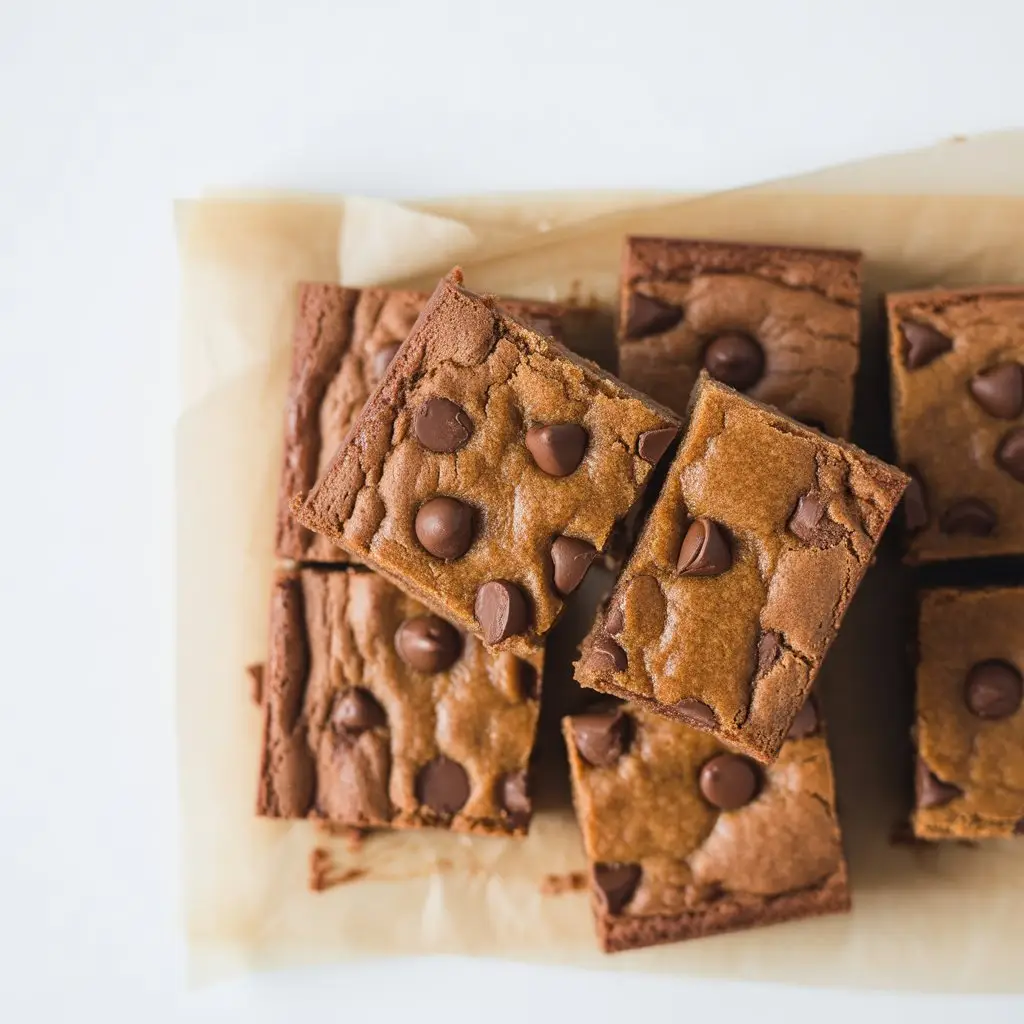
Not just any blondie, though. A Browned Butter Blondie. The browning butter part sounds a little fancy, I know. But trust me, it’s the one simple step that takes a good dessert and makes it absolutely legendary.
It creates this nutty, toasty, deep flavor that’s just… wow. It’s the kind of thing you make for friends, and they suddenly think you’re a professional pastry chef. I am definitely not, but these blondies make me feel like one.
So, if you’re having one of *those* days, or you just want to treat yourself to something amazing, stick with me. We’re about to make something pretty special. And it’s way easier than you think.
What You’ll Need
Before we dive in, let’s get all our ingredients lined up. It makes the whole process feel way less chaotic. Here’s the list.
- 1 cup (227g) unsalted butter
- 1 ¼ cups (275g) packed brown sugar (light or dark works)
- ½ cup (100g) granulated sugar
- 2 large eggs, at room temperature
- 2 teaspoons vanilla extract
- 2 cups (240g) all-purpose flour
- 1 teaspoon cornstarch
- ½ teaspoon baking powder
- ½ teaspoon salt
- 1 cup (170g) chocolate chips (optional, but are they really?)
Tools Required for the Job
You don’t need a bunch of fancy equipment. Here’s the basic stuff that will get it done.
- 9×9 inch baking pan
- Parchment paper
- Light-colored saucepan or skillet
- A whisk
- A spatula
- Mixing bowls (one large, one medium)
Pro Tips for Perfect Blondies
I’ve made these enough times to have a few disasters. So, let me save you the trouble. Here are a few things I learned the hard way.
1. Don’t Walk Away From the Browning Butter. Seriously. It goes from beautifully golden to burnt and sad in a matter of seconds. Stand there, swirl the pan, and watch it like a hawk. The moment you smell that nutty aroma and see the little brown bits, pull it off the heat.
2. Let the Butter Cool. After you brown the butter, you have to let it cool down for about 10-15 minutes before mixing it with the sugars. If you don’t, it will be too hot when you add the eggs later, and you’ll end up with sweet, scrambled eggs in your batter. Not the vibe we’re going for.
3. Don’t Overmix the Flour. Once you add the dry ingredients, mix only until you can’t see any more white streaks of flour. Overmixing develops the gluten in the flour too much, which leads to a tough, cakey blondie instead of a dense, chewy one. We want CHEWY.
4. Room Temperature Eggs Matter. I know, it’s an annoying step to remember. But cold eggs don’t mix as well into the batter and can cause the cooled butter to seize up and get clumpy. A quick way to warm them up is to place them in a bowl of warm (not hot) water for 5-10 minutes.
Possible Substitutions and Variations
Want to mix things up? I get it. Here are a few swaps and additions that work great.
| Ingredient | Substitution/Variation | Notes |
|---|---|---|
| Chocolate Chips | Toffee bits, M&Ms | Adds a different crunch. |
| Chocolate Chips | White chocolate chips | Makes it extra sweet. |
| All-Purpose Flour | 1:1 Gluten-Free Flour Blend | Works well for GF version. |
| Brown Sugar | Coconut sugar | A slightly less sweet option. |
Make-Ahead Tips
If you want to get a head start, you totally can.
The best thing to do is to brown the butter ahead of time. Once it’s browned, you can store it in an airtight container in the fridge for up to a week. Just let it come to room temperature or gently melt it before using.
You can also mix the dry ingredients (flour, cornstarch, baking powder, salt) together and store them in a container. It feels like having your own baking mix ready to go.
How to Make Browned Butter Blondies: Step-by-Step
Alright, time for the fun part. Let’s bake.
Step 1: Preheat your oven to 350°F (175°C). Line a 9×9 inch baking pan with parchment paper, leaving some overhang on the sides. This will make it way easier to lift the blondies out later.
Step 2: Now for the magic. Place the butter in a light-colored saucepan over medium heat. Melt the butter, then continue to cook it, swirling the pan occasionally. It will foam up, then the foam will subside. Keep watching! Soon, you’ll see little brown specks at the bottom of the pan and it will smell nutty. Immediately remove it from the heat and pour it into a large, heatproof bowl. Let it cool for 10-15 minutes.
Step 3: Once the butter has cooled a bit, add the brown sugar and granulated sugar to the bowl. Whisk it all together until it’s fully combined. The mixture will look thick and grainy.
Step 4: Add the room-temperature eggs and vanilla extract. Whisk vigorously for about a minute until the batter is glossy and smooth. This step is important for creating that shiny, crackly top.
Step 5: In a separate medium bowl, whisk together the all-purpose flour, cornstarch, baking powder, and salt.
Step 6: Add the dry ingredients to the wet ingredients. Use a spatula to fold them together until just combined. Remember, don’t overmix! A few flour streaks are okay.
Step 7: If you’re using them, gently fold in the chocolate chips or whatever other mix-ins you’ve chosen.
Step 8: Spread the batter evenly into your prepared baking pan. It will be thick, so use your spatula to nudge it into the corners.
Step 9: Bake for 25-30 minutes. The edges should be golden brown and the center should be set. A toothpick inserted into the center should come out with moist crumbs attached, but not wet batter. It’s better to slightly underbake than overbake for maximum chewiness.
Step 10: Let the blondies cool completely in the pan on a wire rack. This is the hardest part. Waiting. But it’s crucial because they need time to set up. If you cut them too early, they’ll fall apart.
Nutritional Info, Pairings, and More
Here’s a little extra info to help you out.
A Quick Nutritional Glance
This is just an estimate, but it gives you a general idea. The values are per blondie, assuming you cut the pan into 16 squares.
| Nutrient | Approximate Amount |
|---|---|
| Calories | 250-280 kcal |
| Fat | 14g |
| Carbohydrates | 30g |
| Sugar | 20g |
| Protein | 3g |
Meal Pairing Suggestions
Okay, “meal” might be a strong word. But these go incredibly well with a hot cup of coffee or a cold glass of milk. For a truly next-level dessert experience, serve a warm blondie with a scoop of vanilla bean ice cream and a drizzle of caramel sauce. It’s ridiculous in the best way possible.
Cooking Time Efficiency Tips
While the butter is browning, you can use that time to measure out your sugars. While the browned butter is cooling, get your dry ingredients mixed and ready. It’s all about multitasking in those small waiting periods.
Tips for Leftovers and Storage
If by some miracle you have leftovers, here’s how to keep them fresh.
Store the blondies in an airtight container at room temperature. They’ll stay perfectly chewy for about 3-4 days.
You can also freeze them! Cut them into squares, wrap them individually in plastic wrap, and then place them in a freezer-safe bag. They’ll last for up to 3 months. To enjoy, just let them thaw at room temperature for a few hours.
Frequently Asked Questions (FAQ)
Q1. Why are my blondies cakey instead of chewy?
Ans: This is usually from one of two things: overmixing the batter after adding the flour, or overbaking them. Mix just until the flour disappears, and pull them from the oven when a toothpick still has moist crumbs.
Q2. Can I use salted butter instead of unsalted?
Ans: Yes, you can. If you do, just reduce the added salt in the recipe from ½ teaspoon to ¼ teaspoon. Unsalted butter gives you more control over the saltiness, which is why most baking recipes call for it.
Q3. My batter looks separated or oily. What did I do wrong?
Ans: This often happens if the browned butter was too hot when you mixed in the sugars and eggs. It’s super important to let it cool down first so everything can emulsify properly into a smooth, glossy batter.
Q4. Can I double this recipe?
Ans: Absolutely. Just double all the ingredients and bake it in a 9×13 inch pan. You may need to add about 5-10 minutes to the baking time, so just keep an eye on it.
Wrapping Up
There you have it. A dessert that’s simple, ridiculously flavorful, and guaranteed to make anyone’s day a whole lot better.
That nutty, rich flavor from the browned butter really is a game-changer. It’s the kind of recipe that becomes a go-to, the one people ask you to make again and again.
So go ahead, give it a try. I really hope you enjoy making (and eating) these as much as I do. When you’re done, I’d love to hear how it went! Drop a comment below and let me know if you have any questions or if you tried any fun variations.