
You know that 9 PM feeling. Staring into the fridge, wanting something sweet and creamy but not wanting the guilt that usually comes with it. I get it.
For years, my cottage cheese was strictly a breakfast food. The healthy, boring choice. Putting it in a dessert? Seemed like a crime against nature. Honestly, I thought it would be gritty and just… weird.
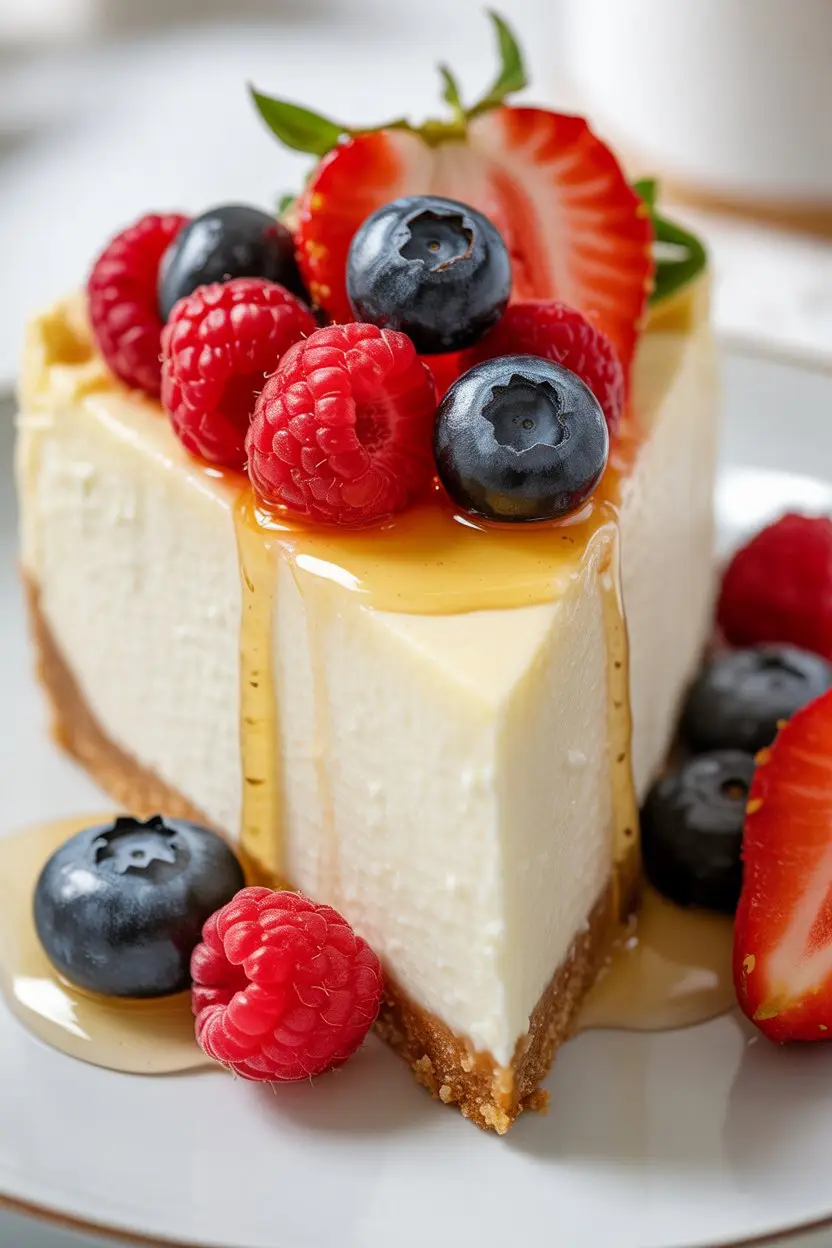
Well, I’m here to tell you I was completely, spectacularly wrong. This recipe transforms that tub of blah into something that tastes ridiculously close to a real-deal cheesecake. No joke. It’s rich, tangy, and so velvety you won’t believe what’s in it. Forget everything you think you know. We’re about to blend our way to glory.
What You’ll Need
No weird, hard-to-find stuff here. Just the basics.
For the Crust
- 1 ½ cups graham cracker crumbs
- 6 tablespoons unsalted butter, melted
- 2 tablespoons sugar (if you want it sweeter)
- A tiny pinch of salt
For the Filling
- 2 cups full-fat cottage cheese (don’t you dare use low-fat, trust me)
- ½ cup plain Greek yogurt (full-fat is best)
- ½ to ¾ cup maple syrup
- 1 large lemon (for zest and juice)
- 1 tablespoon vanilla extract (the good stuff)
- 1 packet unflavored gelatin
- 3 tablespoons cold water
For Toppings (The Fun Part)
- Fresh berries
- Berry jam
- More maple syrup
- Lemon zest
Your Kitchen Arsenal
You don’t need a professional kitchen. Just a few key things.
- A high-speed blender or food processor. This is non-negotiable for a smooth texture.
- An 8 or 9-inch springform pan. A pie dish works too, it’s just harder to get clean slices.
- Basic measuring cups and spoons.
- A small bowl and a rubber spatula. You know the drill.
The Step-by-Step Game Plan
Follow this and you can’t mess it up. We’ll build this thing from the ground up.
Step 1: Build the Foundation (The Crust)
First, crush those crackers. Pulse them in a food processor or just smash them in a bag with a rolling pin. Think coarse sand.
Mix the crumbs, melted butter, sugar, and salt. It should feel like wet sand. Press this mix firmly into your pan. Really pack it in there.
Now, toss the crust in the freezer for at least 15 minutes while you make the filling. This is key.
Step 2: Create the Silky-Smooth Filling
Sprinkle the gelatin over the cold water in a small bowl. Just let it sit for 5-10 minutes. It’ll get all thick and weird. This is called blooming.
While that happens, throw the cottage cheese, yogurt, maple syrup, lemon zest, and vanilla into your blender. Now, blend the life out of it. Seriously. Go for a full 2-3 minutes, scraping the sides down. It needs to be perfectly, ridiculously smooth.
Microwave the bloomed gelatin for about 10 seconds until it’s a clear liquid. With the blender on low, slowly pour the liquid gelatin in. Blend for another 20 seconds. Done.
Step 3: Put It All Together and Chill
Grab your cold crust from the freezer. Pour the filling over it and spread it out evenly.
Cover it (don’t let the wrap touch the top) and stick it in the fridge for at least 6 hours. I know, it’s torture. But overnight is even better. It needs time to set properly.
Slice it up, add some berries, and get ready to blow some minds. Mostly your own.
My Unsolicited Advice
- I’ll say it again: blend it longer than you think you need to. If you see even one tiny grain, it’s not ready. Texture is everything here.
- Full-fat dairy is your friend. It’s what makes this taste decadent, not like a science experiment. This is not the recipe to try and “make healthy.”
- Let the cottage cheese and yogurt sit on the counter for 20 minutes before blending. Room temp ingredients blend way better.
Quick Swaps & Fun Twists
This recipe is hard to mess up. Here are some ways to play with it.
Making a swap? Here’s a quick guide.
| For This… | Try This… | The Result… |
|---|---|---|
| Graham Crackers | Almond Flour Crust | Keto & GF Friendly |
| Maple Syrup | Powdered Monk Fruit | Cuts the sugar, not taste |
| Lemon | Lime Juice & Zest | Instant key lime vibes |
Other Ideas:
- Go Full Chocolate: Add ¼ cup of cocoa powder to the blender. You won’t regret it.
- Berry Swirl: Plop some raspberry jam on top of the filling before chilling and swirl it in with a knife. Looks fancy, takes seconds.
- Espresso Kick: Dissolve a tablespoon of instant espresso powder in a tiny bit of hot water and add it to the blend.
FAQs
Q1. Why is my dessert grainy?
Ans: You didn’t blend it long enough. I promise. Give it another full minute next time. A powerful blender is a must.
Q2. Can I skip the gelatin?
Ans: You can, but it won’t be a sliceable “cake.” It’ll be more like a thick pudding. Still tasty, just serve it in a cup.
Q3. Can I make this in little cups instead of a big pan?
Ans: Absolutely. It’s a great idea for parties or just so you don’t eat half the pan in one sitting. Not that I’ve done that.
Q4. How long does it actually last in the fridge?
Ans: It’ll be good for about 4 days, tightly covered. The crust might get a little soft, but it’s still delicious.