

So, maybe you’ve had one of those days.
You know the ones I mean—where somehow three “just one more bite” moments turned into an entire pint of store-bought ice cream, half a bag of kettle chips, and…did we black out a little after that? Maybe. Maybe not. Doesn’t matter.
You’re here now, and that says something great about you.
You’re trying. You’re curious. You’re interested in feeling better.
And if your brain and body are screaming for something cold and creamy, but your conscious is whispering, “Hey… maybe something with a little protein this time?”, then I’ve got you.
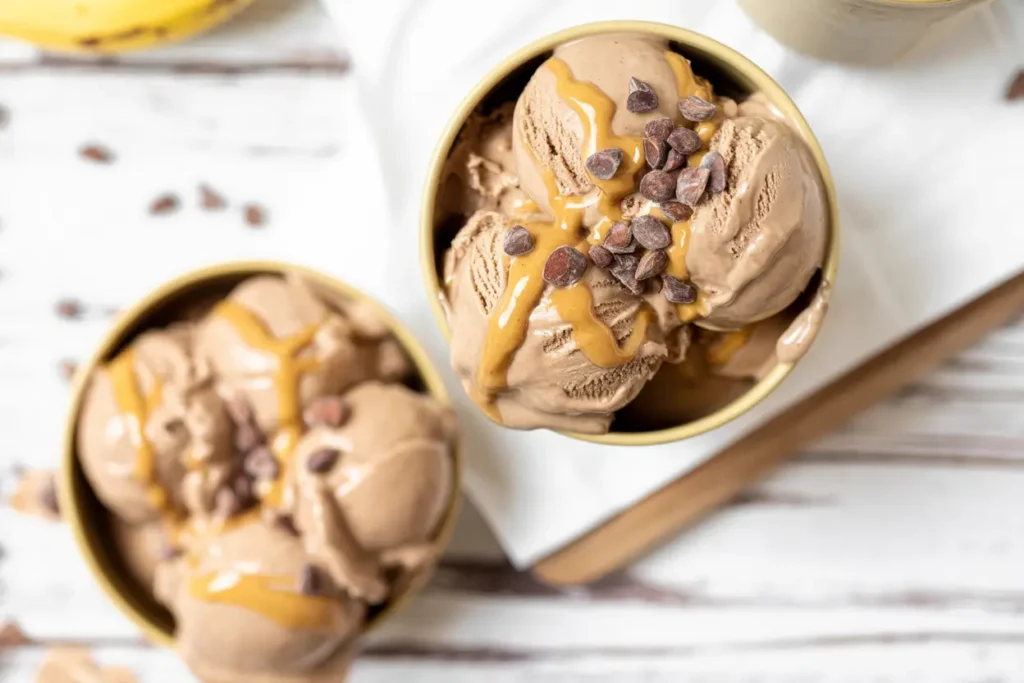
Because this ice cream—this creamy, high-protein, banana-based magic—might just become your new late-night ride or die. It’s super simple, no weird ingredients, and you don’t even need an ice cream maker.
Even better? It actually makes you feel good after eating it.
Which, let’s be real, is not how we usually feel after downing a pint of rocky road at 11 PM.
Let’s dive in.
What You’ll Need
This is what I love about this recipe: it’s made from ingredients you probably already have. No $17 protein powder blends from the bowels of a yoga influencer’s Amazon storefront.
Base Ingredients:
- 2 ripe frozen bananas (cut into coins before freezing)
- ¼ cup of milk (any kind – almond, oat, regular, whatever you love)
- 1 scoop protein powder (I usually use vanilla, but chocolate works great too)
Optional Add‑Ins (Choose Your Own Adventure Style):
- 1 tablespoon unsweetened cocoa powder (for the chocolate lovers)
- 2 tablespoons peanut or almond butter (because creamy + protein = win)
- Handful of mini chocolate chips or cacao nibs
- ½ teaspoon cinnamon + ½ teaspoon vanilla extract (if you’re going the “cookie dough-y” route)
And that’s it.
No xanthan gum, no artificial sweeteners you can’t pronounce. Just stuff that blends well, tastes good, and makes you feel like you made a smart choice that still feels like a treat.
What You’ll Need to Make It
Again, nothing fancy.
- A high-powered blender or food processor (your Nutribullet will probably work fine too)
- A spatula (you’ll want to scrape down the sides)
- A freezer-safe container (if you’re saving some for later—this makes about 2 servings)
- A little patience (but only like… 2 hours worth if you want scoopable texture)
Let’s Talk About Texture for a Second
If you blend it and eat it immediately, it’s going to be like soft-serve. And it’s GOOD. Like, you’ll start wondering why you ever paid $6.50 for the stuff from the froyo shop.
If you want that true pint-of-ice-cream experience though—like scooping it out, watching it melt slightly in the bowl kind of thing—you’ll want to pop it in the freezer for a bit. Two hours is usually perfect.
But either way, you’re winning.
How to Make Creamy High‑Protein Ice Cream
Here’s the full play-by-play. Read once, then toss everything in the blender and go live your best life.
- Freeze your bananas. Ideally, overnight. But if you’re impatient like me, even 4-5 hours will do. Just make sure they’re sliced before freezing or your blender will hate you.
- Toss bananas, protein powder, and milk into your blender. Add any of your chosen mix-ins now (except chips or crunchy things—wait until after it’s blended for those).
- Blend. Pulse until the blades start catching everything. You might have to stop and scrape down the sides once or twice. Be patient—it’s worth it.
- Taste and tweak. Want it a little sweeter? Add a tiny drizzle of honey or maple syrup. Want it thicker? Toss in a few ice cubes or a tiny bit more banana.
- Add the crunch. If you’re throwing in chocolate chips or cacao nibs, now’s your moment. Fold them in or pulse once or twice so they don’t get too broken up.
- Eat immediately for soft-serve vibes. Or…
- Freeze for 2+ hours in a loaf pan or storage container if you want that legit scoopable texture.
Pro Tips You’ll Thank Me For Later
- Use super ripe bananas. Like, spotty and borderline too mushy if you were going to eat them raw. They’re sweeter and make the best texture.
- Chop before freezing. Don’t be a hero and try to blend a whole frozen banana. That’s how blender motors die tragic deaths.
- Start slow with the liquid. You can always add more milk, but you can’t take it back once your creamy dream turns into smoothie soup.
- Want it thicker? Blend in a handful of frozen cauliflower or a little Greek yogurt. Adds body without changing the flavor much.
- Don’t skip the protein powder. It’s literally what makes this a high-protein ice cream. No, you can’t just “leave it out” unless you want banana mush. (Still delicious—but not what we’re doing here.)
Substitutions and Variations
No bananas?
Try frozen mango chunks or avocado, but just know it’ll be a different kind of creamy and probably less sweet.
Can’t do dairy?
No problem. Use almond milk, oat milk, or even canned coconut milk for extra richness. Vegan protein powders work great here too.
Don’t like protein powder?
You can try blending in Greek yogurt or cottage cheese instead. Just know it’ll be tangier and maybe less “ice cream”-like.
Want more sweetness?
Add 1-2 dates (make sure they’re pitted) or a small spoonful of honey. Especially if you’re using an unsweetened protein powder.
Optional: Make Ahead Tips
You can totally make this ahead of time. Just follow the full recipe, then pour into a freezer-safe container. When you’re ready to eat it, let it thaw on the counter for about 10-15 minutes before scooping.
If it gets too icy (this can happen with homemade ice cream), try re-blending it with a splash of milk to bring it back to life.
Leftovers and Storage
This will keep in the freezer for up to one month in an airtight container. Just remember: no preservatives = firmer texture after freezing.
Let it sit on the counter before scooping OR microwave for 10 seconds at a time (yes, seriously) until it softens just enough.
Also, bonus tip: try not to eat it all in one sitting. (I mean… unless you need to. No judgment here.)
Nutritional Breakdown (Per Serving)
This will vary depending on your protein powder and add-ins, but here’s a general estimate for one serving (half the recipe):
- Calories: ~280–320
- Protein: 18–22g
- Carbs: 30–40g (mostly from bananas)
- Fat: 5–10g (depending on nut butter)
Compare that to a store-bought pint that clocks in at 800+ calories and a handful of protein? Yeah. You’re doing great.
FAQs
Can I use fresh bananas? Nope. Not if you want the creamy texture. Frozen bananas are what turn this into “ice cream” instead of “weird pudding.”
What’s the best protein powder to use? Whatever you like. Vanilla and chocolate are classic. Just avoid anything chalky or overly sweetened—it’ll mess with the flavor.
Can I add collagen powder instead? Collagen doesn’t thicken the same way. You’ll need a plant or whey-based protein powder to get that fluffy, creamy consistency.
Is this good for post‑workout? YES. You’re getting quick carbs, protein, and a little healthy fat. Perfect for recovery… and reward.
Can I double the recipe? Absolutely. Just make sure your blender can handle it and pause to scrape down the sides more often.
Wrap Up
You made it.
Not just to the end of this recipe (gold star for that), but to a place where you’re choosing food that makes you feel good. Food that fuels you. Food that reminds you taking care of yourself doesn’t have to be boring or bland or joyless.
This ice cream isn’t just a treat—it’s a little win.
So try it. Tweak it. Make it yours. And if you do? I’d love to hear how it turned out. Leave a comment below with your favorite version or any creative mix-ins you tried. Seriously—I always love hearing from you.
And remember: no matter what yesterday looked like, today you made a good choice.
That matters.