

Ok, so I’m going to assume you’re here because you’re either a sourdough fan, a breadstick lover, or someone who just really wants to make something warm and delicious from scratch that smells like comfort and tastes like magic. Whatever brought you here, just know this: you’re in for something good. Like really good.
Because what’s better than breadsticks that are soft, chewy, golden, a little buttery, and maybe… just a little addictive?
Nothing. The answer is nothing.
This recipe is easy enough for beginners but delicious enough that you’ll want to make them over and over again. They’re the kind of thing you bring to dinner and people immediately go: “Wait, you made these?” And then you feel lowkey proud because yeah, you did make these.
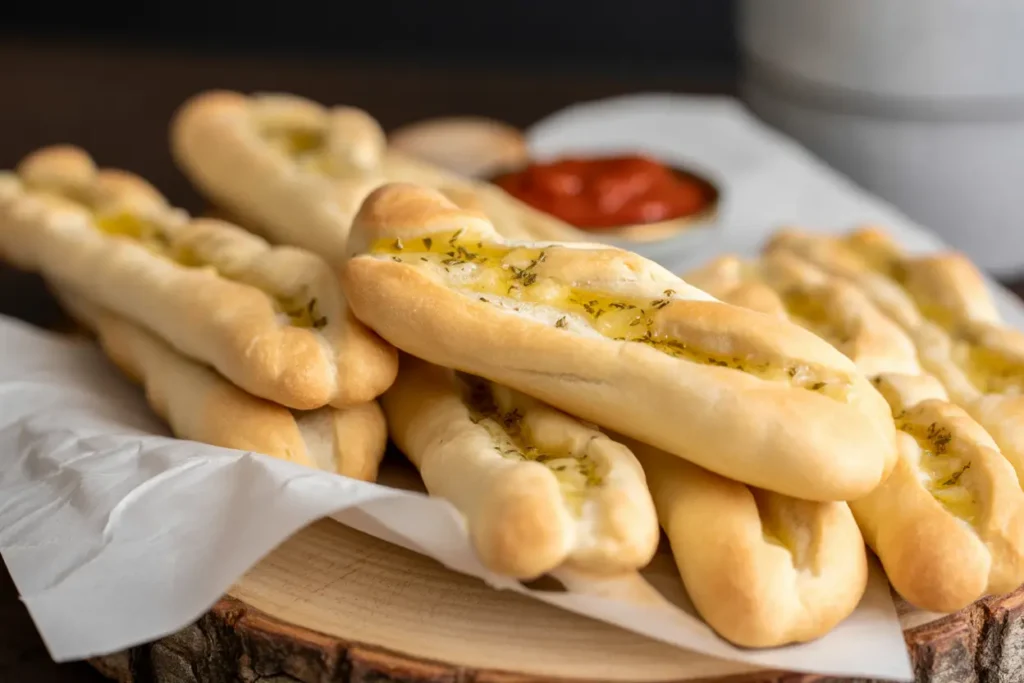
Now let’s talk details, because these sourdough breadsticks aren’t just basic dinner sides. They’re soft on the inside, slightly crisp on the edges, and they carry that perfect sourdough tang that makes them feel like more than just carbs. They’re cozy in food form.
But first…
Let’s talk about what you’re going to need.
What You’ll Need
Nothing fancy here. Just simple ingredients that come together in the best way.
Ingredients:
IngredientAmountWarm filtered water1 cup (236 g)Active bubbly sourdough starter½ cup (115 g)Sugar or honey2 TbspSea salt1½ tspMelted unsalted butter (plus more for brushing)3 TbspBread flour2¾ cups (413 g)
Optional Garlic Butter Topping:
- 3 Tbsp melted butter
- ½ tsp garlic powder or 1 tsp minced garlic
- ½ tsp dried Italian herbs (or just parsley, no pressure)
- Extra sea salt (for sprinkling)
You probably already have most of these in your kitchen. And if you don’t, they’re super easy to find.
Tools You’ll Need
Here’s the cool part: You don’t need a stand mixer or anything wild. Just a few kitchen basics.
- Large mixing bowl
- Measuring cups and spoons
- Kitchen scale (if you want to be precise, but not a deal breaker)
- Spoon or spatula
- Parchment paper
- Baking sheet
- Towel or plastic wrap
- Pastry brush (or just use the back of a spoon, no judgment)
A Little Prep Talk
Let’s just pause for a second here. If you’ve never made sourdough breadsticks before, don’t stress. The most “intimidating” part is really just waiting. That’s it.
You’re not kneading like you’re in a bakery. You’re not timing every second. And if your sticks aren’t all perfectly even? Who cares. This is real life, not a cooking show.
The only thing that actually matters is that your starter is active and bubbly. That’s the star. So feed it a few hours before and make sure it’s peppy—meaning it’s doubled in size and has that nice, yeasty smell.
Now let’s get into the recipe itself.
How to Make Sourdough Breadsticks (Step-by-Step)
- Mix It Up In a large bowl, stir together your water, starter, sugar (or honey), salt, melted butter, and flour. It’s going to look a little rough and shaggy at first, and that’s ok.
- Knead You can knead by hand for about 8 minutes or toss it into a mixer with a dough hook. You’re going for a dough that’s smooth and just a little tacky—but not sticky.
- Let It Rise Cover the bowl and let the dough rise until it’s grown by about 60–70%. This could take 4–6 hours depending on the temperature of your home and the strength of your starter.
- Divide and Shape Turn the dough out onto a lightly floured surface and divide it into 12 equal pieces. You can weigh them if you want, or just eyeball it. Roll each into a rope—about 6–8 inches long.
- Second Rise Place your shaped breadsticks on a parchment-lined baking sheet. Cover them again and let them puff up a bit more, about 30–40 minutes.
- Bake Preheat your oven to 400°F. Bake the breadsticks for 18–20 minutes, or until golden brown on top.
- Butter Time While they’re hot, brush them with that garlic butter topping. You can even pop them back in the oven for another 2 minutes if you want them to soak up more of that flavor.
Pro Tips (That You’ll Wish You Knew Earlier)
- Use a warm spot for rising. Dough loves warmth. If your kitchen is chilly, turn your oven on for a minute, then turn it off and stick your dough inside.
- Measure flour with care. Too much flour = dense breadsticks. Spoon and level or use a scale if you’ve got one.
- Don’t rush the process. That tangy flavor comes from time. If you’re in a hurry, this may not be your day. But it’s worth the wait.
- Brush twice. Once right out of the oven, and again 2 minutes later. It makes a difference.
- Customize your topping. Want cheesy? Sprinkle some Parmesan on top before the final bake. Want spicy? Add crushed red pepper to your butter.
Substitutions & Variations
Because life happens and maybe you’re missing an ingredient. Totally fine.
- No butter? Use olive oil. It gives a deeper, earthy taste.
- No bread flour? All-purpose works in a pinch—just know the texture might be slightly softer.
- Low sugar? Use one tablespoon of honey instead of two.
- Dairy-free? Just sub all the butter for olive oil or vegan butter.
- Whole wheat? You can swap in ½ cup of whole wheat flour if you’re feeling a little extra wholesome.
Make-Ahead Tips
If you want these fresh for dinner but don’t want to do all the work at 5 PM, you can make the dough in the morning, shape the breadsticks, then refrigerate them before the second rise.
Take them out about 1 hour before baking to come back to room temperature and finish rising. Then bake as normal.
Leftovers & Storage
Ok, so maybe you didn’t eat the entire pan (self-control level: impressive).
- Store leftovers in a zip-top bag at room temp for up to 2 days.
- To reheat: Just pop them in the oven at 325°F for 5–6 minutes.
- Want to freeze them? Totally. Once baked and cooled, store them in a freezer bag and reheat in the oven when ready.
Pairing Ideas
If you’re wondering what to serve these with, here are a few solid ideas:
- A bowl of cozy soup (tomato, broccoli cheddar, chicken noodle—all great options)
- Spaghetti or baked pasta dishes
- Big leafy salad with vinaigrette
- Charcuterie board for a fun snacky meal
- On their own as a snack with marinara for dipping
Extra Notes: Nutrition, Swaps, and Time-Saving
Per Breadstick (approx.)Calories120–140Protein3–4gFat4gCarbs22–24g
Time-Saving Tip: Want to make a double batch? Freeze half before baking. On baking day, let them thaw and rise fully, then bake as usual.
Diet Swap Note: Keto? This probably isn’t your jam. But gluten-free flour blends can work—just know the texture will change a bit.
FAQ
Can I use sourdough discard? Yes, but you’ll need to add ½ tsp of yeast to help with rise time. The flavor will still be great.
Why is my dough so sticky? Sometimes starters carry a bit of extra moisture. Add a tablespoon of flour at a time until it’s tacky but not sticking to your hands.
Can I make these gluten-free? Yes—but you’ll need a strong 1:1 gluten-free bread blend. And expect a little trial and error for texture.
Can I make them thinner or longer? Totally. Just adjust the baking time (shorter for thin, longer for thick).
Wrap Up
So that’s the full walkthrough on making sourdough breadsticks that are basically a warm hug in food form. Whether you’re feeding your family, impressing dinner guests, or just making something for you (yes, you deserve freshly baked breadsticks too), this recipe is a keeper.
If you try these, I’d love to hear how it went. Did you add cheese? Use a special garlic butter? Make them extra long just because?
Drop your thoughts, questions, or tweaks in the comments—I read every one. Happy baking!