
Ok, so picture this. You’ve got people coming over. Maybe it’s for a book club, a game night, or just because your family decided your house was the place to be this Saturday.
And you need a dessert. Something that looks like you spent hours on it, but, let’s be real, you absolutely did not. You need something that screams “I am a culinary genius” while you secretly know you whipped it up between loads of laundry.
I’ve been there. So many times. That frantic search for a recipe that’s easy but doesn’t taste like it’s from a box.
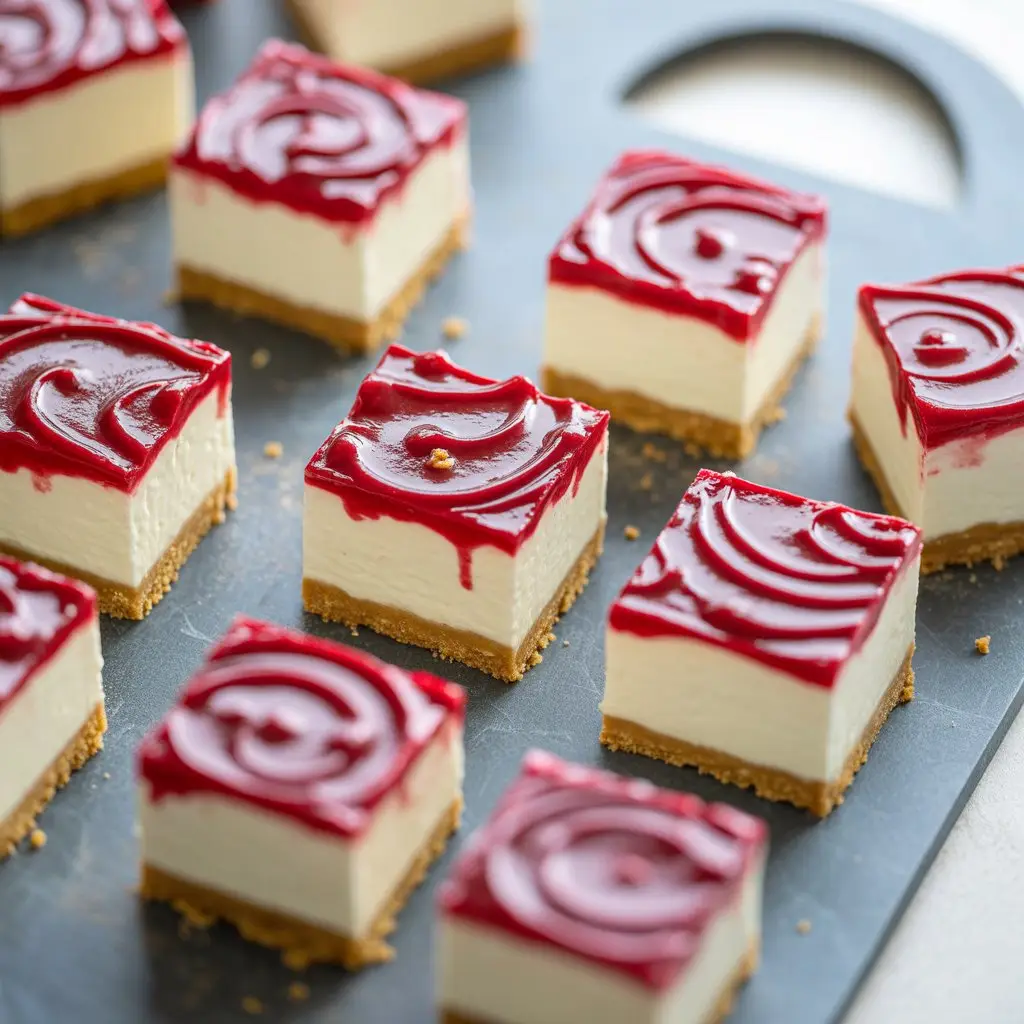
Well, I’ve got you. These Raspberry Cream Cheese Bites are the answer. They’re the perfect mix of creamy, tart, and sweet, all sitting on a buttery crust. They look fancy, but they’re honestly so simple it almost feels like cheating.
So, let’s get you set up to be the hero of your next get-together. No stress involved.
What You’ll Need
Here’s the simple rundown of ingredients. Nothing too wild or hard to find, I promise.
- For the Crust:
- 1 1/2 cups graham cracker crumbs (about 10 full crackers)
- 1/4 cup granulated sugar
- 6 tablespoons unsalted butter, melted
- For the Cream Cheese Filling:
- 16 ounces cream cheese, softened to room temperature
- 3/4 cup granulated sugar
- 2 large eggs
- 1 teaspoon vanilla extract
- 1 tablespoon all-purpose flour
- For the Raspberry Topping:
- 1 cup fresh or frozen raspberries
- 2 tablespoons granulated sugar
- 1 tablespoon lemon juice
Tools Required
You don’t need a professional kitchen for this. Just a few basics.
- 8×8 inch baking pan
- Parchment paper
- Mixing bowls (at least two)
- Electric mixer (handheld or stand mixer)
- Small saucepan
- Spatula
- Measuring cups and spoons
How to Make These Bites of Heaven
Alright, let’s break it down. Follow these steps and you’ll be golden.
Step 1: Get Your Oven and Pan Ready
First things first, preheat your oven to 350°F (175°C). Take your 8×8 inch pan and line it with parchment paper, leaving a little overhang on the sides. This is your secret weapon for lifting the bars out easily later.
Step 2: Make the Buttery Crust
In a medium bowl, mix your graham cracker crumbs and 1/4 cup of sugar. Pour in the melted butter and stir it all together until it looks like wet sand. Dump this mixture into your prepared pan and press it down firmly and evenly. A flat-bottomed glass can help get it nice and compact.
Bake the crust for about 10 minutes. Just enough to get it set and lightly golden. Then, set it aside to cool down a bit while you work on the filling.
Step 3: Whip Up the Cream Cheese Filling
In a large bowl, take your softened cream cheese and beat it with an electric mixer until it’s super smooth and creamy. No lumps allowed! This is the most important part for a silky texture.
Gradually add the 3/4 cup of sugar and beat until it’s all combined. Add the eggs one at a time, mixing on low speed after each one just until the yolk disappears. Don’t go crazy here; over-mixing can cause cracks. Finally, stir in the vanilla extract and flour.
Step 4: Assemble and Bake
Pour that beautiful cream cheese filling over your slightly cooled crust and spread it into an even layer with a spatula.
Now, pop it in the oven and bake for 30-35 minutes. The center should be almost set but still have a very slight jiggle to it. Turn off the oven, crack the door open, and let the pan sit in there for another hour. This helps it cool down gently and, you guessed it, helps prevent cracks.
Step 5: Make the Raspberry Topping
While the cheesecake is doing its thing in the oven, you can make the topping. In a small saucepan, combine the raspberries, 2 tablespoons of sugar, and lemon juice. Cook over medium heat, stirring and mashing the berries as they warm up.
Let it simmer for about 5-7 minutes until the sauce has thickened up a bit. Then, remove it from the heat and let it cool completely. You can even strain it through a fine-mesh sieve if you don’t want seeds, but I personally like them.
Step 6: Chill Out
Once the cheesecake has cooled in the oven and then at room temperature, it’s time for the final, crucial step. Spoon or drizzle the cooled raspberry sauce over the top. You can swirl it in with a knife for a marbled look or just spread it on top.
Cover the pan with plastic wrap and refrigerate for at least 4 hours, but honestly, overnight is even better. This isn’t a suggestion; it’s a requirement for clean cuts and the best flavor.
Step 7: Slice and Serve
Use those parchment paper handles to lift the whole block out of the pan. Place it on a cutting board and use a sharp, hot knife (run it under hot water and wipe it dry between cuts) to slice into 16 perfect little bites. Now go take all the credit.
Pro Tips
I’ve made these a bunch of times, and I’ve learned a few things. Let me save you some trouble.
- Room Temperature is King: I know, I said it before, but it’s that important. Your cream cheese and eggs HAVE to be at room temperature. If the cream cheese is cold, you will get lumps, and no amount of mixing will save you. It’ll taste fine, but the texture will be off.
- Don’t Overmix the Eggs: When you add the eggs, mix on low speed and only until they’re just combined. Beating too much air into the batter is the number one cause of those dreaded cracks in the surface of your cheesecake.
- The Slow Cool Down: The trick of turning off the oven and leaving the door ajar is a game-changer. A sudden temperature change can shock the cheesecake and cause it to crack or sink in the middle. Patience here pays off big time.
Substitutions and Variations
Feel free to play around with this recipe. It’s pretty forgiving.
| Ingredient | Substitution Idea | Notes |
|---|---|---|
| Graham Cracker Crust | Oreo, Biscoff, or shortbread cookie crumbs | Adjust sugar if cookies are very sweet. |
| Raspberries | Strawberries, blueberries, or cherries | Cooking time for the sauce might vary slightly. |
| Lemon Juice | Lime juice or orange juice | This will change the flavor profile a bit. |
Nutritional Breakdown and Diet Swaps
Look, these are a treat, not a health food. But it’s still good to know what’s in them.
(Note: These values are an estimate and can vary based on the specific ingredients you use.)
| Nutrient (per bite) | Approximate Amount |
|---|---|
| Calories | 180-220 kcal |
| Fat | 14g |
| Carbohydrates | 12g |
| Protein | 3g |
- For a Gluten-Free Version: Easy fix. Just use your favorite gluten-free graham crackers or cookies for the crust.
- For a Lower-Sugar Version: You can reduce the sugar in the filling to 1/2 cup, and use a sugar substitute like erythritol or monk fruit in the raspberry sauce. The texture of the filling might be slightly less tender.
Meal Pairings and Efficiency Tips
These little guys are great on their own, but they also play well with others.
- Pairing Suggestions: They are fantastic with a cup of coffee or black tea. For an after-dinner treat, a small glass of dessert wine like a late-harvest Riesling is incredible.
- Cooking Time Efficiency: Make the raspberry sauce and the crust a day ahead. Store the crust (in its pan) covered at room temperature and the sauce in an airtight container in the fridge. This breaks up the work and makes assembly day a breeze.
Make-Ahead Tips
This is the perfect make-ahead dessert. In fact, it’s better that way.
You can bake the entire cheesecake bar (without the topping) up to two days in advance. Let it cool completely, cover it tightly, and store it in the refrigerator. Just make and add the raspberry sauce before you plan to serve it.
Leftovers and Storage
If you somehow have leftovers, which is a big “if,” here’s how to keep them tasting great.
Store the bites in a single layer in an airtight container in the refrigerator. They’ll stay fresh and delicious for up to 4-5 days. The crust will soften a bit over time, but they’ll still be amazing.
I wouldn’t recommend freezing them with the topping on, as the raspberry sauce can get a little watery when it thaws.
Frequently Asked Questions
Q1. Why did my cheesecake crack?
Ans: This is the classic question. It’s usually due to one of three things: the cream cheese was too cold, you overmixed the batter after adding the eggs, or it cooled down too quickly. Follow the room temp and slow-cooling tips, and you should be fine!
Q2. Can I use frozen raspberries?
Ans: Absolutely. You don’t even need to thaw them first. Just put them straight into the saucepan. You might need to cook the sauce for an extra minute or two to account for the extra water content.
Q3. My filling seems a little runny before baking. Is that okay?
Ans: Yep, that’s totally normal. The filling should be smooth and pourable, not stiff. It will firm up beautifully in the oven and during the chilling process.
Q4. Can I double the recipe?
Ans: You sure can. Just use a 9×13 inch baking pan. The baking time should be roughly the same, but keep an eye on it. The center should still have that slight jiggle when it’s done.
Wrapping Up
So there it is. A dessert that’s simple, elegant, and pretty much foolproof. It’s one of those back-pocket recipes that will make you look like a rock star with minimal effort.
The creamy cheesecake, the tart raspberry topping, that buttery crust… it’s just a perfect combination.
Give these a try the next time you need to impress someone (or just treat yourself). And when you do, I’d genuinely love to hear how it went for you. Drop a comment below with your experience or any questions you might have!