
Ok, FIRST OFF, let’s just talk about store-bought granola for a second.
Have you ever stood in the cereal aisle staring at a $12 bag of granola thinking, “There’s NO WAY this should cost more than lunch?” Yeah, totally normal reaction.
BUT here’s the thing – you can literally make better granola at home with just FIVE ingredients. And this isn’t some complicated, fancy chef situation. This is the kind of recipe where you dump everything in a bowl, stir it around, and somehow end up looking like a total kitchen rockstar.
Like seriously, this vanilla granola is so simple that even if you’re the type of person who burns toast (no judgment here!), you’re going to nail this.
And the best part? Your house is going to smell absolutely AMAZING. We’re talking about that warm, cozy, vanilla-cinnamon smell that makes everyone think you’ve got your life together.
So if you’re ready to save some serious money AND have the most delicious breakfast ready to go all week long, let’s do this thing!
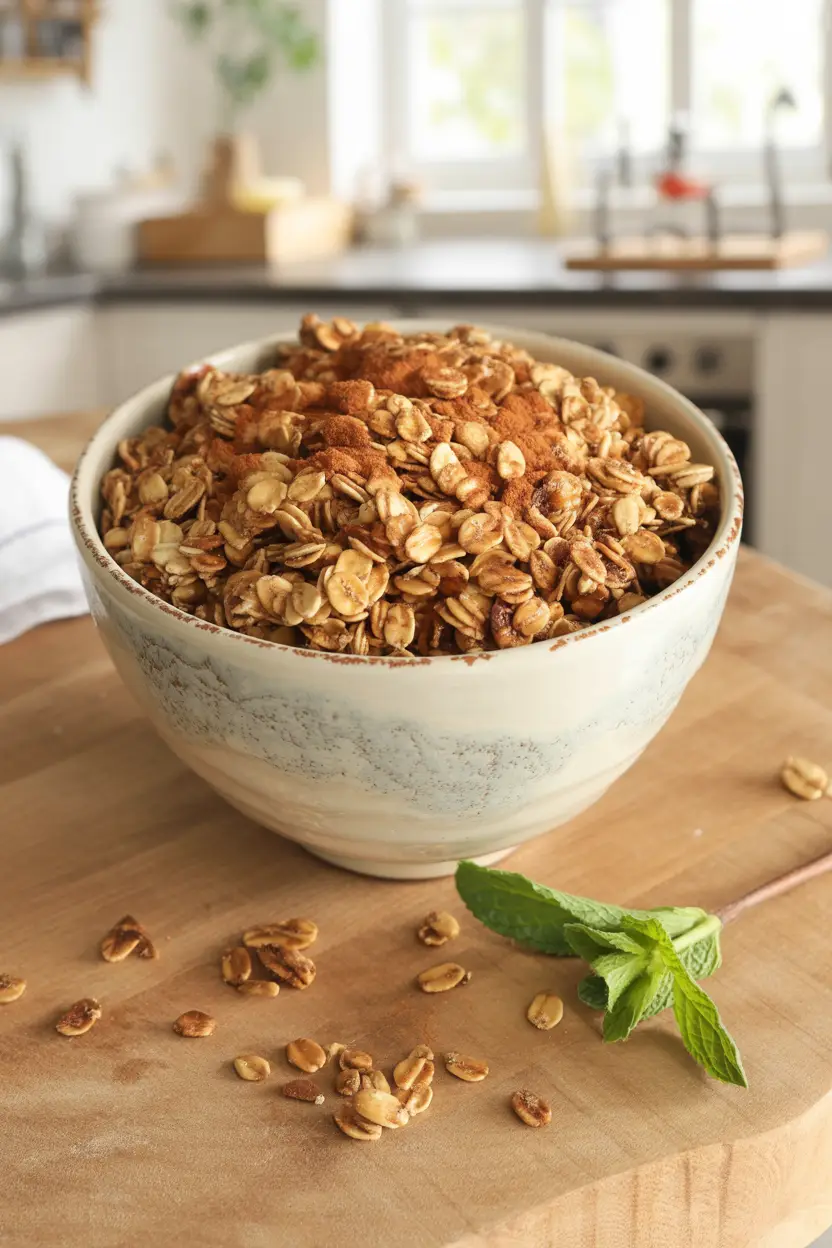
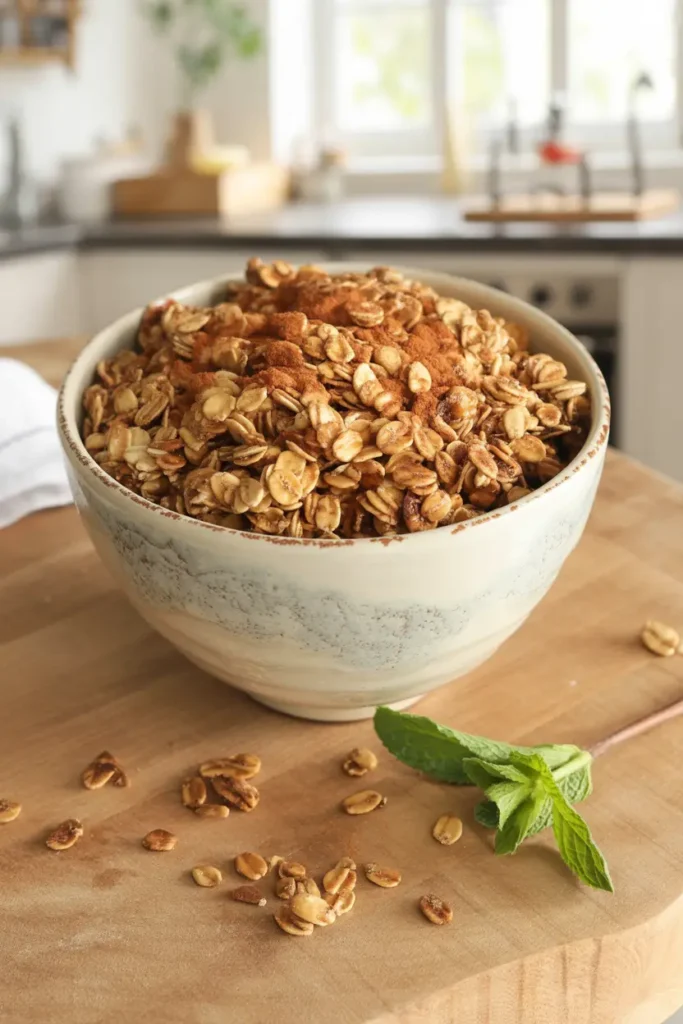
Important Note: This recipe makes about 4 cups of granola and keeps for up to 2 weeks. Pretty cool, right?
What You’ll Need
This is where it gets REALLY good. Only five ingredients, and you probably already have most of them sitting in your pantry right now:
- 4 cups old fashioned oats (seriously, don’t use the quick cook ones)
- 1/2 teaspoon ground cinnamon
- 1/2 cup honey (liquid gold, basically)
- 1/4 cup coconut oil
- 1 1/2 teaspoons vanilla extract (the star of the show!)
That’s it. THAT’S IT. No weird ingredients you can’t pronounce. No special trips to fancy stores. Just five simple things that create absolute magic together.
Tools You’ll Need
Don’t worry – you probably have all of this stuff already:
- Large mixing bowl
- Small saucepan
- Baking sheet
- Parchment paper (seriously, don’t skip this – it’s a game changer!)
- Wooden spoon or spatula for stirring
- Measuring cups and spoons
Pro Tips
1. Use OLD FASHIONED oats, not quick cook ones. Quick cook oats get all powdery and weird when you bake them. Old fashioned oats stay chunky and give you those perfect granola clusters we’re all after. If you ONLY have quick cook oats, you can use them, but bake for 20 minutes instead of 30.
2. Don’t skip the parchment paper! Trust me on this one. Without parchment paper, you’ll be spending 20 minutes scraping granola off your baking sheet like some kind of kitchen disaster. Parchment paper = your new best friend.
3. Let it cool COMPLETELY before you touch it. Yeah, yeah. It smells incredible and you want to eat it right away. But granola gets crunchier as it cools, so give it time to do its thing. Go make some coffee or something.
4. Stir gently when you mix everything together. You want to coat every oat, but you don’t want to go crazy and break everything up. Think “gentle folding” not “aggressive mixing.”
5. Don’t overbake it! It should be golden brown, not dark brown. It’ll keep cooking a tiny bit even after you take it out of the oven, so better to err on the side of caution.
Substitutions and Variations
If you don’t have coconut oil: Any neutral oil works! Vegetable oil, canola oil, even melted butter if you’re feeling fancy.
If you’re out of honey: Maple syrup is PERFECT here. You could also try brown sugar, but you might need to add a tablespoon of oil to help everything stick together.
Want different flavors? Swap the cinnamon for apple pie spice or add a pinch of nutmeg. You can also try different extracts – almond extract is amazing!
Make it your own: Once it’s cooled, you can stir in dried fruit, nuts, chocolate chips, coconut flakes – whatever makes you happy!
Make Ahead Tips
This granola is PERFECT for meal prep (which honestly makes anyone feel like they have their life together, even when they definitely don’t ).
Make a double batch – it keeps for up to two weeks, so why not?
Want to prep WAY ahead? You can actually freeze this stuff for up to three months! Just store it in a freezer-safe container and grab handfuls whenever you need them.
How to Make This Magic Happen
Step 1: Preheat your oven to 300°F. Line a baking sheet with parchment paper. (Do NOT skip the parchment paper!)
Step 2: In a large bowl, mix your oats and cinnamon together. Just stir them around until they’re friends.
Step 3: Here’s where it gets fun! In a small saucepan over medium-low heat, melt your coconut oil and honey together. Stir it around until it’s all smooth and thin.
Step 4: Take the saucepan off the heat and stir in your vanilla extract. It’s going to smell SO GOOD right now.
Step 5: Pour this liquid gold over your oats and stir everything together until every single oat is coated. It should look like the most delicious, sticky mess ever.
Step 6: Spread everything out on your parchment-lined baking sheet in an even layer. Don’t pack it down – just spread it out.
Step 7: Bake for 30 minutes, stirring once halfway through (set a timer for 15 minutes!). You want it golden brown and smelling like heaven.
Step 8: Here’s the hardest part – let it cool COMPLETELY on the baking sheet. It’ll get crunchier as it cools, promise!
Step 9: Store in an airtight container and try not to eat it all in one sitting. (Good luck with that! )
Additional Details
Nutritional Breakdown (per 1/4 cup serving):
- About 150 calories
- 3g protein
- 27g carbs
- 4g fat
- 3g fiber
Diet-Friendly Swaps:
- Vegan: This recipe is already vegan if you use maple syrup instead of honey!
- Gluten-free: Use certified gluten-free oats
- Lower sugar: Cut the honey/maple syrup to 1/3 cup – it’ll still be delicious
Perfect Pairings:
- Greek yogurt with berries (classic!)
- As cereal with your favorite milk
- Sprinkled on smoothie bowls
- Mixed into trail mix
- By the handful as a snack (no judgment here!)
Leftovers and Storage
Room temperature: Store in an airtight container for up to 2 weeks. It actually gets better after a day or two!
Freezer: Freeze in a sealed container for up to 3 months. It doesn’t even get soggy when it thaws!
Pro tip: If it loses some crunchiness over time, just pop it back in a 300°F oven for 5-10 minutes to crisp it back up.
FAQ
Q: Can you use quick cook oats instead of old fashioned? A: You CAN, but reduce the baking time to 20 minutes. Old fashioned oats really are better though – they stay chunkier and don’t get powdery.
Q: The granola isn’t clustering together. What went wrong? A: Probably didn’t use enough honey/oil mixture, or stirred it too much after baking. Don’t worry – it still tastes amazing! Next time, make sure every oat is well-coated before baking.
Q: Can you add nuts and dried fruit before baking? A: Add nuts before baking (they get nicely toasted), but wait to add dried fruit until AFTER baking and cooling. Otherwise the fruit can burn or get too chewy.
Q: Is this recipe gluten-free? A: It can be! Just make sure you’re using certified gluten-free oats, since regular oats can be cross-contaminated with wheat during processing.
Q: Can you double this recipe? A: Absolutely! You might need two baking sheets though, and make sure everything is spread out in a single layer.
Q: How do you know when it’s done baking? A: It should be golden brown (not dark brown!) and smell incredible. It might still seem a bit soft when hot, but it’ll crisp up as it cools.
Wrap Up
Ok, so here’s the thing – making your own granola is one of those simple things that just makes you feel like you’ve got your life together. And this recipe is SO easy that there’s literally no way to mess it up.
Plus, think about it: for the cost of one fancy store-bought bag, you can probably make this recipe three times. AND it tastes better. AND you know exactly what’s in it.
So grab those five ingredients, put on your favorite playlist, and get ready for your house to smell like the coziest café ever.
And if you make this recipe, PLEASE let us know! Seriously, it makes our day when people try these recipes and share their results. Tag us or just leave a comment – we read every single one!