

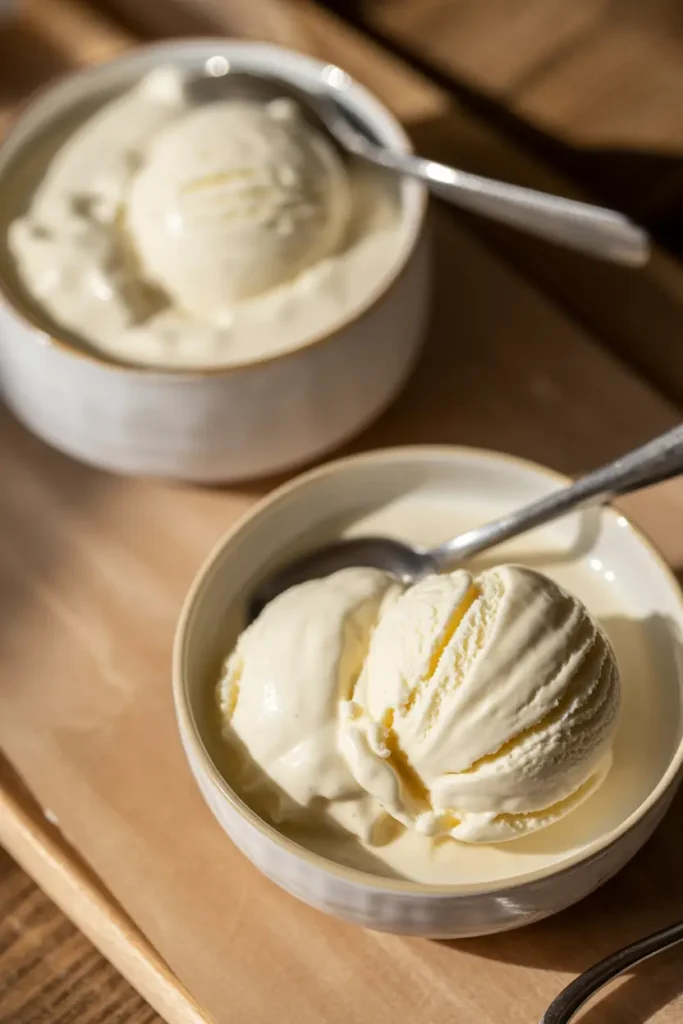
You know those days when the sun hits just right, your favorite playlist is on shuffle, and everything feels like it deserves a scoop of ice cream? Yeah, those days.
But here’s the thing—vanilla ice cream isn’t just a dessert. It’s a whole moment. A vibe. A throwback to sticky fingers and late summer nights. And if you’ve ever thought, “Ugh, making ice cream sounds hard,” I’ve got you. Because not only is this recipe easy, but it’s also one of those you’ll actually want to make again. And again.
No fancy ingredients. No complicated techniques. No eggs, no stove, and absolutely no guilt. Just real, creamy, homemade vanilla ice cream you can throw together without stressing about it.
Oh, and I’ll even walk you through how to do it with or without an ice cream maker. Because you deserve options. Let’s dive in.
What You’ll Need
Just a few things stand between you and your new favorite ice cream. Here’s what you’ll want to grab:
- 2 cups cold heavy cream (35–40% fat works great)
- 1 cup full-fat milk (cold!)
- ⅔ cup granulated sugar
- 1 tablespoon pure vanilla extract
- A pinch of salt
If you’re feeling a little extra, and I say this with zero pressure, you can swap the vanilla extract for a real vanilla bean. You just slice it open, scrape out those little black seeds, and stir ‘em in. Looks super fancy, tastes even better.
How to Make It (Without Overthinking It)
Let’s keep this as stress-free as possible.
Step 1: In a chilled bowl, whisk your milk, sugar, and salt. You want the sugar totally dissolved. Like, not “kinda gritty but I’m over it” dissolved. Actually dissolved.
Step 2: Stir in your heavy cream and vanilla. Don’t go crazy whisking it here—you’re not making whipped cream. A gentle mix is perfect.
Step 3: If you’ve got an ice cream maker, pour your mixture in and churn according to the manufacturer’s instructions. Usually 25–35 minutes. When it looks like soft serve, you’re golden.
Step 4: Scoop that into a freezer-safe container, cover it, and freeze for 4–6 hours (or overnight) until it’s firm enough to scoop.
No ice cream maker? No problem.
Whip your cold heavy cream to stiff peaks. In a separate bowl, mix your milk, sugar, vanilla, and salt. Fold the milk mix into the whipped cream gently (like, gently-gently). Pour it into a container, smooth the top, and freeze overnight. Done.
Tools You’ll Need
- Mixing bowl
- Whisk or electric mixer
- Ice cream maker (if you have one)
- Rubber spatula
- Freezer-safe container with lid
That’s it. No blenders. No thermometers. No stress.
Real Talk: Pro Tips for First-Timers
- Chill everything. The colder your ingredients and tools, the creamier your ice cream. It’s a little annoying, but it matters. Stick your mixing bowl in the fridge for 15 minutes while you gather stuff. Worth it.
- Be patient with freezing. I know, it’s ice cream. Of course you want it now. But give it a full 6 hours to firm up for proper scoops. Anything earlier is soft serve. Not bad, just different.
- Taste test the base. Before you churn or freeze, taste your mix. Want it sweeter? Add a little more sugar. Want more vanilla? Drop another half teaspoon in. This is your moment.
- Label your container. If you’re like me and you make six things at once, trust me—put a little masking tape on the lid and write “Vanilla Ice Cream.” It’s a small thing that saves future confusion.
- Scrape every last drop. The stuff stuck to the churner blade? That’s the good stuff. Don’t let it go to waste.
Substitutions and Variations
Feeling adventurous? You’ve got options.
- Dairy-free version: Swap the heavy cream for full-fat coconut cream and the milk for almond or oat milk. It won’t taste exactly the same, but it’ll still be rich and dreamy.
- Low-sugar option: Use a natural sweetener like monkfruit or a stevia blend. Keep in mind: some sweeteners freeze harder, so texture might change a bit.
- Add-ins galore: Mix in crushed cookies, mini chocolate chips, caramel swirls, or berries just before freezing. Go wild. This is your ice cream.
- Flavor twist: Add a little almond extract for a deeper nutty note. Or swirl in a spoon of peanut butter. Trust me on that one.
Make Ahead Tips
If you’re hosting people (or you’re just planning ahead for future cravings), here’s what you can do:
- Mix your ice cream base up to 2 days ahead and keep it chilled in the fridge until ready to churn.
- Already churned and frozen? Make it up to a week in advance. It’ll taste freshest in that window.
Storage and Leftover Tips
So you’ve made more than you can eat in one sitting (first of all, proud of you). Here’s how to store it like a pro:
- Keep it in an airtight container. If it’s in there too long, ice crystals start forming. Still edible, just not as smooth.
- Cover the surface with a piece of parchment or plastic wrap before sealing the lid to prevent freezer burn.
- Let it sit at room temp for 5–10 minutes before scooping. Rock-hard ice cream is the enemy of your wrists.
Pair It With These for Maximum Joy
- Warm brownies (of course)
- Apple crisp
- Banana bread
- Toasted waffles
- Espresso (yup—affogato it)
If you’re feeling fancy, do a scoop on top of a grilled peach with a drizzle of honey. Or pair it with a shot of Irish cream. Or both. You’re the boss.
Frequently Asked Questions
Q: Can I use low-fat milk? Sure, but the creaminess will take a hit. Full-fat makes it luscious. Low-fat makes it more sorbet-ish.
Q: What if I don’t have an ice cream maker? Use the no-churn method above. Still super good. Slightly fluffier, less dense, but definitely delicious.
Q: Can I use real vanilla bean? Yes please. Slice it open, scrape out the seeds, and stir it in. Toss the pod into the mix too while it chills for an extra hit of flavor, then remove before churning.
Q: Mine turned out icy—why? Usually, it’s either the sugar wasn’t fully dissolved or the mixture wasn’t cold enough before freezing. Also: skip adding water-based stuff (like juicy fruit) unless you’re blending it in properly.
Q: How long will it keep in the freezer? Two weeks is the sweet spot. After that, it’s still edible, but you might notice a change in texture or taste.
Wrap Up
Look at you—making ice cream from scratch like a total pro. Whether you’re in it for the flavor, the fun, or the “I just really wanted ice cream and didn’t want to drive anywhere” vibe, this recipe has your back.
And hey, if you try it, tell me how it turned out! What did you add? Did you go full classic or throw in Oreos, cookie dough, or something wild I’ve never even thought of? Let’s talk about it in the comments. Because ice cream is better when shared.
Also, if you have questions, ask! No shame in needing a little help. We’re all just out here trying to make life sweeter—one scoop at a time.