
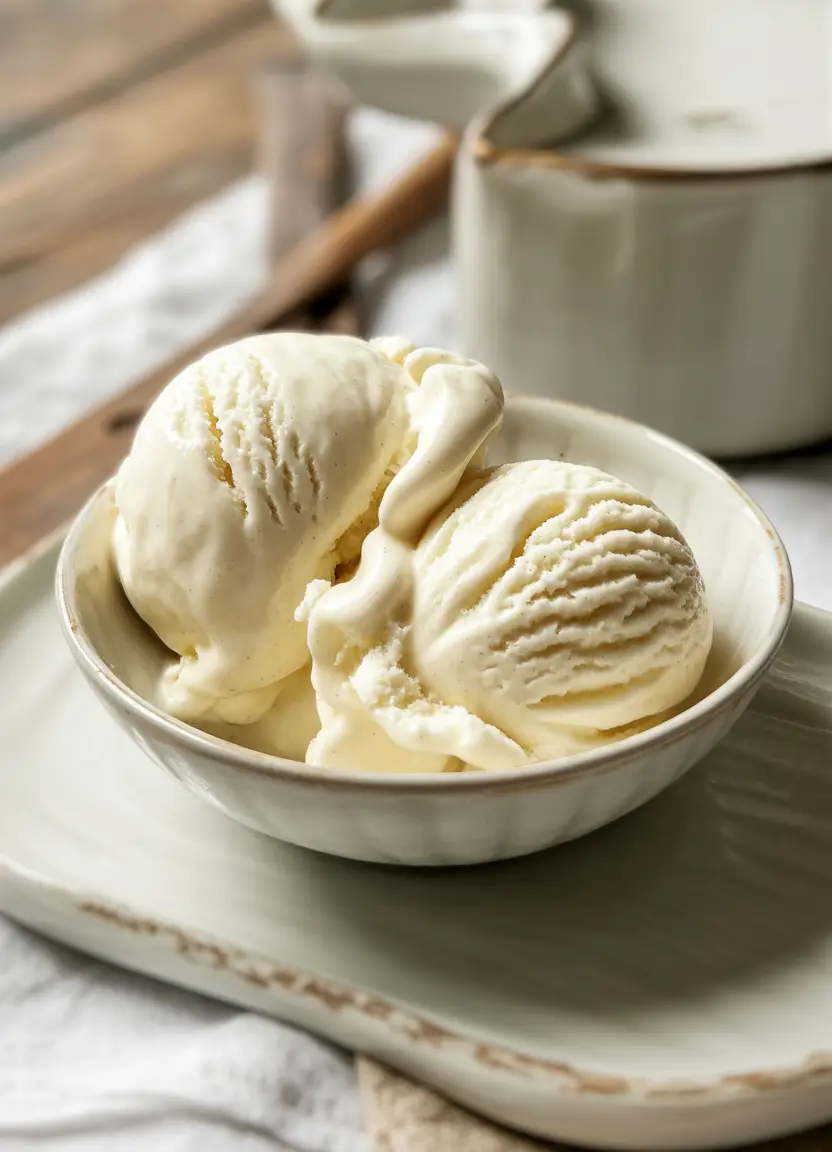
So you want to make homemade vanilla ice cream. First of all, high five to you. Not because you’re about to do something fancy—but because you’re about to do something simple that feels fancy. And if you’ve never done it before, you’re going to feel like a lowkey genius. The kind who quietly stirs a pot and later gets complimented by everyone with a “wait, YOU made this?”
Let’s be honest. There are two kinds of people in the world. People who think making ice cream from scratch sounds intimidating, and people who already made it once and realized it’s really not that deep. This is your transition moment from one to the other.
This recipe is about real ingredients. Real flavor. And a moment of peace while the machine does the work. You don’t need an ice cream lab. You don’t need a culinary degree. What you need is a pot, a little patience, and a willingness to let your kitchen smell amazing for a bit.
Let’s do this.
What You’ll Need
You know how some recipes have ingredient lists that read like a science textbook? This isn’t one of them. Just a few simple things make a big impact here.
- 1½ cups heavy cream
- 1½ cups whole milk
- ⅔ cup cane sugar (white sugar works too, but cane gives a slightly warmer flavor)
- 2 teaspoons vanilla extract (or go fancy with vanilla bean paste if you’re feeling bold)
- A small pinch of sea salt
That’s it. No eggs. No weird stabilizers. No mystery ingredients you have to Google before using.
And yeah, if you’re wondering, you really do need both milk and cream. They work together. Cream brings richness. Milk keeps it from becoming butter. It’s a dream team situation.
The (Non-Scary) Method
Alright, here’s how this works:
- Heat things up. Grab a medium saucepan and combine the milk, cream, sugar, salt, and vanilla over medium heat. Don’t boil it. Just warm it up until the sugar dissolves. It’ll smell like magic. Stir occasionally, and you’ll know it’s ready when the sugar isn’t hanging out at the bottom of the pot anymore.
- Let it chill. Literally. Pour the mixture into a bowl (preferably metal or glass), cover it, and let it hang out in your fridge for a minimum of 2 hours. Overnight is even better. This is where the texture levels up.
- Churn it. Once it’s fully chilled, pour it into your ice cream maker and follow the instructions that came with it. Usually takes about 20–30 minutes. You’ll see it go from “is this doing anything?” to “ok wow that looks like ice cream” real quick.
- Firm it up. At this point, you technically could eat it straight from the machine. It’ll be soft and melty and wonderful. But if you want those clean scoops and firmer texture, transfer it to an airtight container, smooth the top, press a piece of plastic wrap directly onto the surface (this stops freezer burn), and freeze for another 2–4 hours.
That’s it. Homemade vanilla ice cream. No drama, no regrets.

Tools You’ll Want
If you’re new to this, here’s what helps:
- Ice cream maker (freezer bowl or compressor-style)
- Medium saucepan
- Whisk
- A mixing bowl
- Plastic wrap
- A sturdy airtight container for storage
- Ice cream scoop (the good kind that doesn’t bend)
Also, pro tip: stick your ice cream container in the freezer while you churn. Pouring soft ice cream into a pre-chilled container = less melting = better texture.
Let’s Talk Pro Tips
Not everything makes it into the basic instructions. These are the quiet heroes that make the process even smoother.
- Freeze the ice cream bowl overnight. Seriously. At least 12 hours. Nothing kills the vibe like your machine giving up halfway because the bowl wasn’t cold enough.
- Use vanilla bean paste for depth. It adds this slightly floral, real-vanilla flavor that’s just better than extract. Not essential, but if you want that extra layer, go for it.
- Don’t rush the chill. The colder your base, the smoother your churn. Warm base = icy, grainy texture. Cold base = creamy magic.
- Want mix-ins? Add them at the end. Toss in chocolate chips, fruit, crushed cookies, whatever you’re into. But only during the last few minutes of churning, or they’ll sink straight to the bottom.
- Scoop with a warm spoon. Run it under hot water first. Your wrists will thank you.
Substitutions & Variations
Let’s say you want to switch things up a bit. Good news: you can.
- Dairy-free option: Use full-fat coconut milk and a bit of cornstarch to thicken if needed. Almond milk works too, but the texture gets icier.
- Lower sugar: Cut sugar to ½ cup. It won’t be as rich-tasting, but still solid.
- Boozy twist: Add a tablespoon of rum or bourbon. Not enough to get tipsy, but enough to keep it scoopable and add depth.
- Spice it up: Try cinnamon, cardamom, or even a bit of espresso powder. Vanilla is the perfect blank canvas.
Make-Ahead Friendly?
Absolutely. You can make the base up to 2 days in advance. In fact, that overnight chill in the fridge? It’s encouraged. When you’re ready, just churn and freeze.
Want to prep a week ahead? Go for it. This ice cream holds up beautifully for at least two weeks in a proper airtight container.
Leftovers & Storage
Technically, it’ll keep in the freezer for about a month. Realistically? You’ll finish it long before that.
Just a few things to remember:
- Press plastic wrap onto the surface before sealing the lid. It keeps ice crystals from forming.
- Let it sit out for 5 minutes before scooping. Homemade ice cream is firmer than store-bought because it doesn’t have all the commercial softeners and gums.
- If it does get too hard, transfer a portion to the fridge for 10–15 minutes before scooping.
Pairings That Just Work
You’ve got options. This is a versatile flavor that plays well with almost everything.
- Fresh summer berries
- Warm brownies
- Crumbly apple pie
- Drizzles of salted caramel or melted chocolate
- Waffles, because why not
Or just a spoon. No judgment.
Ingredient Swaps for Special Diets
Whether you’re making this for yourself or guests, here’s how to accommodate different preferences:
- Vegan: Full-fat coconut milk + coconut cream. Add 1 tsp cornstarch to help thicken the base.
- Low-carb/keto: Use a sugar substitute like allulose or erythritol. Note: some subs don’t behave the same way when frozen, so texture might vary slightly.
- Nut-free: This one already is.
- Gluten-free: Also yes—just avoid add-ins that may contain gluten.
Nutrition Breakdown (Per ½ cup serving)
- Calories: ~200
- Fat: 15g
- Carbs: 17g
- Sugar: 16g
- Protein: 2g
Keep in mind this is a treat. A feel-good, worth-it, better-than-store-bought kind of treat.
FAQ: Because You’re Probably Wondering
Can I make this without an ice cream maker? Yes, but it won’t be quite as creamy. Whip 2 cups of heavy cream to soft peaks, fold in 1 can sweetened condensed milk + vanilla, then freeze. It’s surprisingly good.
Why no eggs in this recipe? This is a Philly-style ice cream—lighter, faster, and eggless. It’s less custardy, more milky-vanilla. If you want a custard base, that’s a whole different method.
Can I double the batch? Absolutely, as long as your ice cream maker can handle it. If not, churn in two rounds.
Why does it taste icy? Usually happens if the base wasn’t chilled enough, or your machine didn’t stay cold. Make sure your freezer bowl is frozen solid and your base is fridge-cold.
Wrap Up
So there you have it—your golden ticket to creamy, cold vanilla goodness that tastes like something straight out of a summer daydream. Homemade ice cream doesn’t have to be complicated. It just has to be real.
Now it’s your turn. Whip this up, take that first bite, and try not to smile (spoiler: you will). If you try this recipe, drop a comment. Let me know how it turned out, if you added a twist, or if you’ve got a question. I’d love to hear how it went.
Because when you make something this good from scratch? Yeah, you deserve to brag a little.