
Ok, let’s just be honest for a second. There are regular cookies, and then there are Milano cookies.
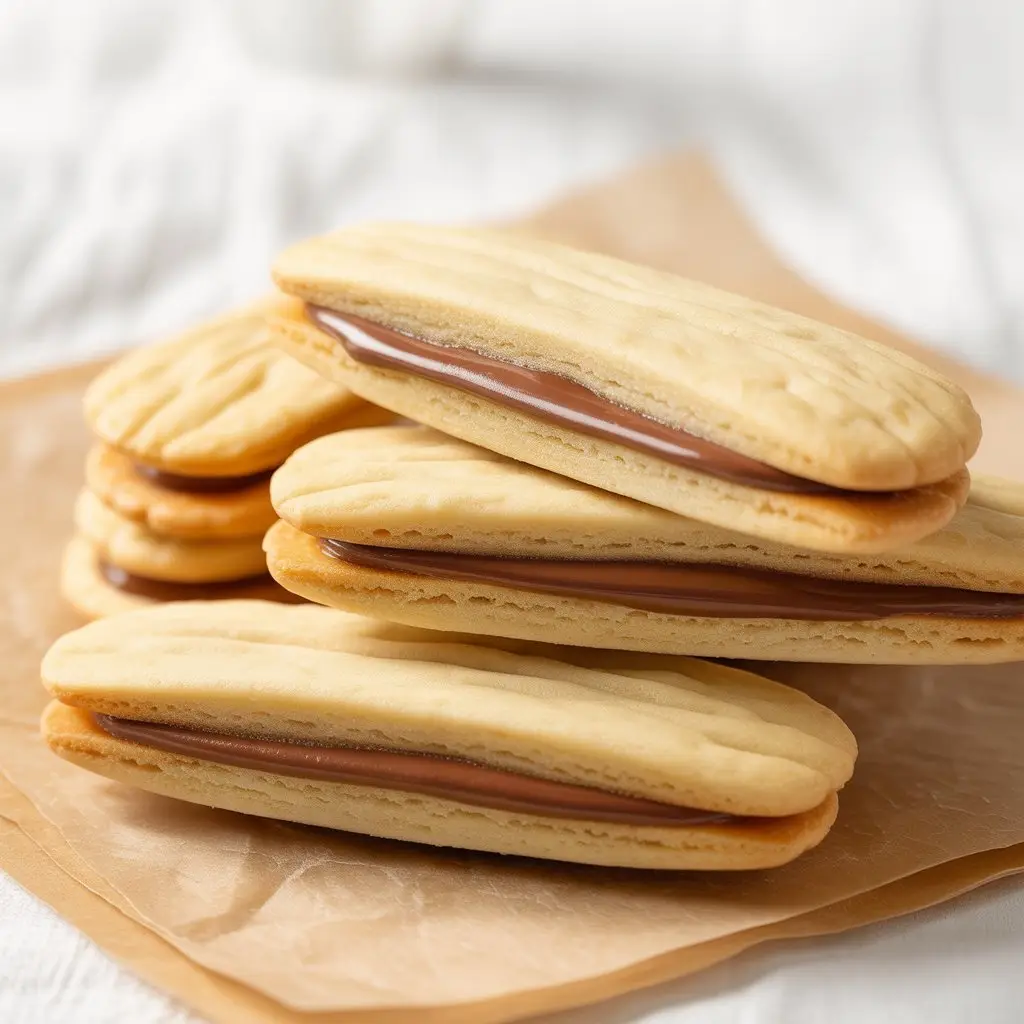
You know the ones. The crisp, oval-shaped biscuits that feel just a little bit fancy. The ones that make you want to stick your pinky out while you dunk them in coffee.
For the longest time, I just figured they were one of those things you had to buy. Like they were made by wizards in a secret cookie factory or something. They just seemed too delicate, too perfect to make at home.
Turns out, I was totally wrong.
Making them yourself is not only possible, but it’s also one of those ridiculously rewarding baking projects that makes you feel like a legit pastry chef. And they taste even better than the ones from the bag. Seriously.
So let’s get into it. I’ll walk you through everything, and I promise it’s easier than you think.
What You’ll Need
First things first, let’s get your ingredients lined up. It’s mostly basic stuff you might already have hanging around.
For the Cookies:
- 1 cup all-purpose flour
- 1/2 cup unsalted butter, softened to room temperature
- 3/4 cup powdered sugar
- 3 large egg whites, at room temperature
- 1 teaspoon vanilla extract
- 1/4 teaspoon salt
For the Chocolate Filling:
- 4 ounces good-quality dark chocolate (or semi-sweet), chopped
- 1 teaspoon coconut oil or vegetable shortening (this is optional, but helps)
Tools For The Job
You don’t need a professional kitchen, just a few key things. Having these ready will make your life a whole lot easier.
- Baking sheets
- Parchment paper or a silicone baking mat
- Electric mixer (handheld or stand mixer works great)
- Piping bag with a 1/2-inch round tip (or a Ziploc bag)
- Spatula
- Microwave-safe bowl
- Cooling rack
Pro Tips
Alright, before you dive in, let me give you a few tips I learned the hard way. These will help you avoid some of the… let’s call them “learning experiences” I had.
- Don’t Skip the Room Temp Ingredients: I know, it’s annoying to wait. But having your butter and egg whites at room temperature is a game-changer. It helps everything mix together smoothly and prevents a lumpy batter. Cold butter is your enemy here.
- The “Two-Inch Rule” is Real: These cookies spread. A lot. When you pipe them, leave at least 2 inches of space between each one. If you don’t, you’ll end up with one giant, sad cookie-puddle instead of elegant little ovals. Trust me on this.
- Watch Them Like a Hawk: The difference between a perfectly golden-brown edge and a burnt cookie is about 30 seconds. Seriously. Stay near your oven, especially for the first batch, until you know exactly how your oven behaves.
- Chill Out (The Cookies, Not You): Make sure the cookies are completely, 100% cool before you even think about adding the chocolate. Warm cookies and melted chocolate create a soupy mess that will break your heart.
How to Make Homemade Milano Cookies
Ready? Here’s the step-by-step. Don’t overthink it, just follow along.
Step 1: Preheat your oven to 350°F (175°C). Line two large baking sheets with parchment paper. This is non-negotiable if you want the cookies to come off easily.
Step 2: In a large bowl, use an electric mixer to beat the softened butter and powdered sugar together on medium speed until the mixture is light and fluffy. This usually takes about 2-3 minutes.
Step 3: Add the egg whites one at a time, mixing well after each one. Then, mix in the vanilla extract and salt. Scrape down the sides of the bowl with a spatula to make sure everything is incorporated.
Step 4: Gradually add the flour to the wet ingredients, mixing on low speed until it’s just combined. Don’t overmix! Overmixing develops the gluten and makes the cookies tough instead of delicate.
Step 5: Transfer the batter to a piping bag fitted with a 1/2-inch round tip. If you don’t have one, a sturdy Ziploc bag with a corner snipped off works in a pinch. Pipe the batter onto your prepared baking sheets in 3-inch long lines, remembering to leave that 2-inch space between each one.
Step 6: Bake for 10-12 minutes, or until the edges are a lovely golden brown. The centers should still be pale. Let them cool on the baking sheet for a couple of minutes before carefully transferring them to a wire rack to cool completely.
Step 7: While the cookies are cooling, let’s make the filling. Place your chopped chocolate and the coconut oil (if you’re using it) in a microwave-safe bowl. Microwave in 20-second bursts, stirring in between, until it’s smooth and fully melted. Be careful not to burn it.
Step 8: Once the cookies are totally cool, it’s time to assemble. Find cookie pairs that are similar in size and shape. Spread a thin layer of melted chocolate on the flat side of one cookie and gently press another cookie on top to make a sandwich. Place the finished cookie back on the parchment paper.
Step 9: Let the cookies sit at room temperature for about an hour or two, or pop them in the fridge for about 15-20 minutes to help the chocolate set firmly.
Possible Substitutions and Variations
Want to mix it up a bit? I get it. Here are a few ideas.
| Ingredient | Substitution/Variation Idea |
|---|---|
| Vanilla Extract | Use almond, peppermint, or orange extract for a different flavor. |
| Dark Chocolate | Milk chocolate, white chocolate, or even Nutella will work. |
| The Whole Vibe | Add a little bit of orange or lemon zest to the batter for a citrusy kick. |
Make-Ahead Tips
If you want to get a head start, you totally can.
The cookie batter can be made, placed in the piping bag, and stored in the fridge for up to 2 days. Just let it sit at room temperature for about 20-30 minutes before piping, as it will be quite stiff.
You can also bake the cookies ahead of time and store them in an airtight container at room temperature for a couple of days before filling them with chocolate.
Nutritional Info and Pairing Ideas
Just a heads-up, this is a rough estimate. Your numbers might be a little different depending on the exact ingredients you use and the size of your cookies.
| Nutrient | Amount |
|---|---|
| Calories | ~95 kcal |
| Fat | ~5g |
| Carbohydrates | ~11g |
| Protein | ~1g |
What to Serve Them With
These cookies are pretty great on their own, but they’re even better with a friend.
- A hot cup of coffee or a latte
- Your favorite black or herbal tea
- A cold glass of milk
- A scoop of vanilla bean ice cream
Leftovers and Storage
If you somehow have leftovers, which I honestly doubt, storing them is easy.
Keep the finished cookies in an airtight container at room temperature. They should stay crisp and delicious for up to 5 days.
I wouldn’t recommend freezing the finished cookies, as the texture can get a little weird upon thawing. But you can freeze the plain, unfilled cookie biscuits between layers of parchment paper for up to a month.
Frequently Asked Questions
Q1. Why did my cookies spread so much and become super thin?
Ans: This is the most common issue! It’s usually one of two things: your butter was too soft (like, melty soft instead of just room temp), or you didn’t measure your flour correctly. Also, make sure your baking sheets aren’t warm from a previous batch when you pipe the batter on.
Q2. Can I make these gluten-free?
Ans: Yes, you can. A good quality 1-to-1 gluten-free baking flour blend should work well as a substitute for the all-purpose flour. The texture might be slightly different, a bit more delicate, but they’ll still be great.
Q3. My batter seems really runny. What did I do wrong?
Ans: The batter for these cookies, called a “langue de chat” batter, is supposed to be on the softer, runnier side compared to typical drop cookies. But if it seems way too liquidy, you may have over-mixed the egg whites or your butter was too warm. You can try chilling the batter in the fridge for 20-30 minutes to help it firm up before piping.
Q4. Do I have to use a piping bag?
Ans: A piping bag gives you the most control and the classic shape. But if you don’t have one, you can use a small spoon to drop small amounts of batter and then use the back of the spoon to gently spread it into an oval shape. It’s a bit more work, but totally doable.
Wrapping Up
And that’s it! You just made your own batch of fancy, delicious, better-than-the-store Milano cookies. See? Not so intimidating after all.
There’s something so satisfying about recreating a classic treat in your own kitchen. It just tastes a little sweeter when you’ve made it yourself.
So go ahead, give it a try. And when you do, I’d love to hear how it went! Drop a comment below and let me know if you tried any fun variations or if you have any questions. I’m always here to help.