
“`html
The Only Peppermint Bark Brownie Recipe You’ll Ever Need
I have a confession. For years, the holiday season gave me a tiny bit of baking anxiety. Everyone’s showing up with these gorgeous, intricate desserts, and I’m standing there with a plate of slightly-burnt-on-the-edges cookies.
It felt like you had to choose: either spend eight hours on a dessert that looks amazing, or make something simple that, well, looks simple. I just wanted something that looked like I was a pastry genius but was secretly easy enough to make after a long day of work.
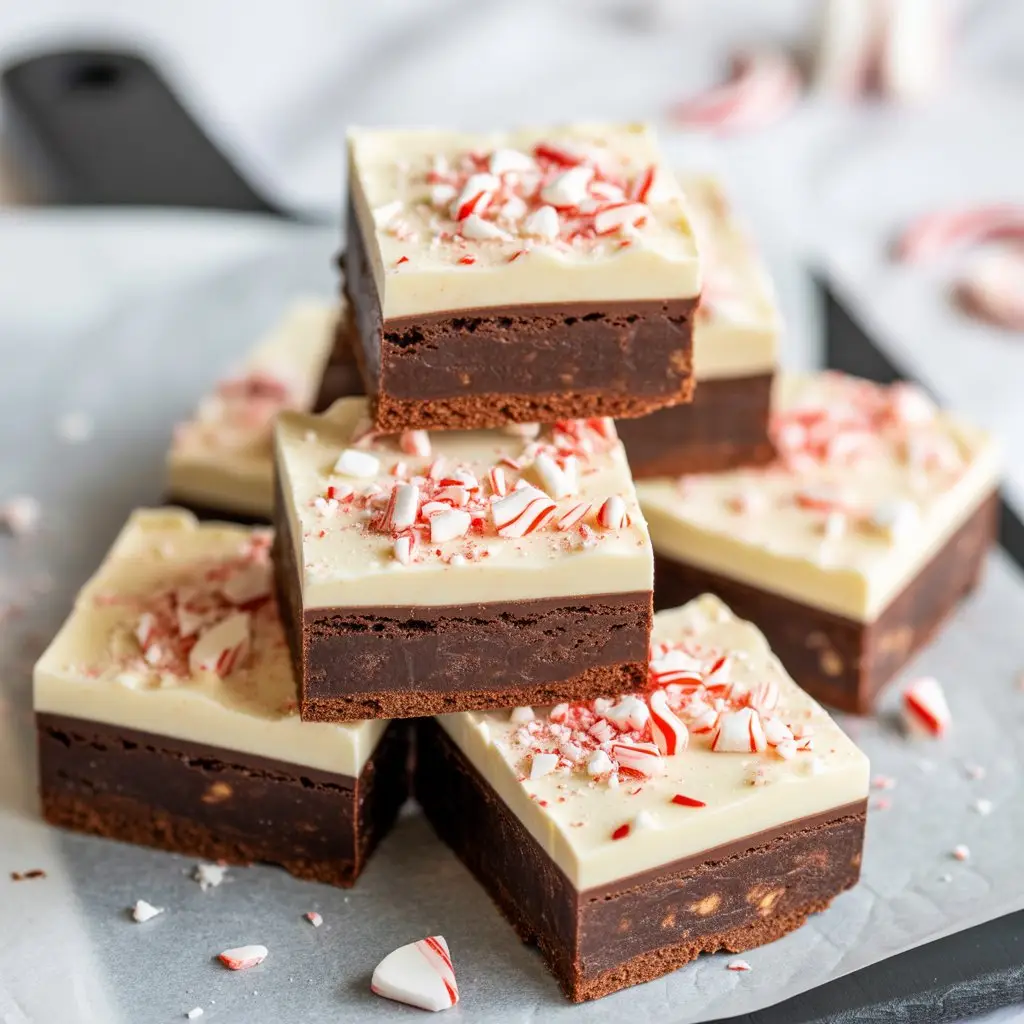
Then I stumbled upon this combination. Fudgy, decadent brownies topped with a crisp, cool layer of peppermint bark. Seriously, this is the one. It’s my secret weapon for holiday parties, cookie exchanges, or just a random Tuesday when I need a serious chocolate fix.
It looks so impressive, but trust me, it’s almost foolproof. We’re basically making a simple pan of brownies and then dressing them up in their fanciest holiday outfit. You can totally do this.
What You’ll Need
Here’s the breakdown of ingredients. I split it into two parts so it’s easier to grab everything you need without getting confused.
For the Brownies:
- 1 cup (2 sticks) unsalted butter, melted
- 2 cups granulated sugar
- 4 large eggs
- 1 teaspoon vanilla extract
- 1/2 teaspoon peppermint extract
- 1 cup all-purpose flour
- 3/4 cup unsweetened cocoa powder
- 1/2 teaspoon baking powder
- 1/4 teaspoon salt
For the Peppermint Bark Topping:
- 1 cup (about 6 ounces) semisweet or dark chocolate chips
- 1 1/2 cups (about 9 ounces) white chocolate chips
- 1/2 teaspoon peppermint extract
- 1/2 cup crushed candy canes or peppermint candies
Pro Tips
I’ve made these brownies more times than I can count, and I’ve learned a few things the hard way. Here are some tips so you can get them perfect on the first try.
1. Don’t Overmix the Batter: After you add the flour and cocoa powder, mix only until you don’t see any more dry streaks. Overmixing develops the gluten in the flour, which leads to tough, cakey brownies instead of the dense, fudgy ones we’re aiming for. A few gentle folds with a spatula is all it takes.
2. The Parchment Paper Sling: This is a lifesaver. Cut a piece of parchment paper to fit the bottom of your pan, but leave a few inches of overhang on two opposite sides. Lightly grease the pan, place the parchment in, and then grease the parchment. When the brownies are done and cooled, you can just lift them out of the pan using the parchment “handles.” No more mangled first pieces.
3. Gentle on the White Chocolate: White chocolate can be fussy. It seizes up and gets grainy if you overheat it. The best way to melt it is in the microwave in a microwave-safe bowl. Heat it in 20-second bursts, stirring well after each one. It might seem like it’s not melting, but keep stirring. The residual heat will melt the remaining chips. Stop when it’s about 90% melted and just stir until it’s smooth.
4. Crush with Confidence: The easiest way to crush candy canes is to unwrap them, place them in a sturdy zip-top bag, and whack them with a rolling pin, a meat mallet, or even the bottom of a heavy pan. You want a mix of fine dust and small chunks for the best texture.
Tools Required
- 9×13 inch baking pan
- Parchment paper
- Large mixing bowl
- Medium mixing bowl
- Whisk
- Spatula
- Microwave-safe bowls (for melting chocolate)
- Offset spatula or a butter knife
- Rolling pin or meat mallet
Substitutions and Variations
One of the best things about this recipe is how you can tweak it. Don’t have something on hand or want to try something new? No problem.
| Ingredient | Substitution/Variation | Notes |
|---|---|---|
| All-Purpose Flour | 1-to-1 Gluten-Free Flour Blend | Makes the recipe gluten-free. |
| Unsalted Butter | Plant-based butter sticks | For a dairy-free/vegan version. |
| Eggs | Flax eggs (4 tbsp ground flax + 12 tbsp water) | For a vegan version. |
| Dark Chocolate Chips | Andes mints, chopped | Adds a different mint-chocolate flavor. |
| Candy Canes | Crushed peppermint hard candies | Works exactly the same. |
Make Ahead Tips
If you want to get a head start, you absolutely can. Bake the brownies as directed but don’t add the topping. Let them cool completely, then cover the pan tightly with plastic wrap or foil.
They can sit on the counter for up to two days. When you’re ready to serve, just prepare and add the peppermint bark topping. It saves a lot of time on the day of an event.
How to Make Peppermint Bark Brownies: Step by Step
Step 1: Preheat your oven to 350°F (175°C). Prepare your 9×13 inch pan by lining it with a parchment paper sling and lightly greasing it.
Step 2: In a large bowl, whisk together the melted butter and granulated sugar until they’re well combined. It might look a little grainy, and that’s perfectly fine.
Step 3: Add the eggs one at a time, whisking well after each one. Then, stir in the vanilla extract and the first 1/2 teaspoon of peppermint extract.
Step 4: In a separate, medium bowl, whisk together the all-purpose flour, cocoa powder, baking powder, and salt. This prevents clumps of cocoa or baking powder in your final brownies.
Step 5: Gently fold the dry ingredients into the wet ingredients using a spatula. Remember the pro tip: mix only until there are no dry streaks left. Do not overmix!
Step 6: Pour the batter into your prepared pan and spread it into an even layer with the spatula. Bake for 25-30 minutes, or until a toothpick inserted into the center comes out with moist crumbs, but not wet batter.
Step 7: Let the brownies cool completely in the pan. This is important! If you try to add the topping while they’re warm, you’ll have a melty mess.
Step 8: Once the brownies are cool, melt the semisweet or dark chocolate chips. Spread this melted chocolate in a thin, even layer over the top of the brownies. Pop the pan in the refrigerator for about 15-20 minutes, just until that layer is set.
Step 9: While the first chocolate layer is chilling, melt the white chocolate chips. Once melted and smooth, stir in the remaining 1/2 teaspoon of peppermint extract.
Step 10: Take the pan out of the fridge. Pour the melted white chocolate over the set dark chocolate layer and spread it evenly. Immediately sprinkle the crushed candy canes all over the top.
Step 11: Place the pan back in the refrigerator for at least 30 minutes, or until the topping is completely firm. Once it’s set, use the parchment sling to lift the brownies out, place them on a cutting board, and slice them into squares.
Nutritional Info, Pairings, and More
Here’s a little more info to help you out.
Estimated Nutritional Breakdown
This is just an approximation and can vary based on your specific ingredients. This is for one brownie, assuming you cut the pan into 24 squares.
| Nutrient | Approximate Amount |
|---|---|
| Calories | 250 kcal |
| Fat | 14g |
| Carbohydrates | 30g |
| Protein | 3g |
| Sugar | 25g |
Meal Pairing Suggestions
These brownies are rich, so they go best with something simple. A cold glass of milk is classic for a reason. They’re also fantastic with a hot cup of black coffee or a simple peppermint tea to really lean into the holiday theme.
Cooking Time Efficiency Tips
Read the whole recipe before you start. It sounds basic, but it’s the best tip. Measure out all your ingredients (this is called “mise en place”) before you mix anything. While the brownies are baking, you can crush your candy canes and get your chocolate ready for melting. Work smart, not hard!
Leftovers and Storage
If you somehow have leftovers, they store really well. Place them in an airtight container.
They’ll keep on the counter for about 3 days, but I prefer storing them in the refrigerator. The topping stays nice and crisp in the cold. They’ll last up to a week in the fridge.
You can also freeze them! Cut them into squares and place them in a single layer on a baking sheet to freeze solid. Then, transfer them to a freezer-safe bag or container. They’ll be good for up to 3 months.
Frequently Asked Questions
Q1. Why did my white chocolate topping get all thick and clumpy?
Ans: This almost always means the white chocolate was overheated, or a tiny bit of water got into it. When melting, go slow with low heat (or short bursts in the microwave) and make sure your bowls and utensils are completely dry.
Q2. Can I use milk chocolate chips instead of dark chocolate for the first layer?
Ans: Yes, you can! It will make the whole dessert a bit sweeter, as milk chocolate has more sugar. The dark chocolate provides a nice, rich contrast to the sweet topping, but milk chocolate will still be delicious.
Q3. My brownies came out more cakey than fudgy. What did I do wrong?
Ans: Two likely culprits here. You might have overmixed the batter after adding the flour, or you might have overbaked them slightly. For fudgy brownies, it’s better to pull them from the oven a minute early than a minute late.
Wrapping Up
So there you have it. A dessert that looks like it came from a fancy bakery but is genuinely simple to pull together in your own kitchen. It hits all the right notes: rich, fudgy, chocolatey, and coolly minty.
It’s the kind of recipe that builds confidence and makes you feel like a holiday hero. I really hope you give these a try.
If you do make them, I’d love to hear how they turned out! Leave a comment below and let me know if you made any fun variations or if you have any questions. Happy baking!
“`