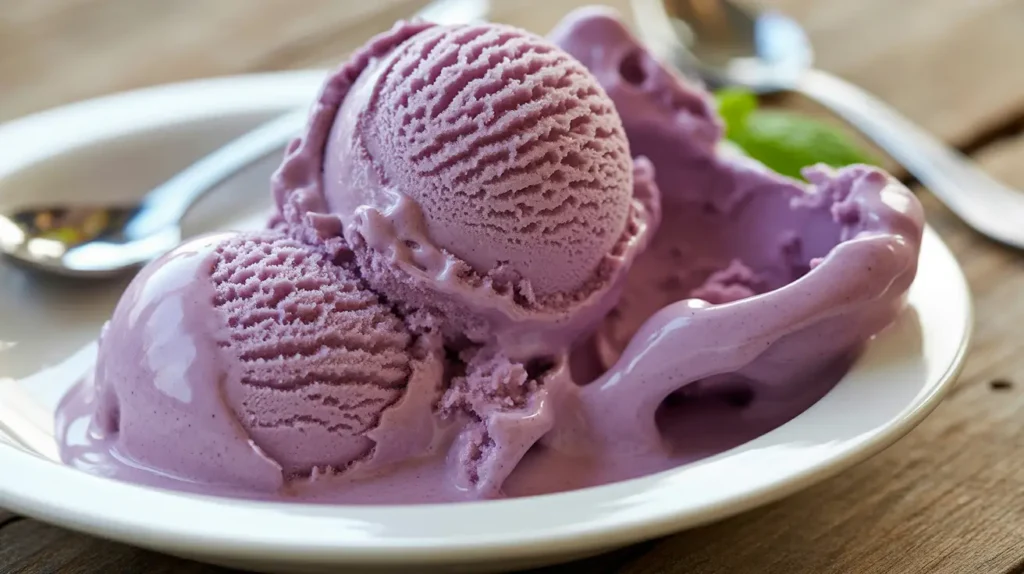
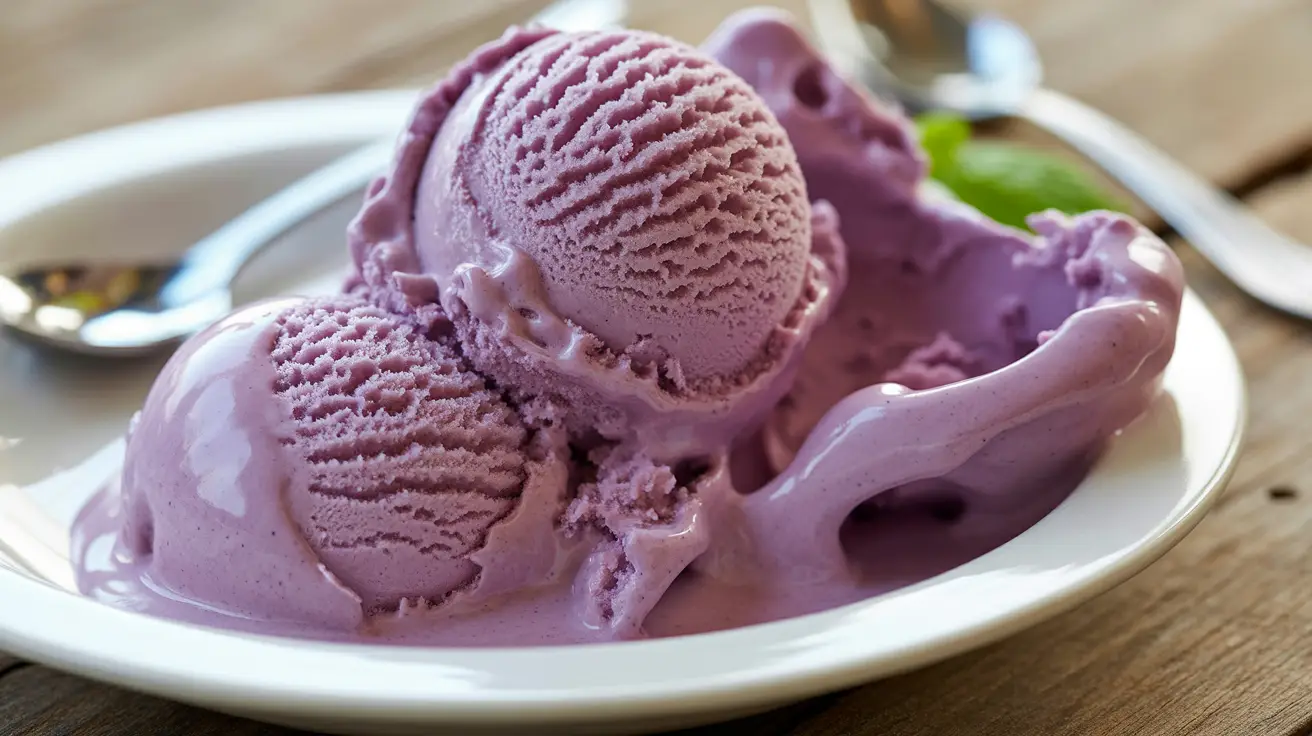
You ever have one of those days where you just want to sit on the couch, zone out, and eat something cold, creamy, and a little bit magical?
Yeah, me too.
Now, I don’t know about you, but sometimes I want something a little lighter. Something fruity. Something sweet, but not sugary in a way that makes me want to nap after.
That’s where this ridiculously refreshing grape juice ice cream comes in.
It’s fruity. It’s creamy. It’s got that nostalgic grape soda flavor without all the junk. And it’s actually super easy to make.
Plus, if you’ve never made ice cream at home before, this is the one to start with. It’s no-fuss, easy to adapt, and doesn’t require you to be a culinary genius with a blowtorch and a PhD in frozen desserts.
So, whether you’re trying to cool off during the summer, surprise your kids (or yourself) with a healthier dessert, or just want something fun to try this weekend… this one’s for you.
Let’s jump in.
What You’ll Need
Here’s your shopping list, minus the stress. If you’ve got grape juice, you’re halfway there.
- 2 cups 100% grape juice (the good stuff, not grape “drink” with 20% juice and vibes)
- 1 cup heavy cream (this is where the creamy magic comes in)
- 1 cup whole milk
- ¾ cup sugar (or a little less if you like things more subtle)
- 1 tablespoon lemon juice (optional but adds a nice little zing)
- 1 teaspoon vanilla extract (also optional, but kinda smooths things out)
That’s it. No weird stabilizers. No weird ingredients you have to hunt down from a store that smells like incense and sells crystals. Just simple stuff that works.
So Why Grape Juice?
Great question.
First of all, it’s nostalgic. Grape flavor is like childhood in a bowl. But second—grape juice has a bold enough flavor to hold its own even after being frozen.
A lot of fruity flavors get muted in the freezer, but not this one. It keeps its character, and if you’re using a juice with no added sugar, you get all that goodness with none of the weird aftertaste.
Ice Cream Doesn’t Have to Be Complicated
I used to think homemade ice cream was some big project that needed an ice cream maker the size of a washing machine and a full afternoon of free time.
Nope.
You can make this with or without an ice cream maker. You just need a bowl, a whisk, and a little bit of patience. (Actually, scratch that—who has patience? You just need to be willing to wait a few hours.)
Let me break it down for you.
How to Make It
Step 1: Whisk Everything
In a big bowl, combine your grape juice and sugar first. Whisk until the sugar dissolves. It doesn’t have to be perfect, but no big grains floating around, please.
Then, add your milk, heavy cream, lemon juice, and vanilla. Whisk again until everything’s cozy and smooth.
Stick it in the fridge for 30–60 minutes to chill. This helps the ice cream freeze faster and smoother later.
Step 2: Churn (or Stir Like a Rebel)
If you have an ice cream maker: Pour the chilled mixture into your machine and churn according to the instructions (usually around 20–25 minutes). You’ll know it’s ready when it looks like soft-serve.
If you don’t: Pour the mix into a freezer-safe container and freeze it for 45 minutes. Take it out, stir it like you’re trying to ruin a snow globe, and pop it back in. Repeat that every 30 minutes for 3–4 hours.
Yes, it’s a bit of a dance. But the texture payoff is worth it.
Step 3: Freeze It Down
Once it’s churned (or stirred to oblivion), transfer to a container with a lid. Press a piece of plastic wrap directly onto the surface.
This helps prevent ice crystals from forming. We want creamy, not crunchy.
Freeze for 4–6 hours minimum, overnight if you’ve got that kind of chill.

Pro Tips From Someone Who’s Messed This Up Before
Look, I’ve made enough freezer soup in my life to know what works and what… should be fed to the garbage disposal. Here are some tips to save you from that fate:
- Chill your base. This seems extra, but don’t skip it. If your base is cold before it hits the machine, your ice cream will freeze better and get smoother.
- Use full-fat dairy. Don’t play with skim milk here. You need the fat for texture. If you want dairy-free, go full-fat coconut milk.
- Don’t skimp on sweetener. Cold dulls sweetness. If it tastes “just right” before freezing, it’ll taste bland after.
- Plastic wrap on top = no icy film. This step takes two seconds and saves your texture.
- Let it soften before scooping. Ice cream straight from the freezer is like trying to cut diamonds. Give it 5–10 minutes.
Possible Variations & Substitutions
You’re not locked into one path here. Ice cream is flexible (well, not literally).
- Dairy-free? Use coconut cream and almond milk. You’ll get a tropical vibe that honestly works really well with grape.
- No sugar? Use honey or maple syrup. Or a sugar substitute like stevia—just adjust for sweetness.
- Want a swirl? Add a spoonful of peanut butter, swirl in yogurt, or drizzle with white chocolate sauce.
- Feeling extra? Add mini marshmallows, crushed graham crackers, or chocolate chips. I’m not stopping you.
Make-Ahead Tips (Because Life Gets Busy)
This is a great dessert to prep the night before a get-together. Make the base in the evening, churn it in the morning, freeze, and by dinner—it’s ready to steal the show.
Even better? You can double the recipe and keep a batch on standby in the freezer for whenever life throws you a “you deserve a treat” moment.
Nutrition Breakdown (Just in Case You’re Curious)
Here’s a rough estimate for a half-cup scoop:
- Calories: ~210
- Fat: 10g
- Carbs: 27g
- Protein: 3g
Obviously, this isn’t a “diet food,” but it’s honestly lighter than most store-bought options. And you get to control what goes in it.
Want to make it lower calorie?
- Use light cream or half-and-half
- Cut the sugar by a third
- Add extra fruit purée for natural sweetness
Storage & Leftover Tips
Once your ice cream is frozen, store it in an airtight container in the coldest part of your freezer.
If you can, press plastic wrap directly on the surface. Keeps those crystals away.
It’ll last for about 2 weeks. After that, it’s still safe, just not as creamy.
Got leftovers?
- Sandwich it between two cookies (you’re welcome)
- Blend into a milkshake
- Or just eat it straight out of the tub while watching something trashy and comforting. No judgment.
Frequently Asked Questions
Can I use fresh grapes instead of juice? Totally. Just blend, strain, and use the liquid. Will taste even fresher.
Do I really need heavy cream? Yes. It’s where the smooth texture comes from. If you use just milk, it’ll be icy.
Is it worth buying an ice cream maker? If you like making homemade ice cream more than once a year—yes. It saves time and gives more consistent results.
Can I add mix-ins? Absolutely. Add crushed cookies, chopped fruit, or swirls after churning (before final freeze).
How do I know when it’s done churning? It should look like soft-serve and hold its shape. If it’s still liquidy, give it more time.
Wrap Up
Here’s the thing: you don’t have to be a professional chef to make something special.
This grape juice ice cream is proof.
It’s simple. It’s fun. It’s ridiculously refreshing. And it’s the kind of recipe that makes you feel like, “Yeah, I did that.”
So try it out. See what you think. Tweak it to make it yours. And when you do, drop me a comment. I wanna know: did you add peanut butter? Did you make it vegan? Did your kids love it?
Or maybe you just made it for yourself after a long day. That counts too.
Either way, you’ve got this. And I can’t wait to hear how it turns out.


Leave a Reply