
Okay, let’s have a little chat. There are regular desserts, and then there are the kinds of desserts that you think about for days. This is one of those.
I stumbled upon this combination by accident. I was trying to make oatmeal cookies, got distracted by a phone call, and somehow ended up with a jar of caramel sauce in my hand. Don’t ask.
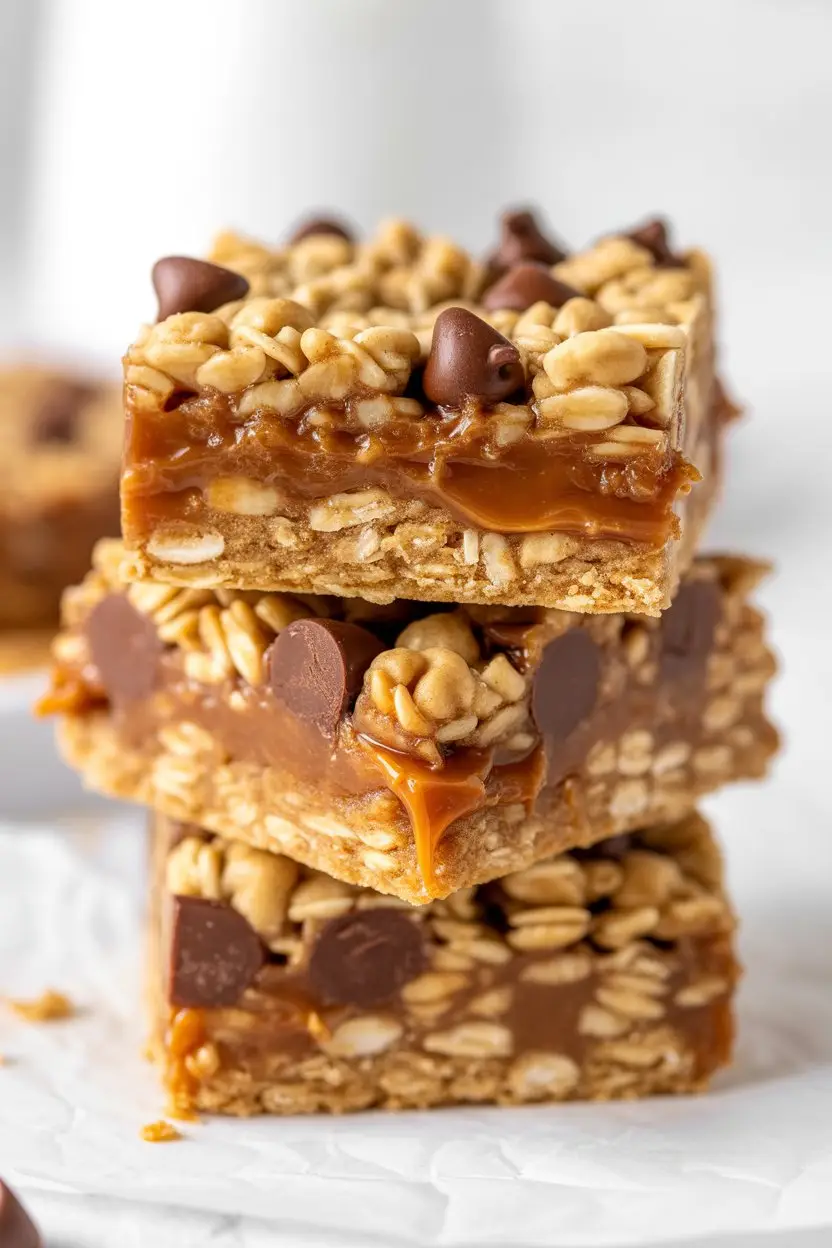
But that happy little accident led to this. A chewy, oaty cookie base, a gooey layer of homemade salted caramel, and a generous sprinkle of chocolate chips. It’s a whole experience.
It’s the kind of treat you make when you want to impress people without actually putting in a ton of effort. It looks fancy, but between you and me, it’s ridiculously simple. So let’s get into it.
What You’ll Need
Here’s the breakdown of everything you’re going to need. I highly recommend using good quality ingredients, especially for the butter and chocolate. It really does make a difference you can taste.
For the Oat Cookie Base and Topping:
- 2 cups all-purpose flour
- 2 cups old-fashioned rolled oats (not the quick-cooking kind!)
- 1 ½ cups packed brown sugar
- 1 teaspoon baking soda
- ½ teaspoon salt
- 1 cup (2 sticks) unsalted butter, melted
- 1 cup semi-sweet chocolate chips
For the Salted Caramel Filling:
- 1 cup (2 sticks) unsalted butter
- 1 cup packed brown sugar
- 4 tablespoons light corn syrup
- ½ cup sweetened condensed milk
- 1 teaspoon pure vanilla extract
- 1 teaspoon sea salt (the flaky kind is AMAZING for this)
Pro Tips
I’ve made these bars more times than I can count, and I’ve learned a few things along the way. These little tricks will help you get them perfect on your first try.
- Don’t Rush the Caramel: Seriously. When you’re making the caramel, keep the heat on medium-low and stir constantly. If you try to speed it up with high heat, you risk scorching the sugar, and nobody wants burnt-tasting caramel. Patience is your best friend here.
- The Parchment Paper Sling: Line your baking pan with parchment paper, but leave some hanging over the sides. This creates a “sling” that lets you lift the entire slab of bars out of the pan easily once they’ve cooled. No more digging out the first piece and destroying it in the process.
- Let Them Cool COMPLETELY: I know, this is the hardest part. The smell is going to be intoxicating and you’ll want to dive right in. But if you cut them while they’re still warm, the caramel will ooze everywhere and you’ll have a delicious, gooey mess. For clean slices, they need to be fully set. Pop them in the fridge for 30 minutes if you’re impatient like me.
- Press Firmly: When you put the first layer of the oat mixture into the pan, use the bottom of a measuring cup or your hands to press it down into a firm, even layer. This creates a solid foundation so the caramel doesn’t just seep through to the bottom.
Tools Required
You don’t need any super fancy kitchen gadgets for this. Just the basics.
- 9×13 inch baking pan
- Parchment paper
- A medium-sized saucepan (for the caramel)
- A large mixing bowl
- A whisk or wooden spoon
- Measuring cups and spoons
- A spatula
Time Breakdown
This table gives you a rough idea of how your time will be spent. The cooling time is the real killer!
| Task | Estimated Time |
|---|---|
| Prep Time | 20 minutes |
| Cook Time | 25-30 minutes |
| Cooling Time | 2 hours (minimum) |
Step-by-Step Instructions
Alright, let’s do this. Follow these steps and you’ll be on your way to dessert heaven.
Step 1: Get Ready
First things first, preheat your oven to 350°F (175°C). Take your 9×13 inch pan and line it with parchment paper, leaving that overhang on the sides like we talked about. This is your sling. Don’t forget it.
Step 2: Make the Crust Mixture
In your large bowl, combine the flour, rolled oats, brown sugar, baking soda, and salt. Give it a quick whisk to mix everything together.
Now, pour in the melted butter. Stir it all up until the mixture is crumbly and everything is moistened. It should feel a bit like wet sand.
Step 3: Form the Base
Take about two-thirds of that oat mixture and press it firmly and evenly into the bottom of your prepared pan. Set the remaining one-third of the mixture aside for the topping. Bake the base for 10 minutes.
Step 4: Create the Caramel Magic
While the base is baking, make the caramel. In your medium saucepan, combine the 1 cup of butter, brown sugar, corn syrup, and sweetened condensed milk. Cook this over medium heat, stirring constantly until the butter is melted and the sugar has dissolved.
Once it’s smooth, bring the mixture to a boil. Let it bubble away for about 5-7 minutes, still stirring frequently, until it thickens up a bit. You’ll know it’s ready when it coats the back of a spoon.
Remove it from the heat and stir in the vanilla extract and the sea salt. Be careful, it will be VERY hot.
Step 5: Assemble the Bars
Take your pan with the pre-baked crust out of the oven. Carefully pour that glorious hot caramel evenly over the top.
Now, take the oat mixture you set aside earlier and crumble it over the caramel layer. Finish by sprinkling the chocolate chips all over the top.
Step 6: The Final Bake
Place the pan back in the oven and bake for another 15-20 minutes. You’re looking for the topping to be lightly golden brown and the caramel to be bubbly around the edges.
Step 7: The Waiting Game
This is the most important step. Remove the pan from the oven and place it on a wire rack to cool completely. I mean it. Don’t touch it for at least 2 hours. Once it’s totally cool, you can use your parchment paper sling to lift the whole thing out and cut it into bars.
Substitutions and Variations
Want to mix things up? I get it. Here are a few ideas that work really well.
| To Swap | Substitution | Notes |
|---|---|---|
| All-Purpose Flour | Gluten-Free 1-to-1 Flour | Make sure to use certified GF oats too! |
| Semi-Sweet Chocolate Chips | Dark, milk, or white chocolate chips | Butterscotch chips are also a game-changer. |
| Brown Sugar | Coconut Sugar | This will give it a slightly different, deeper flavor. |
| – | Add ½ cup chopped nuts | Pecans or walnuts are fantastic in the topping. |
Make-Ahead Tips
If you’re planning for an event, you can absolutely prep some of this ahead of time.
You can make the entire oat crumble mixture (the flour, oats, sugar, etc.) a day or two in advance. Just store it in an airtight container at room temperature. When you’re ready to bake, melt your butter and mix it in.
You can also bake the bars completely a day ahead. They actually taste even better the next day because the flavors have time to meld together.
Leftovers and Storage
Assuming you have any leftovers (which is a big assumption), storing them is easy.
Just keep them in an airtight container at room temperature for up to 3 days. If you stack them, place a piece of parchment paper between the layers to prevent them from sticking together.
If you want them to last longer, you can store them in the fridge for up to a week. They’re actually pretty amazing straight from the fridge—the caramel gets extra chewy.
Nutritional Information
Look, these are not health food. Let’s just be clear about that. This is a treat, and a darn good one. The nutritional info is an estimate and will change based on your specific ingredients.
| Nutrient (per bar) | Approximate Amount |
|---|---|
| Calories | 350 kcal |
| Fat | 18g |
| Carbohydrates | 45g |
| Protein | 4g |
Frequently Asked Questions
Here are a few questions I get asked a lot about this recipe.
Q1. My caramel layer seems too thin and soaked into the crust. What did I do wrong?
Ans: This usually happens for two reasons. Either the caramel wasn’t boiled long enough to thicken, or the base layer wasn’t packed down firmly enough. Make sure you press that crust down tight and let the caramel bubble for a good 5-7 minutes!
Q2. Can I use store-bought caramel sauce instead of making my own?
Ans: You can, but it’s a little risky. Many store-bought sauces are thinner and won’t set up properly, leading to a runny mess. If you go this route, look for a thick, jarred caramel dip, not the liquid kind you’d pour on ice cream. Homemade is really worth the extra 10 minutes, though.
Q3. Can I freeze these bars?
Ans: Absolutely! They freeze beautifully. Let them cool completely, cut them into squares, and then wrap them individually in plastic wrap before putting them in a freezer-safe bag or container. They’ll last for up to 3 months. Just let them thaw at room temperature for an hour before enjoying.
Wrapping Up
So there you have it. A dessert that’s part cookie, part candy bar, and 100% amazing. It’s chewy, gooey, sweet, salty, and everything you could possibly want in a treat.
Don’t be intimidated by the layers or the homemade caramel. You saw the steps; it’s totally manageable, and the payoff is huge. Your friends and family will think you’re a baking genius.
Now go make a batch. And when you do, come back and leave a comment. I’d love to hear how they turned out for you or if you discovered any fun variations of your own!