
“`html
How to Make the Absolute Best Cotton Candy Cupcakes
I have this super vivid memory from when I was a kid at the local fair. The air smelled like popcorn and pure, unfiltered excitement. And in my hand was this giant, fluffy cloud of pink and blue sugar on a stick that was basically the size of my head.
That was pure magic. Just simple, sweet, sticky-fingered joy.
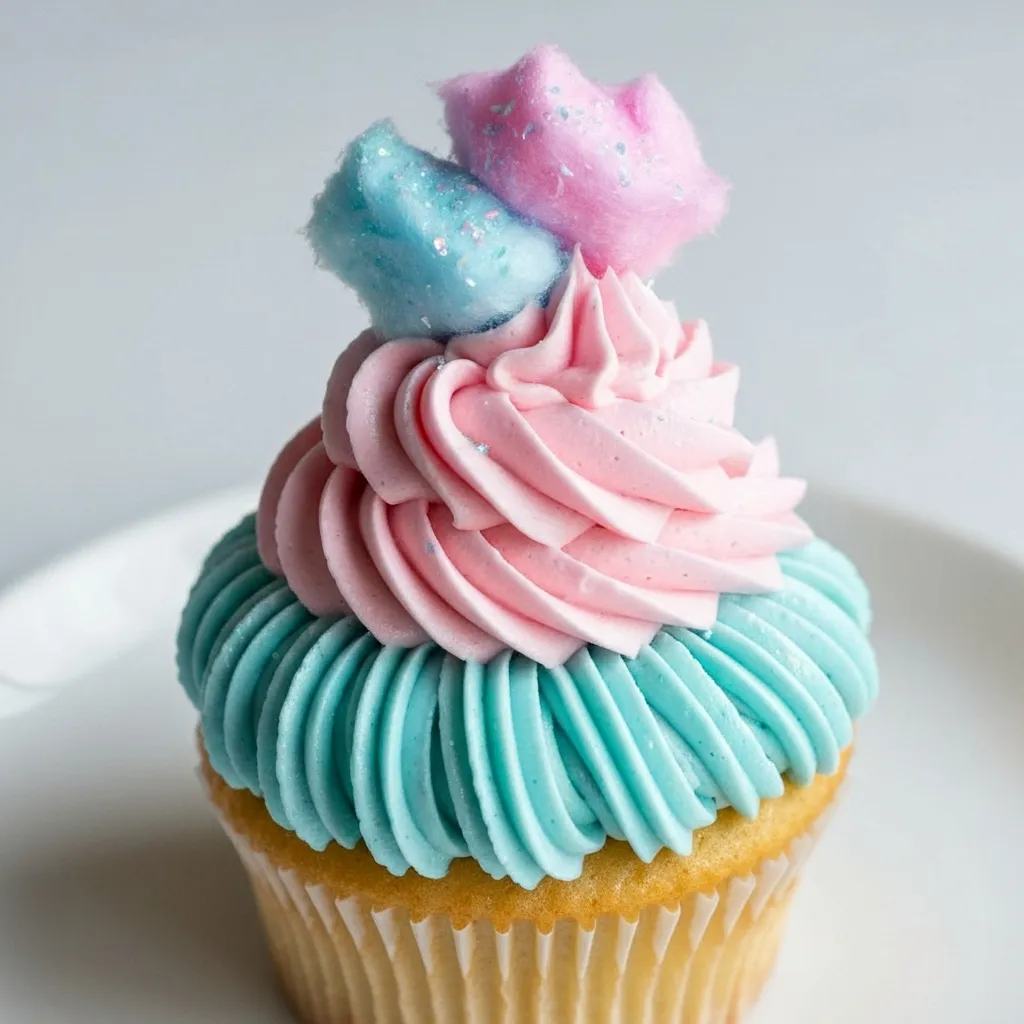
What if we could capture that exact feeling and bake it into a cupcake? A fluffy, sweet, melt-in-your-mouth cupcake that tastes exactly like carnival cotton candy.
Well, I got you. We’re about to do just that. This recipe is all about fun, nostalgia, and creating something that will make everyone who tries it break into a huge smile. And trust me, it’s not nearly as complicated as it looks.
What You’ll Need
First things first, let’s gather our ingredients. Getting everything measured out before you start is a game-changer. Seriously, it makes the whole process feel less chaotic and more like you’re the star of your own cooking show.
For the Cupcakes:
- 1 1/2 cups all-purpose flour
- 1 1/2 teaspoons baking powder
- 1/4 teaspoon salt
- 1/2 cup unsalted butter, at room temperature
- 1 cup granulated sugar
- 2 large eggs, at room temperature
- 1 teaspoon vanilla extract
- 1/2 teaspoon cotton candy flavoring (the secret weapon!)
- 1/2 cup milk, at room temperature
- Pink and blue gel food coloring
For the Cotton Candy Buttercream:
- 1 cup unsalted butter, softened
- 3-4 cups powdered sugar, sifted
- 1/4 cup heavy cream or milk
- 1 teaspoon vanilla extract
- 1 teaspoon cotton candy flavoring
- Pinch of salt
- Pink and blue gel food coloring
- Optional: Sprinkles or fresh cotton candy for garnish
Tools Required for the Mission
You don’t need a professional kitchen, just a few trusty tools. Here’s what will make your life easier.
- Muffin tin
- Cupcake liners
- Two or three medium mixing bowls
- Electric mixer (stand or hand-held)
- Whisk
- Rubber spatula
- Ice cream scoop or large spoon (for even batter distribution)
- Piping bag
- Large star piping tip (like a Wilton 1M)
- Toothpicks or a cake tester
- Wire cooling rack
Pro Tips for Perfect Cupcakes
I’ve made my fair share of not-so-great cupcakes in the past so you don’t have to. Here are a few things I learned along the way that really make a difference.
1. Room Temperature is Not a Suggestion
Seriously. When your butter, eggs, and milk are at room temperature, they mix together to form a smooth, uniform batter. This traps air, and that trapped air expands in the oven, giving you a super light and fluffy cupcake. Cold ingredients just don’t emulsify the same way and can lead to a dense, heavy texture.
2. The “Don’t You Dare Overmix” Rule
Once you start adding the flour, you want to mix only until it’s *just* combined. The more you mix flour with liquid, the more gluten develops. A little gluten is good for structure, but too much makes your cupcakes tough and rubbery instead of tender. Be gentle!
3. The Two-Tone Frosting Swirl Hack
Want that gorgeous pink and blue swirl? It’s easy. After you’ve made your buttercream, divide it into two bowls. Tint one pink and the other blue. Lay a long piece of plastic wrap on the counter. Spoon the pink frosting in a log shape down one side of the plastic wrap, and the blue frosting in a log right next to it. Roll the plastic wrap up tightly into a cylinder. Snip one end of the plastic wrap log and slide the whole thing (snipped end first) into your piping bag fitted with a star tip. When you pipe, both colors will come out in a perfect swirl.
4. Flavoring Matters
Look for a good quality cotton candy flavoring. You can usually find it in baking supply stores or online. Some are called “flavoring oils” and are more concentrated, so you’d use a little less. An extract is also great. It’s the key ingredient that separates these from just being pink and blue vanilla cupcakes.
Substitutions and Variations
Don’t have something on the list? Or just want to get creative? No problem. Baking is a science, but there’s room to play.
| Ingredient | Substitution | The Result |
|---|---|---|
| All-Purpose Flour | Cake Flour | An even lighter, finer crumb. Use the same amount. |
| Milk | Buttermilk | Adds a slight tang and makes the cupcakes extra tender. |
| Unsalted Butter | Vegan Butter Sticks | Great for a dairy-free version. Pair with plant-based milk. |
Fun Variations:
- Surprise Inside: Before baking, drop a small marshmallow or a dollop of marshmallow fluff into the center of the batter in each cupcake liner.
- Extra Sparkle: Mix some edible glitter into your frosting for a magical shimmer.
- Change the Colors: Who says cotton candy has to be pink and blue? Go for purple and yellow, or a rainbow swirl!
The Step-by-Step Instructions
Alright, let’s get our hands dirty. Here’s how to bring these magical cupcakes to life.
Part 1: Making the Cupcakes
Step 1: Preheat your oven to 350°F (175°C) and line a 12-cup muffin tin with your cutest cupcake liners.
Step 2: In a medium bowl, whisk together the flour, baking powder, and salt. Just give it a quick mix to make sure everything is evenly distributed. Set it aside.
Step 3: In a large bowl, using an electric mixer, beat the room temperature butter and sugar together on medium-high speed until it’s light and fluffy. This usually takes about 3-4 minutes. Scrape down the sides of the bowl as you go.
Step 4: Add the eggs one at a time, beating well after each addition. Then, mix in the vanilla extract and the cotton candy flavoring.
Step 5: Now, we alternate. With the mixer on low speed, add about a third of your dry ingredients, then half of the milk. Mix until just combined. Repeat with another third of the dry ingredients, the rest of the milk, and finally the last of the dry ingredients. Remember that pro tip: do not overmix!
Step 6: Fill each cupcake liner about two-thirds full. An ice cream scoop works perfectly for this to ensure they are all the same size.
Step 7: Bake for 18-22 minutes, or until a toothpick inserted into the center comes out clean. Let them cool in the pan for a few minutes before moving them to a wire rack to cool completely. Completely cool is key before frosting!
Part 2: Whipping Up the Buttercream
Step 1: In a large bowl, beat the softened butter with an electric mixer until it’s creamy and smooth, about 2 minutes.
Step 2: With the mixer on low, gradually add the sifted powdered sugar, one cup at a time. Once it’s mostly incorporated, add the heavy cream, vanilla extract, cotton candy flavoring, and a pinch of salt.
Step 3: Turn the mixer up to medium-high and beat for another 3-5 minutes until the frosting is incredibly light, fluffy, and smooth. If it’s too stiff, add a tiny bit more cream. If it’s too thin, add a little more powdered sugar.
Step 4: Divide the frosting evenly between two bowls. Add a drop or two of pink gel coloring to one bowl and blue to the other. Mix until you get your desired pastel shades.
Part 3: The Grand Finale Assembly
Step 1: Prepare your piping bag with the two-tone frosting using the plastic wrap hack mentioned in the pro tips.
Step 2: Pipe a generous swirl onto each completely cooled cupcake. Start from the outside and spiral your way up to a peak.
Step 3: Add sprinkles, edible glitter, or, for the ultimate effect, a small puff of fresh cotton candy right before you serve them.
Nutrition, Pairings, and Other Good Stuff
Let’s be real, these are cupcakes. They’re a treat, not health food. But it’s still good to have a general idea of what you’re working with.
| Estimated Nutrition (Per Cupcake) | |
|---|---|
| Calories | ~350 kcal |
| Sugar | ~40g |
| Fat | ~18g |
Disclaimer: These are rough estimates and can vary based on your specific ingredients and portion sizes.
Dietary Swaps:
- For Gluten-Free: Use a good 1-to-1 gluten-free baking flour blend in place of the all-purpose flour.
- For Vegan: Use your favorite vegan butter sticks (not the tub kind), a flax egg (1 tbsp ground flaxseed + 3 tbsp water), and a plant-based milk like oat or almond milk. The texture will be slightly different but still delicious.
Pairing Suggestions: The sweetness of these cupcakes is best balanced with something simple. A cold glass of milk is classic. An unsweetened iced tea or a simple cup of coffee also works beautifully to cut through the richness.
Cooking Time Efficiency: While the cupcakes are baking, you have the perfect window to make your buttercream frosting. And while they are cooling, you can wash up the bowls you’ve used so far. Working in these small windows makes the whole process feel faster and less messy.
Leftovers and Storage
If by some miracle you have leftovers, you’ll want to store them properly.
Place the frosted cupcakes in an airtight container. They can be stored at room temperature for up to 3 days. I find they are best on day one, but they are still great on day two.
A quick note: If you top them with actual cotton candy, it will melt and dissolve within an hour or two from the moisture in the frosting. So only add that garnish right before you plan to serve and eat them!
Frequently Asked Questions (FAQ)
Q1. My cupcakes turned out dry. What went wrong?
Ans: This is usually one of two culprits. Either they were baked for a bit too long, or there was a tad too much flour. Make sure you’re measuring your flour correctly (spooning it into the measuring cup and leveling it off is best) and check the cupcakes with a toothpick right at the 18-minute mark.
Q2. Can I use real cotton candy in the batter?
Ans: I wouldn’t recommend it. Cotton candy is just spun sugar. When it hits the wet batter, it will instantly dissolve and throw off the sugar-to-flour ratio, likely making your cupcakes dense and overly sweet.
Q3. My frosting is runny. How can I fix it?
Ans: Easy fix! Your frosting is probably just a little too warm or needs more sugar. Try chilling it in the refrigerator for 20-30 minutes. If it’s still too soft, add more powdered sugar, a quarter cup at a time, until it reaches a stiff, pipeable consistency.
Q4. Where do I even buy cotton candy flavoring?
Ans: You’d be surprised! Many large grocery stores have it in the baking aisle near the vanilla extract. If not, craft stores with a baking section (like Michaels or Jo-Ann) almost always have it. And of course, online retailers are a sure bet.
Wrapping Up
And there you have it. You’ve basically baked a carnival. These cupcakes are more than just a dessert; they are a whole vibe. They’re perfect for birthday parties, bake sales, or just a Tuesday when you need a little bit of colorful joy in your life.
The best part is seeing the look on people’s faces when they take their first bite. It’s pure, nostalgic happiness.
So go ahead, give this recipe a try. I’d absolutely love to hear how they turn out for you. If you have any questions or if you discovered a cool new variation, drop a comment below and share your experience!
“`