
There are certain flavor combinations that are just legendary. Chocolate and mint. Apple and cinnamon. Salt and caramel. But the one that reigns supreme in my house? Peanut butter and chocolate.
It’s the ultimate comfort pairing. But for a long time, I felt like we were only scratching the surface. I wanted to take that classic duo and give it a sophisticated, creamy twist. That’s when white chocolate entered the picture.
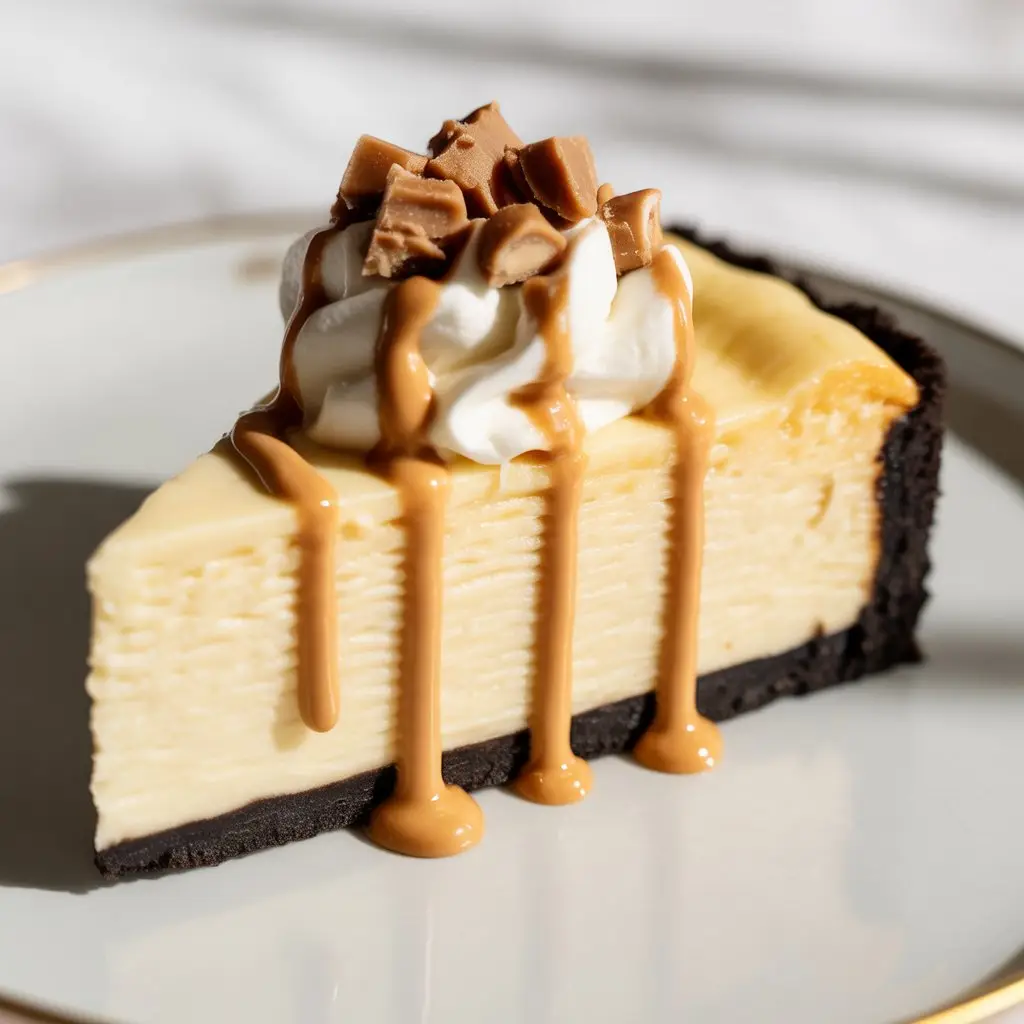
This White Chocolate Peanut Butter Cheesecake isn’t just a dessert; it’s an experience. It’s the creamiest, dreamiest, most decadent cheesecake I’ve ever made. The sweet, subtle notes of white chocolate perfectly balance the rich, salty goodness of peanut butter. It’s pure heaven.
What You’ll Need
Let’s gather our ingredients. Using high-quality, full-fat ingredients is key to getting that perfect creamy texture. Don’t skimp here!
For the Oreo Crust:
- 25 Oreo cookies, finely crushed
- 6 tablespoons unsalted butter, melted
For the Peanut Butter Filling:
- 32 ounces (four 8-oz blocks) full-fat cream cheese, softened to room temperature
- 1 ½ cups granulated sugar
- 1 cup creamy peanut butter
- 4 large eggs, at room temperature
- 1 cup full-fat sour cream, at room temperature
- 1 teaspoon vanilla extract
- 8 ounces high-quality white chocolate, chopped
For the Topping (Optional):
- Whipped cream
- Melted peanut butter
- Chopped peanuts or peanut butter cups
Tools Required for This Recipe
You don’t need a professional kitchen, but a few specific tools will make this process much smoother.
- 9-inch springform pan
- Food processor (or a zip-top bag and rolling pin)
- Electric mixer (stand or hand-held)
- Large mixing bowls
- Rubber spatula
- Double boiler (or a heatproof bowl over a saucepan)
- Large roasting pan (for the water bath)
- Aluminum foil
Pro Tips
I’ve made my fair share of cheesecakes, and I’ve learned a few things the hard way. These tips will help you nail it on your first try.
- Room Temperature is King: I can’t stress this enough. If your cream cheese, eggs, and sour cream are cold, your batter will be lumpy. Set them on the counter for at least 2 hours before you start. This simple step is the secret to a silky-smooth cheesecake.
- Gentle Heat for White Chocolate: White chocolate can be fussy. It seizes up and gets grainy if it gets too hot. Melt it slowly over a double boiler, stirring constantly. If you use a microwave, do it in 20-second bursts, stirring in between each one.
- Don’t Skip the Water Bath: A water bath creates a steamy, humid environment in your oven. This moisture helps the cheesecake bake evenly and prevents those dreaded cracks on top. It’s an extra step, but it’s worth its weight in gold for a perfect-looking cheesecake.
- Patience During Cooling: A sudden temperature change is another cause of cracks. Once the cheesecake is done baking, turn off the oven, crack the door open, and let it cool inside for an hour. Then, let it cool completely on the counter before moving it to the fridge to chill overnight.
How to Make White Chocolate Peanut Butter Cheesecake
Step 1: Prepare the Pan and Crust
Preheat your oven to 350°F (175°C). Take your springform pan and wrap the outside bottom and sides with a few layers of heavy-duty aluminum foil. This makes it watertight for the water bath later.
In a food processor, pulse the Oreo cookies until they form fine crumbs. If you don’t have one, place them in a large sealed bag and crush them with a rolling pin. Pour the crumbs into a bowl, add the melted butter, and mix until it looks like wet sand. Press this mixture firmly and evenly into the bottom of your prepared pan. Bake for 10 minutes, then set it aside to cool.
Step 2: Melt the White Chocolate
While the crust cools, gently melt your chopped white chocolate. Use a double boiler or a heatproof bowl set over a pot of simmering water. Stir until smooth, then remove from heat and let it cool slightly. You don’t want to add hot chocolate to your cream cheese mixture.
Step 3: Make the Cheesecake Filling
In a large bowl with an electric mixer, beat the room-temperature cream cheese on medium speed until it’s completely smooth and has no lumps. Scrape down the sides of the bowl. Add the granulated sugar and beat until smooth again.
Add the creamy peanut butter and mix until just combined. Then, add the eggs one at a time, mixing on low speed after each addition until the yolk disappears. Don’t overmix! Finally, mix in the sour cream, vanilla, and the slightly cooled melted white chocolate. Mix on low until everything is just incorporated. Your batter should be thick, smooth, and creamy.
Step 4: Assemble and Bake
Pour the filling over your cooled Oreo crust and spread it into an even layer. Place the springform pan into a large roasting pan. Carefully pour hot water into the roasting pan until it comes about halfway up the sides of your cheesecake pan.
Carefully place the whole setup in the oven. Bake for 60-70 minutes. The edges should be set, but the center should still have a slight jiggle to it. It will firm up as it cools.
Step 5: Cool and Chill
Turn the oven off, prop the door open with a wooden spoon, and let the cheesecake cool in the oven for 1 hour. This gradual cooling process helps prevent cracking. Remove it from the oven and the water bath, and let it cool completely on a wire rack.
Once cool, cover it loosely with plastic wrap and transfer it to the refrigerator. Chill for at least 6 hours, but overnight is best for the flavors to meld and for the cheesecake to set completely.
Substitutions and Variations
This recipe is fantastic as is, but you can definitely play around with it. Here are a few ideas.
| Component | Substitution/Variation | Notes |
|---|---|---|
| Oreo Crust | Graham Cracker Crust | Classic and delicious. |
| Peanut Butter | Almond or Cashew Butter | Creates a new flavor profile. |
| White Chocolate | Milk or Dark Chocolate | For a more intense chocolate flavor. |
| Add-in | Mini Chocolate Chips | Fold into the batter before baking. |
Make-Ahead Tips
Cheesecake is the perfect dessert to make in advance. In fact, it needs to be made ahead of time!
You can make the entire cheesecake up to two days before you plan to serve it. Just keep it covered in the refrigerator. The flavors actually get better as it sits.
Nutritional Information & More
This is an indulgent dessert, so the numbers reflect that. It’s all about balance!
| Nutrient | Amount Per Slice (Approx.) |
|---|---|
| Calories | 620 kcal |
| Fat | 45g |
| Carbohydrates | 48g |
| Protein | 10g |
- Ingredient Swaps for Diets: For a gluten-free version, use your favorite gluten-free chocolate sandwich cookies for the crust.
- Meal Pairing Suggestions: Because this dessert is so rich, it pairs best with simple beverages. A tall glass of cold milk or a hot cup of black coffee or espresso cuts through the richness perfectly.
- Cooking Time Efficiency: While the crust is baking, you can get started on melting your white chocolate and measuring out your filling ingredients. Multitasking saves time!
Leftovers and Storage
If you have any leftovers, cover the cheesecake tightly with plastic wrap or store it in an airtight container in the refrigerator. It will stay fresh for up to 5 days.
This cheesecake also freezes beautifully. You can freeze it whole or in individual slices. To freeze, place the cheesecake on a baking sheet in the freezer until firm. Then, wrap it tightly in plastic wrap and then a layer of aluminum foil. It will keep for up to 2 months. To thaw, just place it in the refrigerator overnight.
Frequently Asked Questions
Q1. Why did my cheesecake crack?
Ans: The most common culprits are over-mixing the batter (which incorporates too much air), over-baking, or cooling it too quickly. The water bath and slow cooling process are your best defenses against cracks!
Q2. Can I use low-fat cream cheese or sour cream?
Ans: I strongly recommend using full-fat versions. The fat content is crucial for the creamy texture and rich flavor. Low-fat products can result in a more watery or grainy cheesecake.
Q3. I don’t have a springform pan. What can I do?
Ans: A springform pan is ideal because you can remove the sides for a clean presentation. If you don’t have one, you could make this in a 9×13 inch baking dish as cheesecake bars. You won’t need a water bath, but you will have to adjust the baking time.
Q4. Can I use crunchy peanut butter?
Ans: You can! It will add a nice texture with the little bits of peanuts. Just be sure to use a standard commercial brand, not a natural one where the oil separates.
Wrapping Up
There you have it—a truly show-stopping dessert that’s guaranteed to impress. The combination of rich peanut butter and sweet, creamy white chocolate is just unbeatable. It takes a little time and patience, but the result is absolutely worth every minute.
I hope you give this recipe a try. When you do, come back and leave a comment below. I’d love to hear how it turned out for you or if you added your own unique spin!